

Where can I access the 2D scanners?
All of our 2D scanners are available of use in uCreate HQ (room 1.12) in the Main Library during staffed hours.
uCreate staffed hours are usually Monday - Friday, 10am - 8pm during term time and 10am - 5pm during holiday periods.
The scanners are bookable on SISO. If there is not an item for the specific scanner you require, please book 'Performance Desktop PC'.
The types of scanners, uses and manuals.
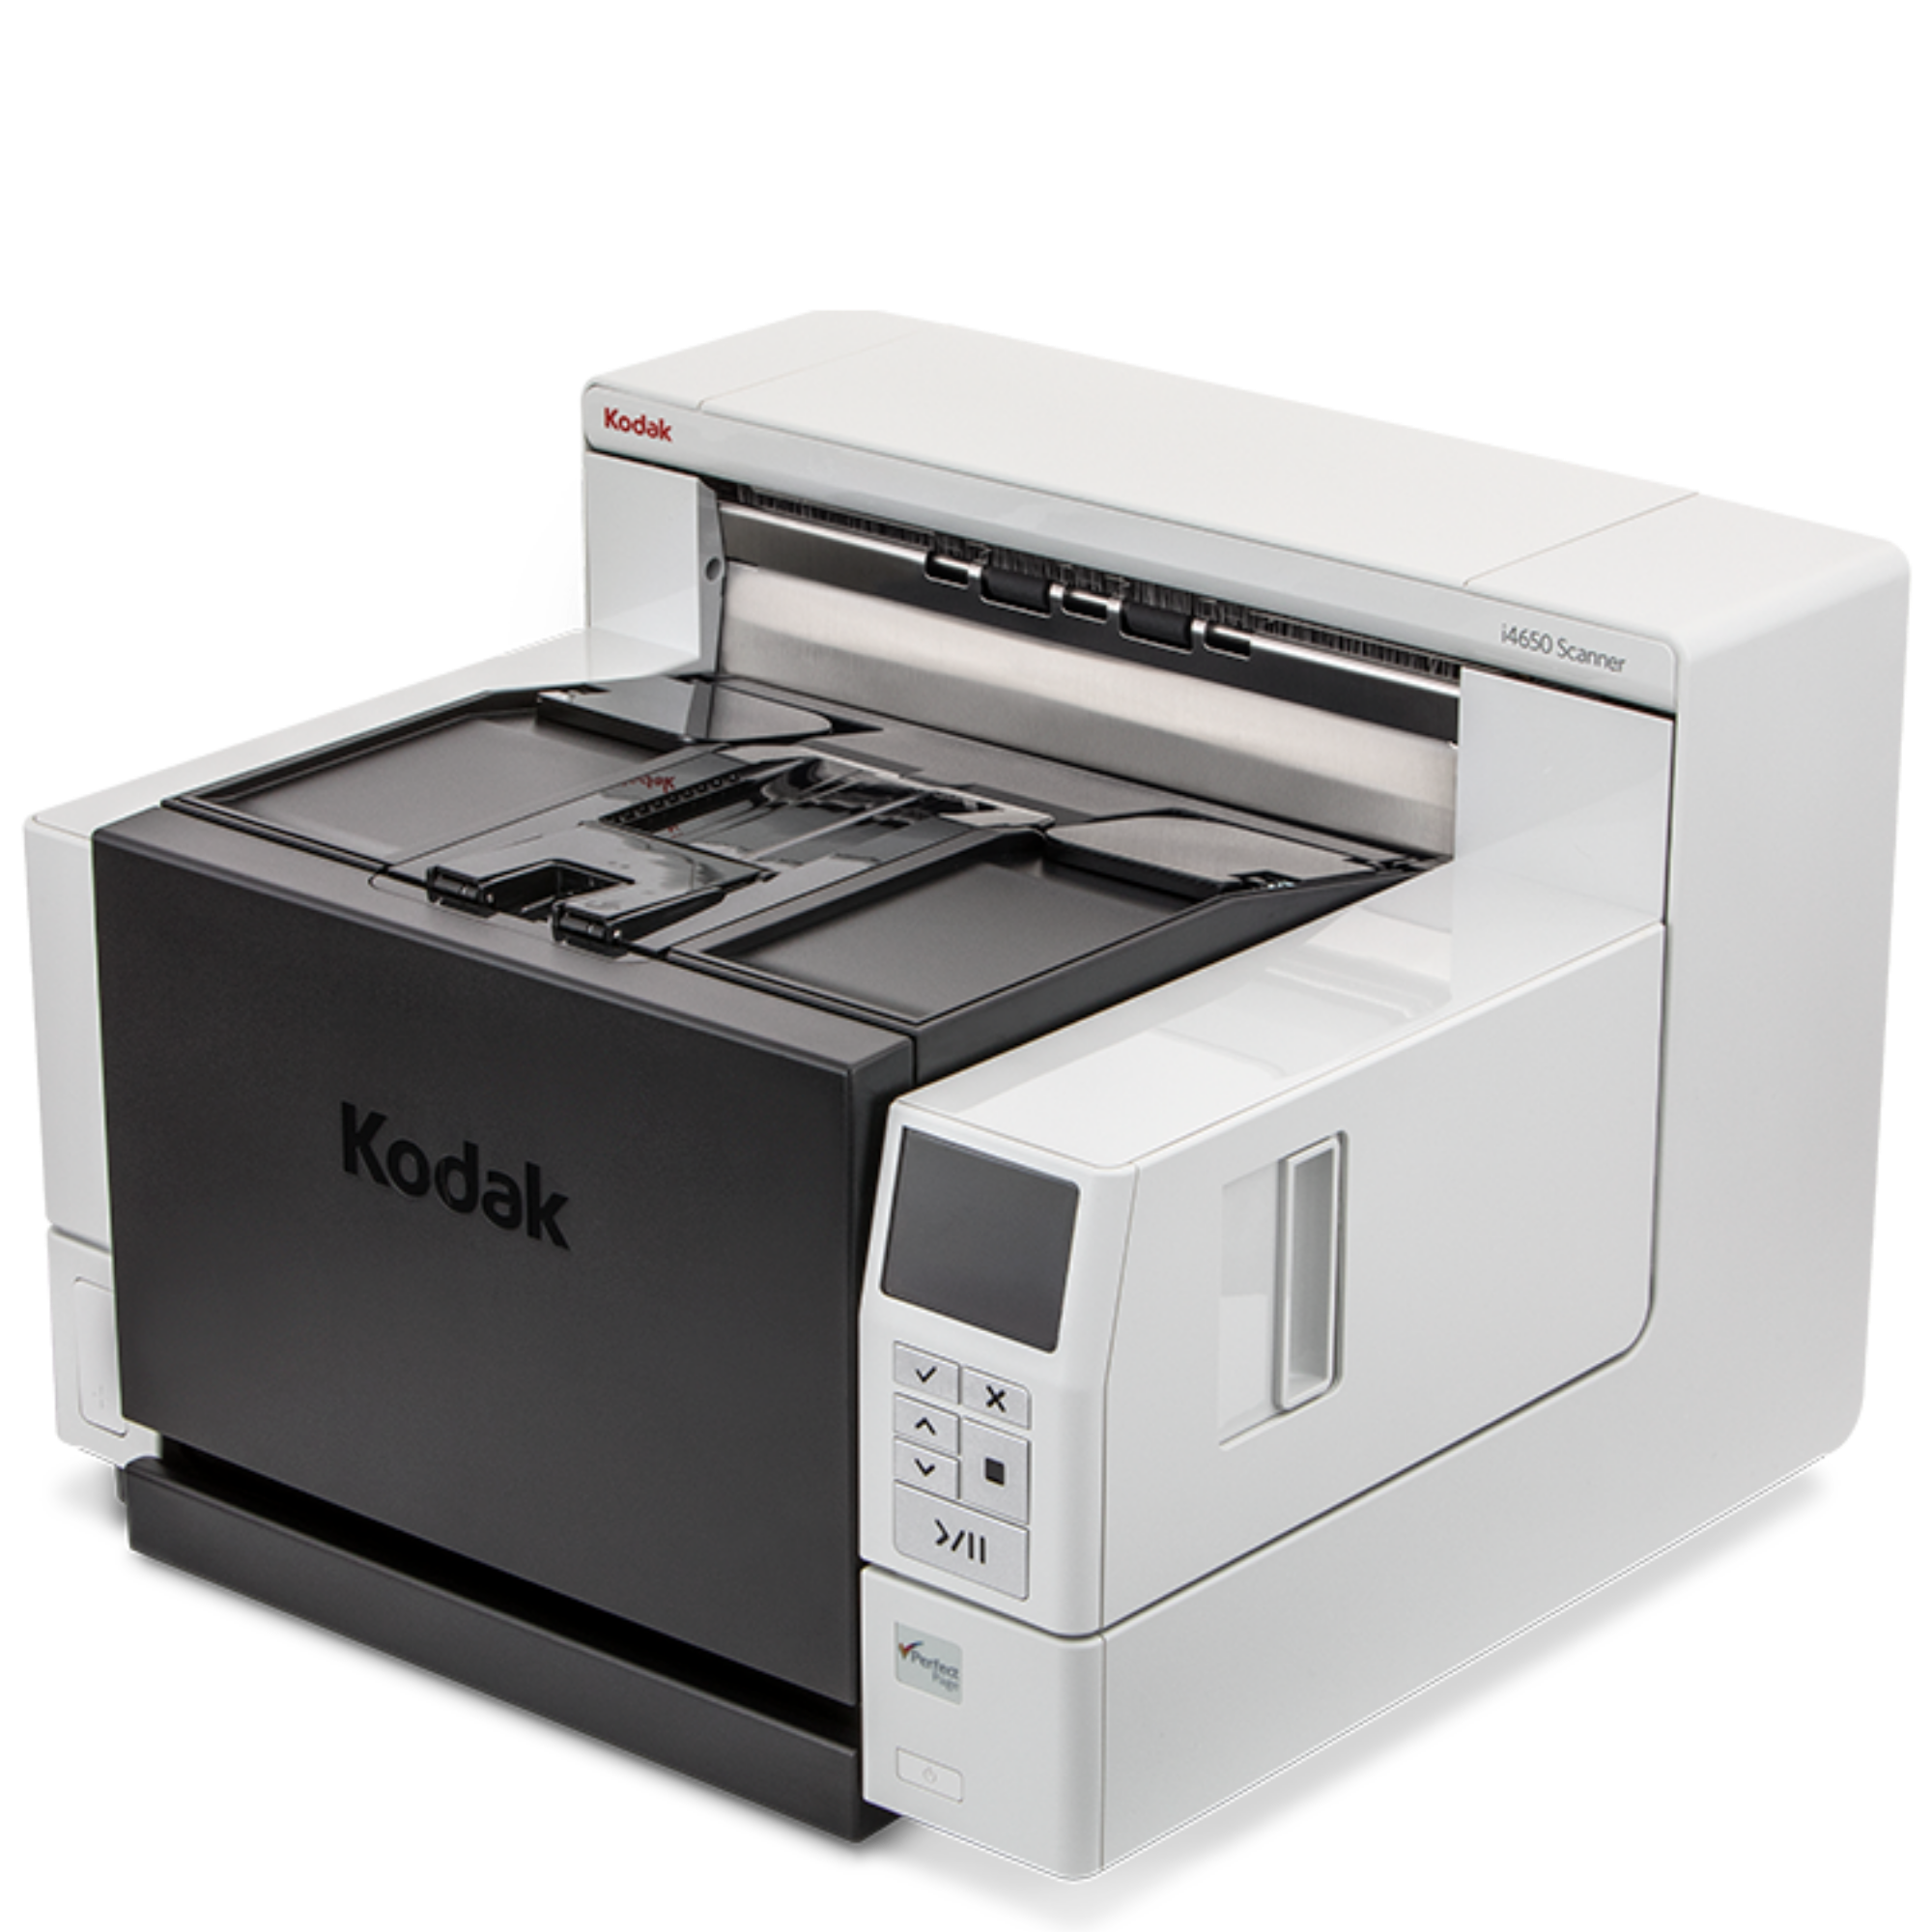
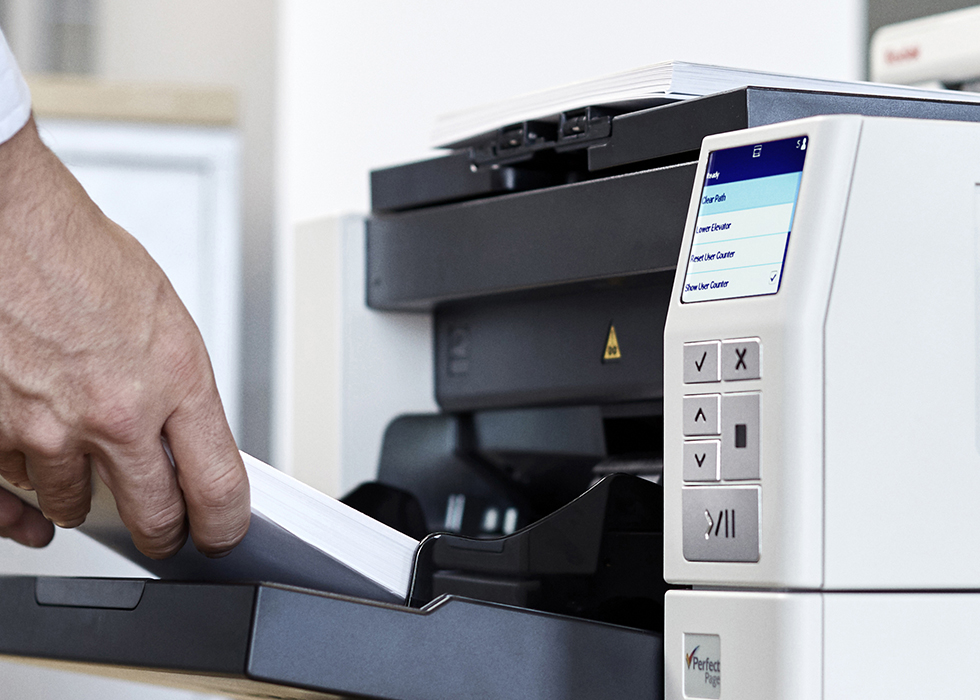
Kodak i4250 Scanner
High volume scanner
Software: Kodak Capture Pro
Max paper size: 305 x 9100 mm
Output type: PDF/Searchable PDF.
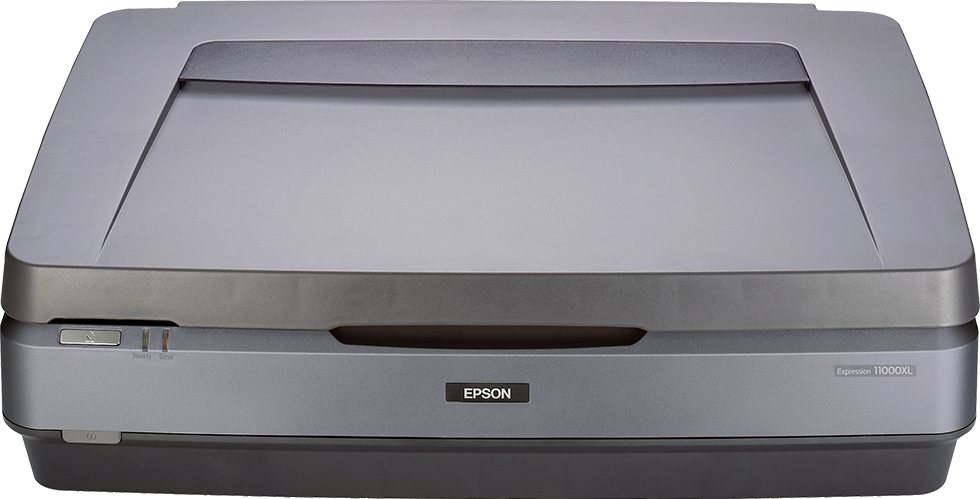
Epson Expression 11000XL
High resolution scanner
Software: Epson Scan
Max paper size: 310 mm x 437 mm
Resolution: 2400 DPI x 4800 DPI
Output type: JPEG, TIFF, PDF
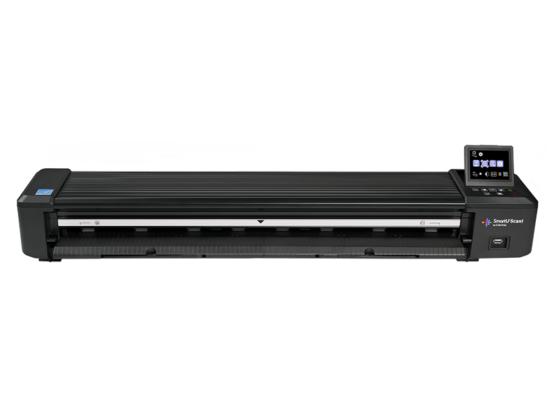
SmartLF Scan!
Large format scanning
Max scan size: 607mm x 914mm
Max Paper size: 660mm x 965mm
Resolution: 200, 400, 600 DPI
Output type: JPEG, TIFF, PDF
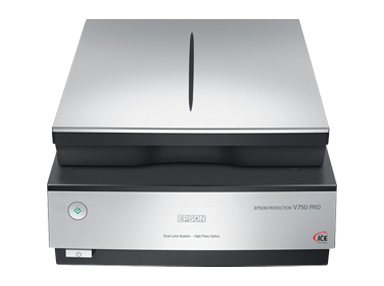
Epson Perfection V750 Pro
Film and document scanner
Software: Epson Scan
Max paper/film size:
- 35 mm film strips
- Medium format film
- 4 × 5 inch film
- 35 mm slides
- 22cm X 30cm paper
Image type: Black and white, 8-bit colour, 16-bit grayscale, Colour Smoothing, 24-bit colour, 48-bit colour.
Resolution: 50 – 12800 DPI
Output type: BITMAP, JPEG, Multi-TIFF, TIFF, PDF.
Kodak i4250 Scanner Workflow.

1. Make sure the scanner is connected to the computer with the USB SS to USB cable. Turn on the scanner and open the Kodak Capture Pro software.
2. Place the paper you would like to scan in the front tray of the scanner.
The bed should automatically re-level.
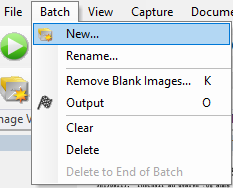
3. Go to Batch – New – name your new project. Use the drop-down the select the quality of your scan and press play.
You can then use the tools to edit and reorient your scans.
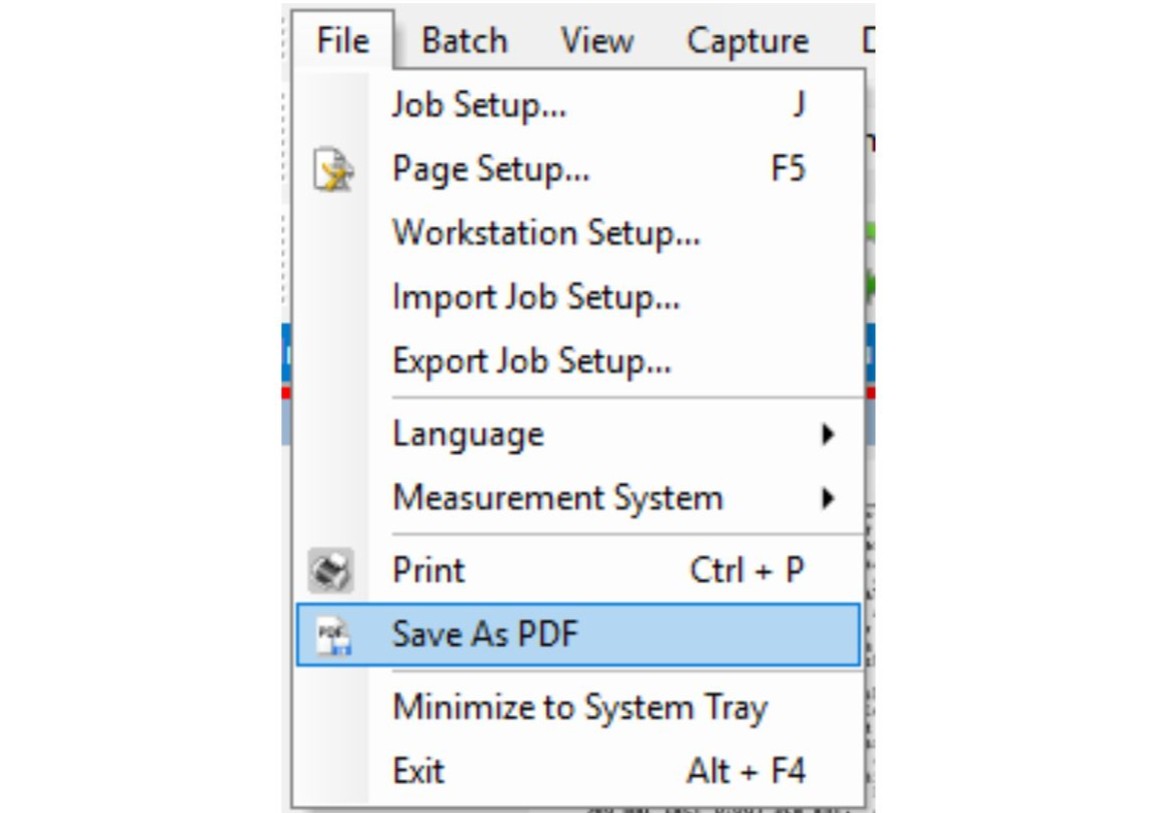
4. To export, select all the pages you would like to include in your file. Go to File – Save as PDF.
Epson Expression 11000XL Workflow.
1. Make sure the scanner is plugged in and connected to the computer with a USB A to USB cable. Place the paper you wish to scan in the scanner.

2. Open Epson Scan, select your scan settings and press preview.
This will give you a preview of how your scan will look and may take a while if you have particularly high-resolution settings.

3. Based on the preview, make any adjustments and click scan.
This may take a while if you have particularly high-resolution settings.
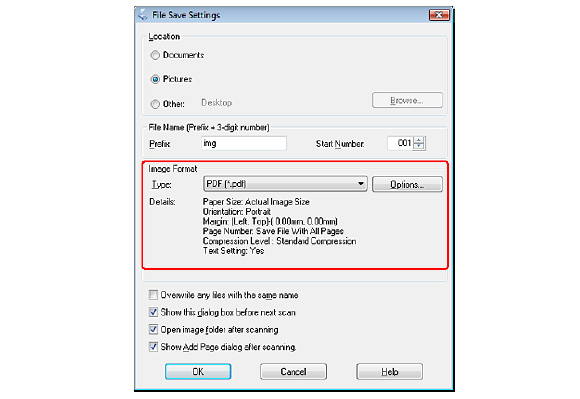
4. File save settings will open. Save your scan as your desired file format.
SmartLF Scan! Workflow.
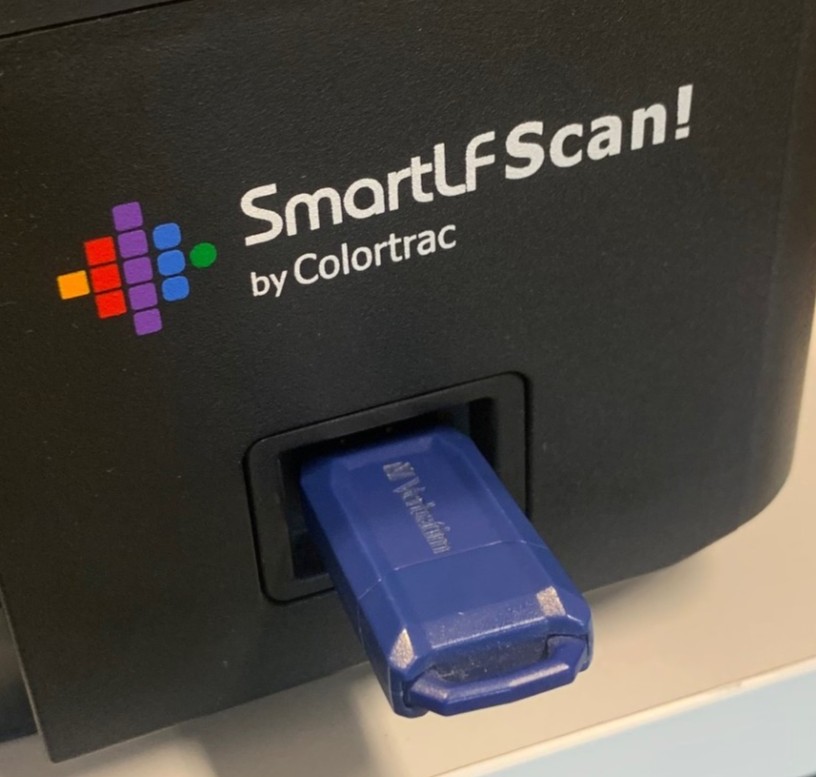
1. Make sure the scanner is plugged in and that the scanning memory stick has been inserted. Select output to memory stick.
This scanner has a tendency to eat memory sticks! We strongly recommend you use ours!

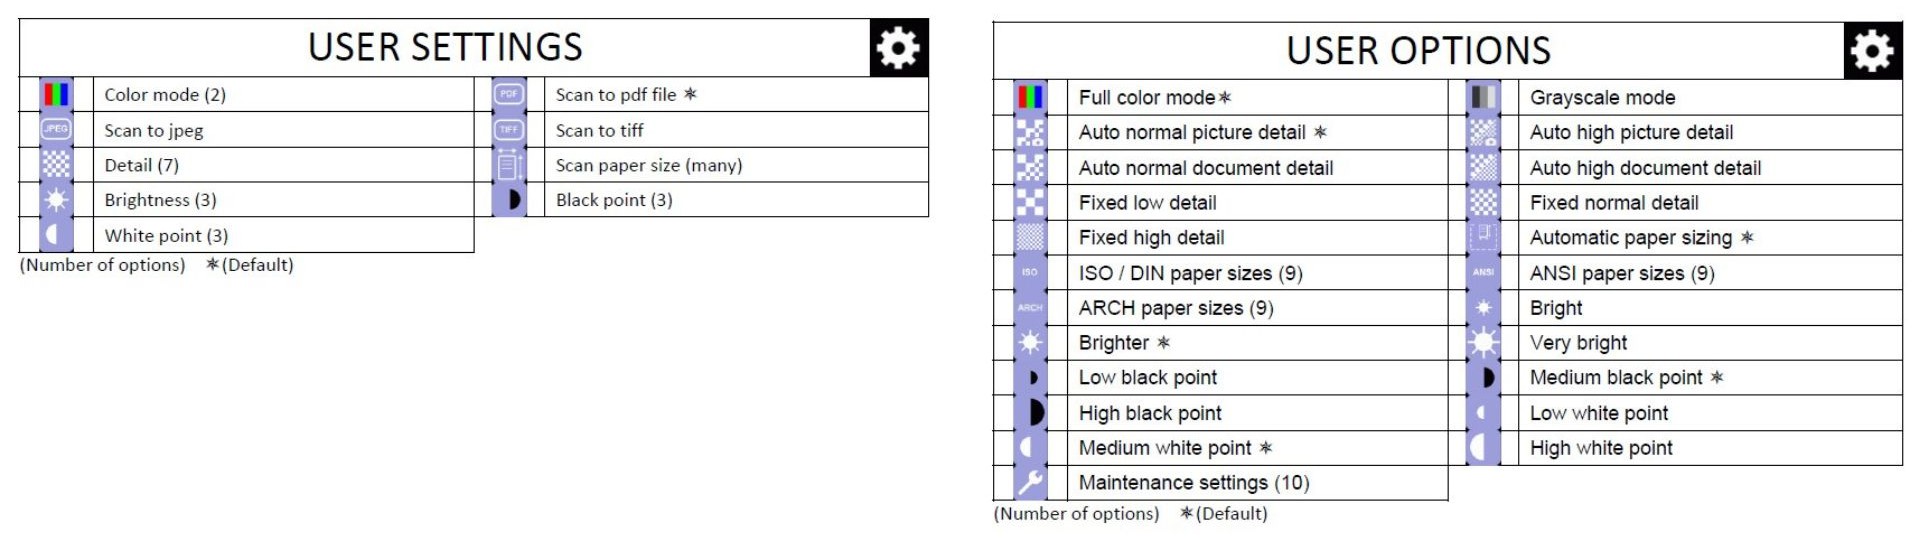
2. Go to the cog icon and select your output type and colour mode. You should also select the detect scaling icon.
All icons and meaning shown below.
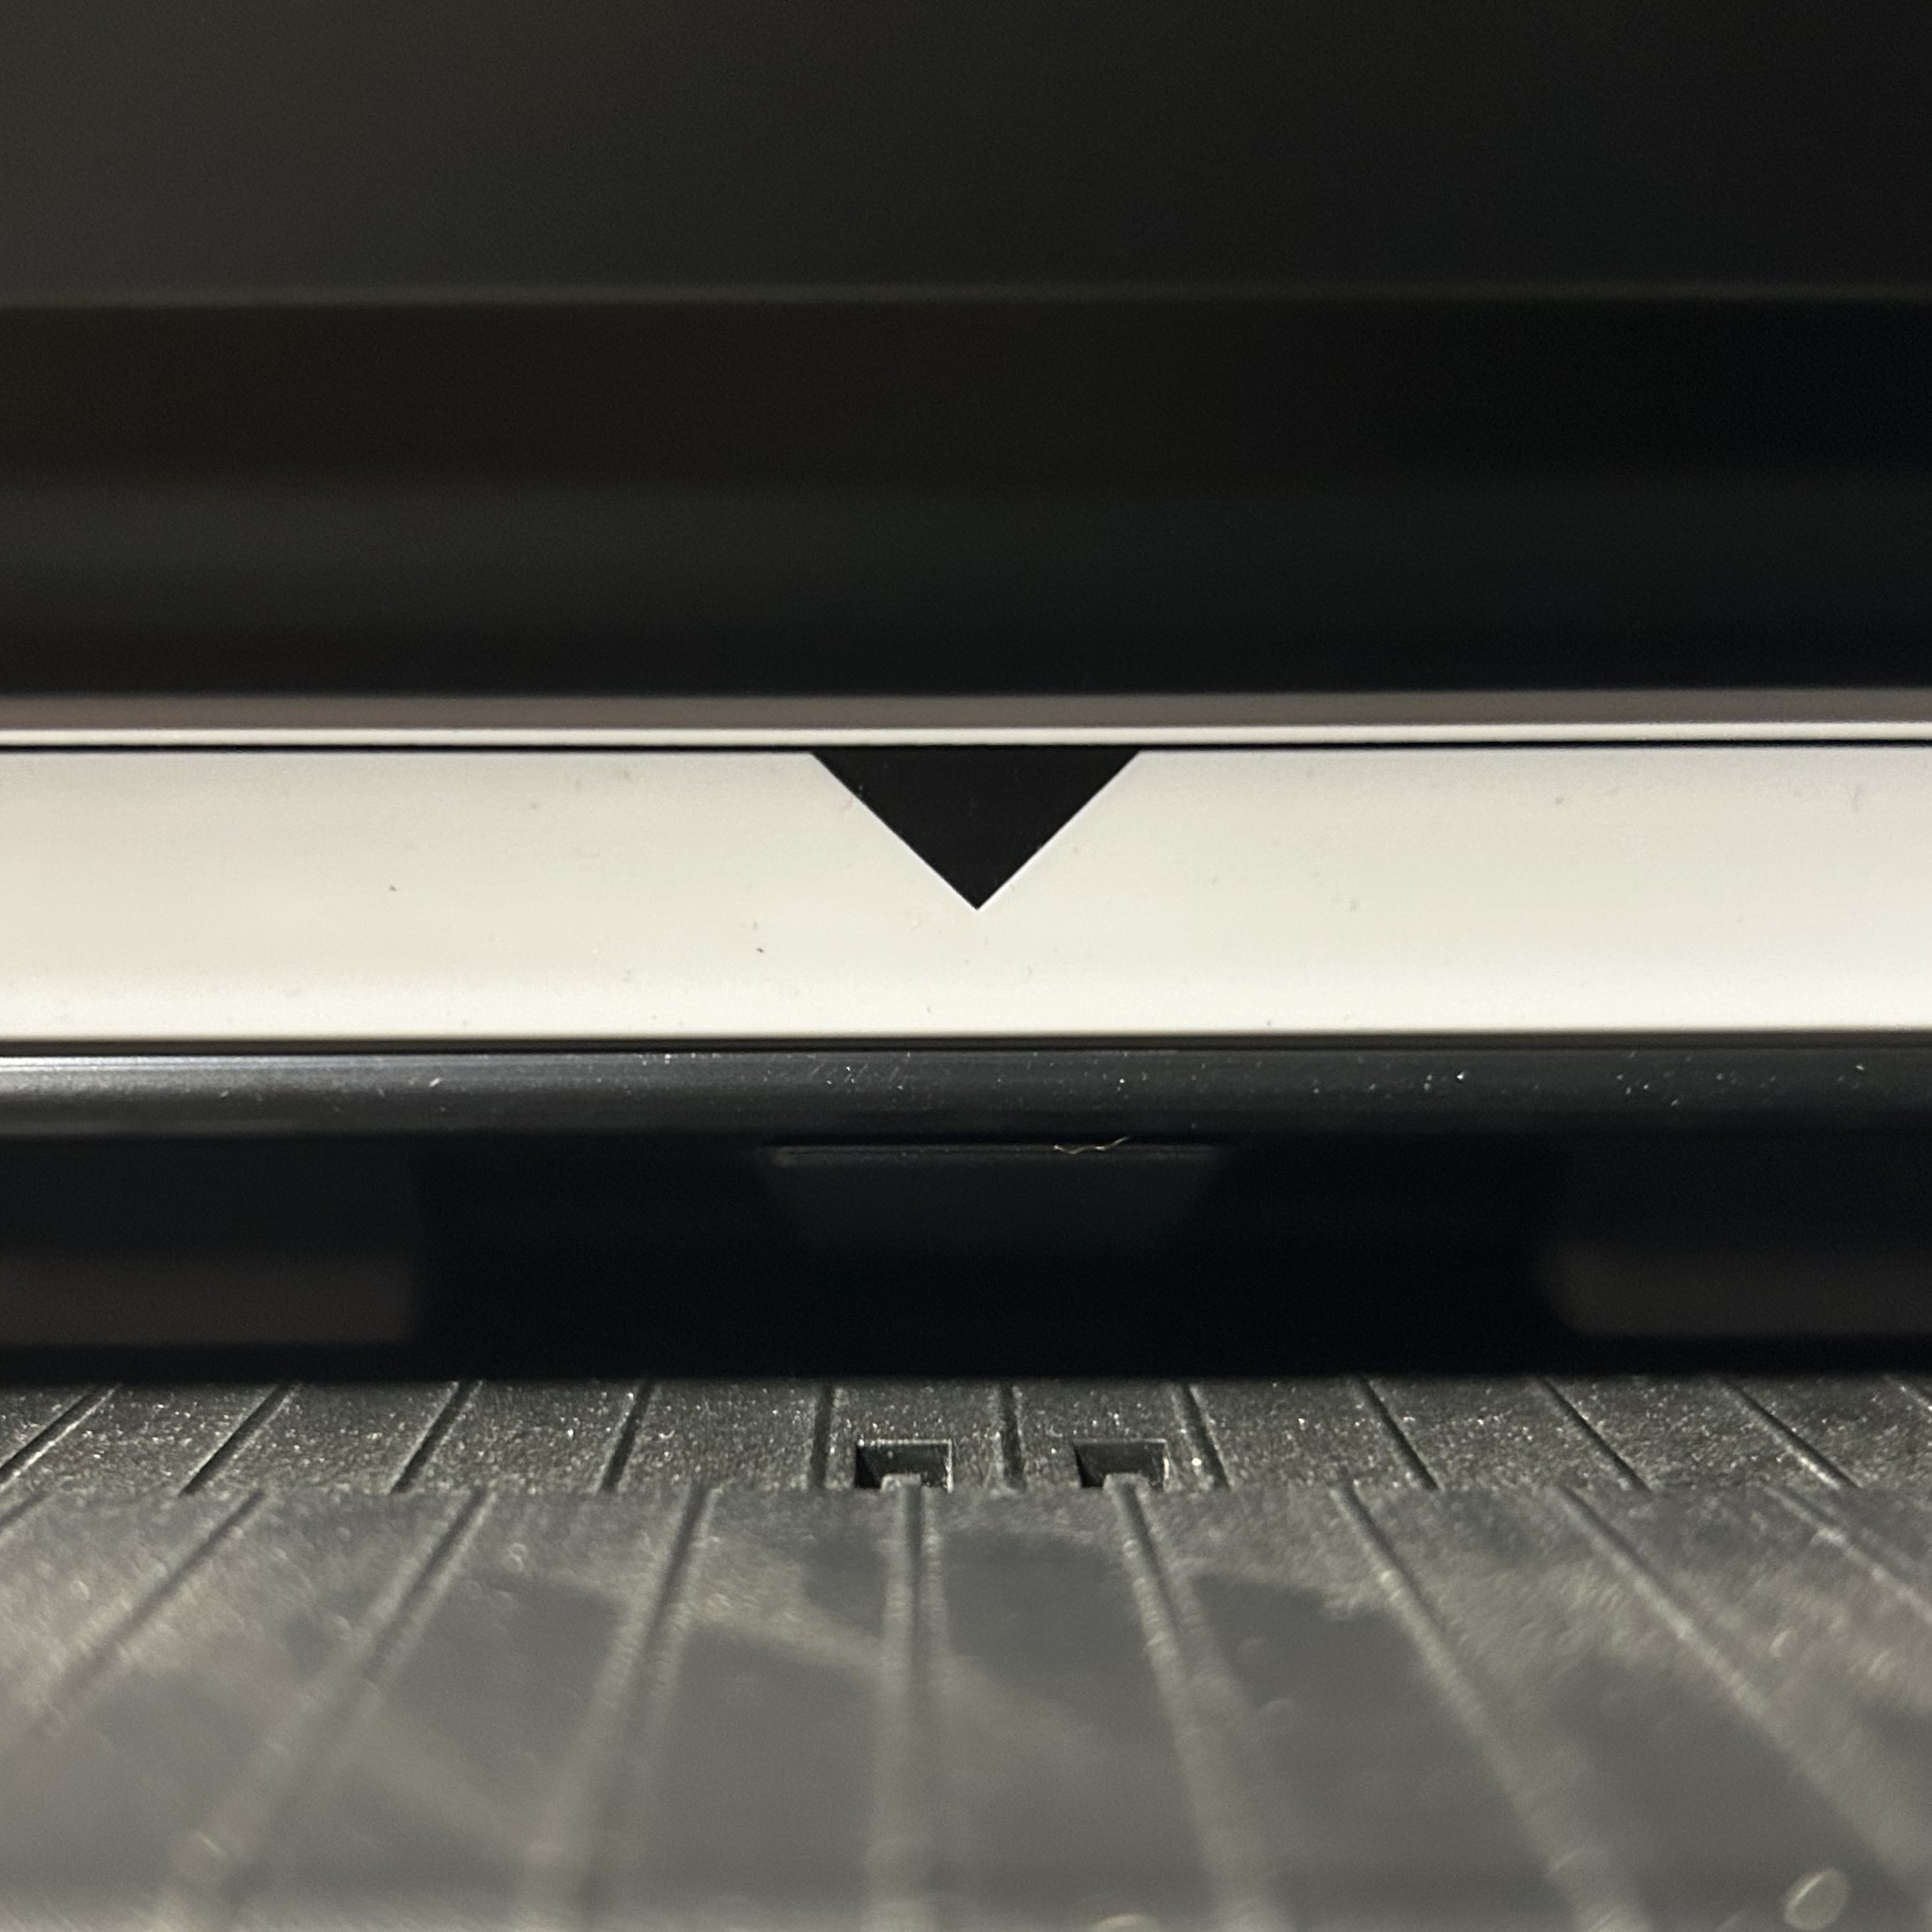
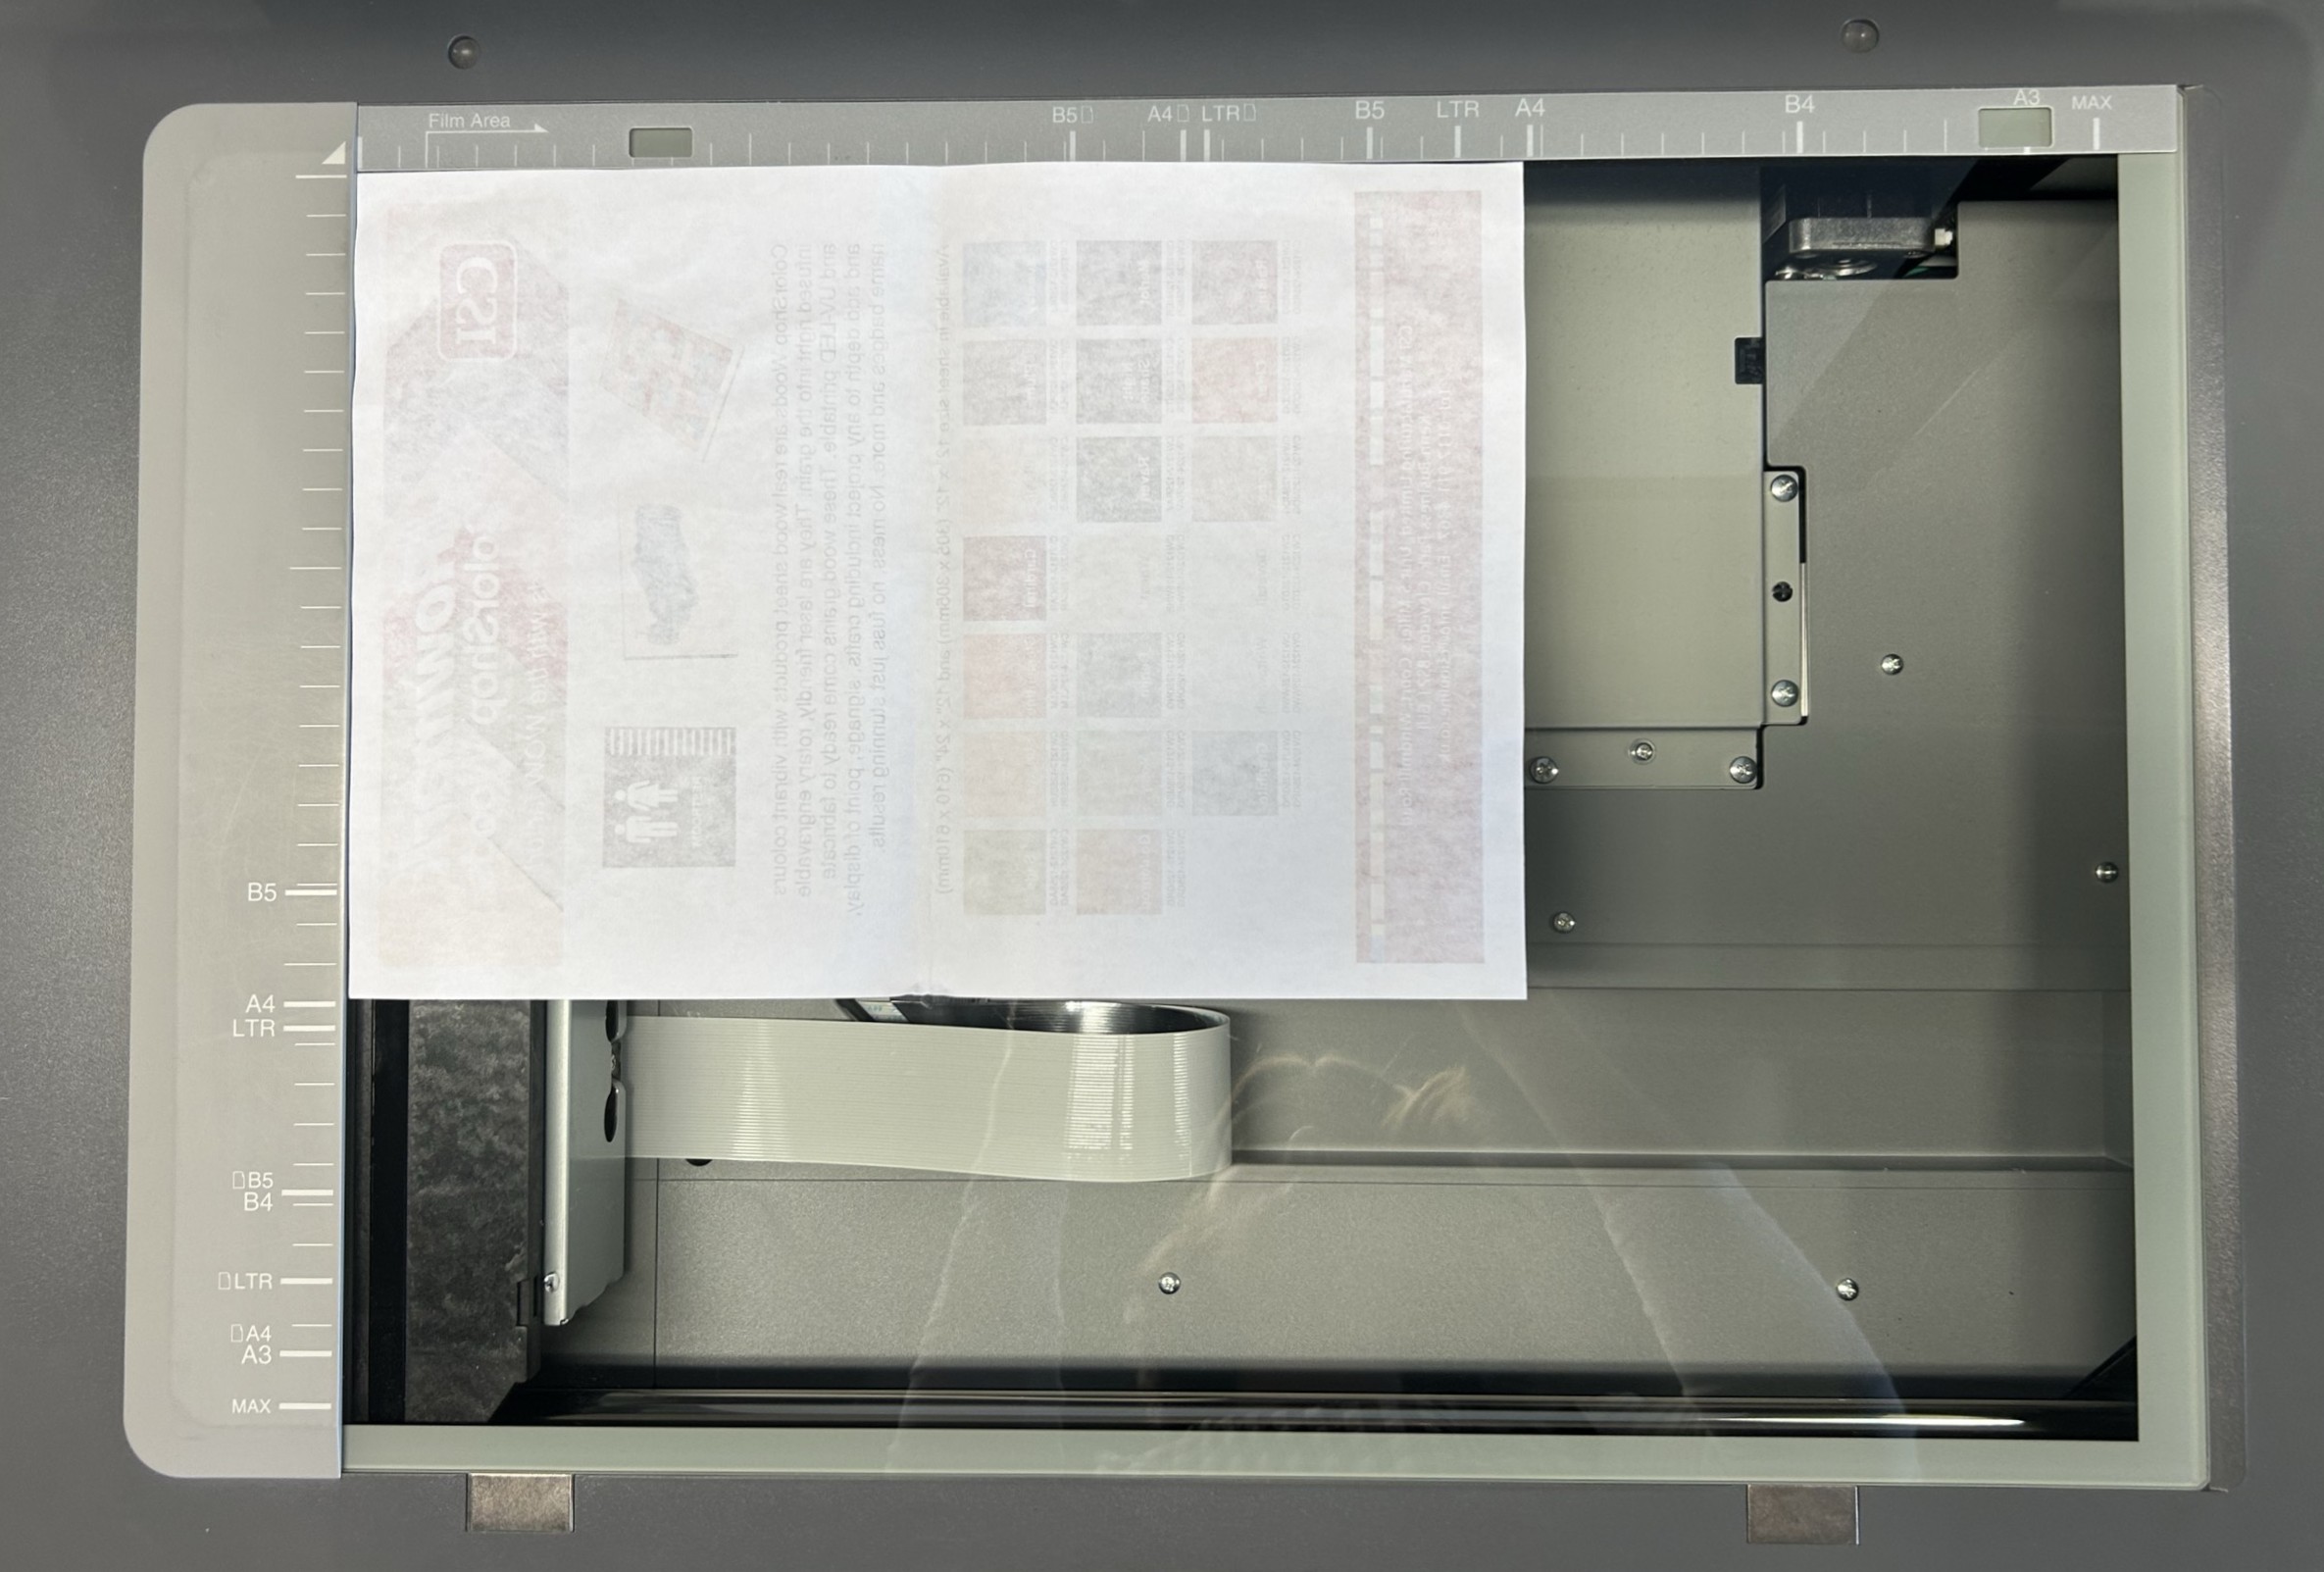
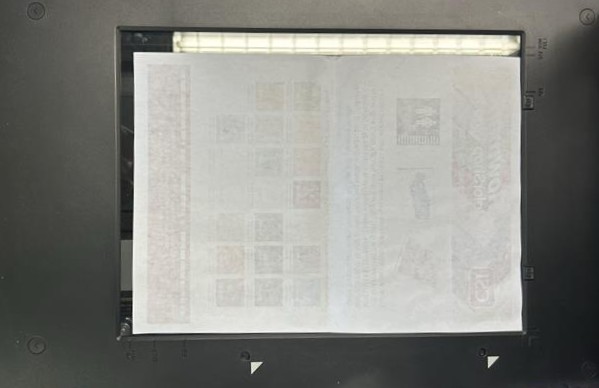
3. Load the paper so that the downward-pointing triangle is in the middle of your paper.
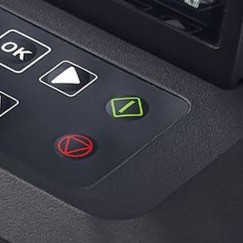
4. Press the green scan button.
Epson Perfection V750 Pro Workflow for paper.
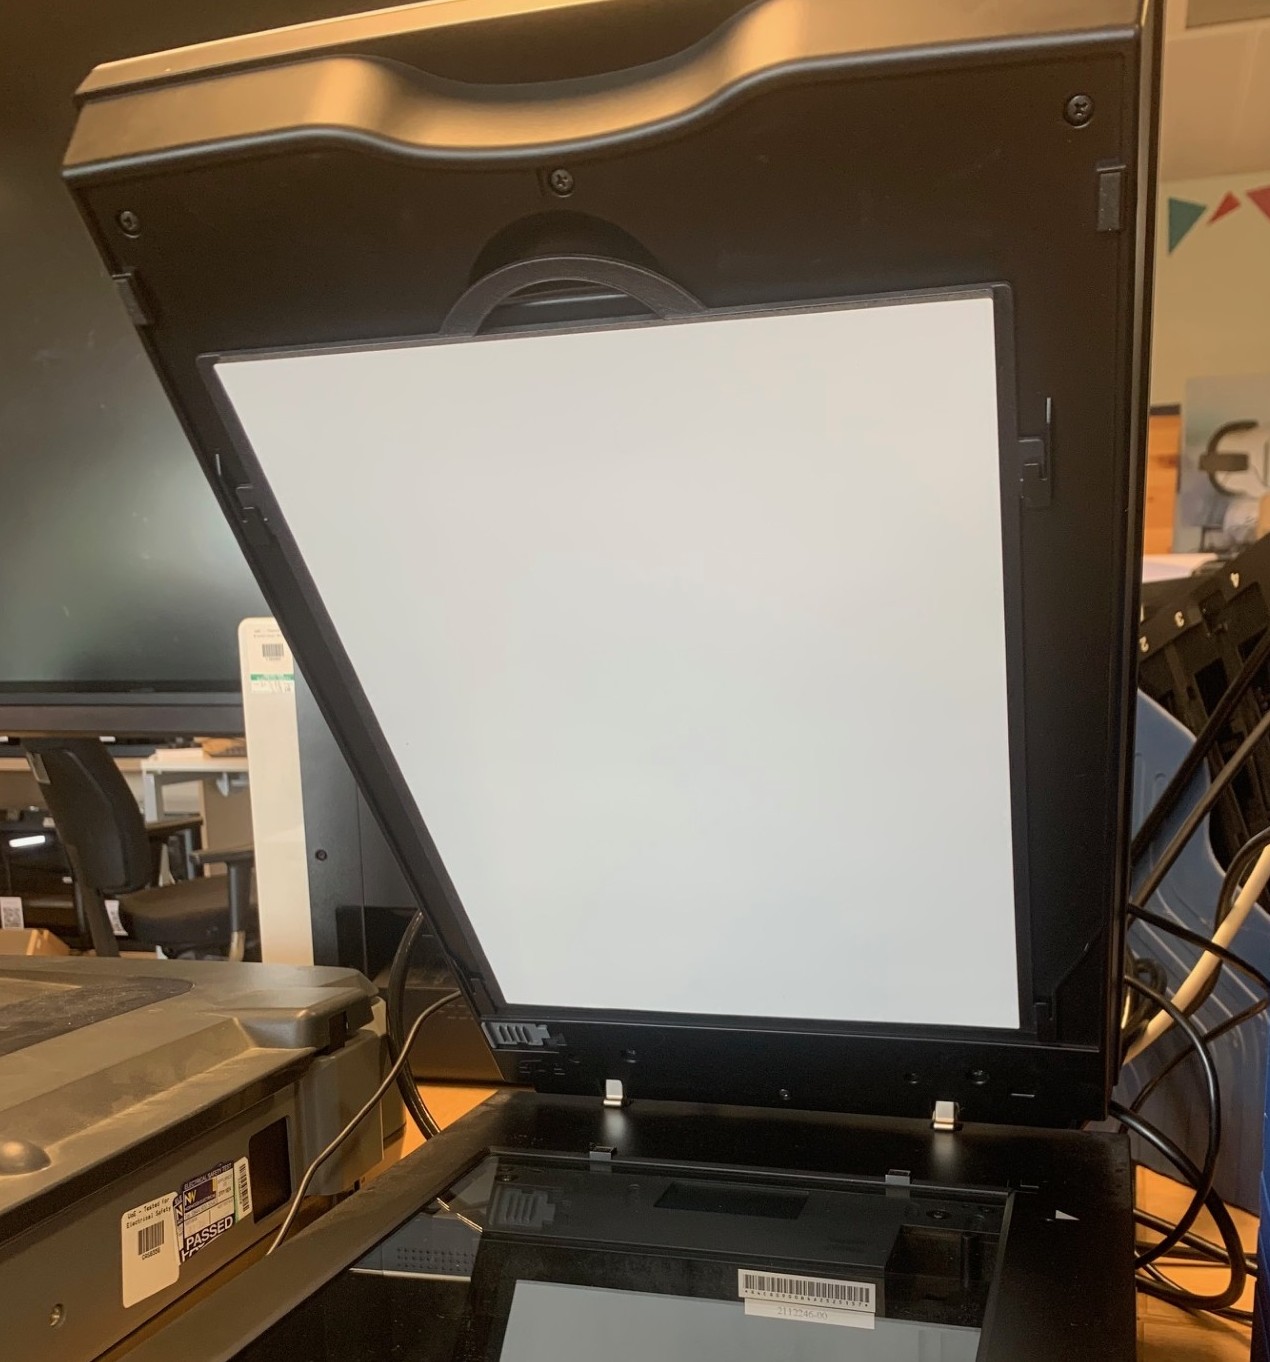
1. Open the scanner and make sure the document mat is installed on the top of the scanner. Plug the scanner in and connect it to the computer with the USB A to USB cable.
2. Place your document on the scan bed, so that at least one corner fits with the corner of the scan bed and close the lid.

3. Open Epson Scan. Select your settings and press preview.
This will give you a preview of how your scan will look. This may take a while if you have particularly high-resolution settings.
4. Based on the preview, make any adjustments and click scan. File Save settings will open. Save your scan as your desired file format.
This may take a while if you have particularly high-resolution settings.
Epson Perfection V750 Pro Workflow for film or slides.
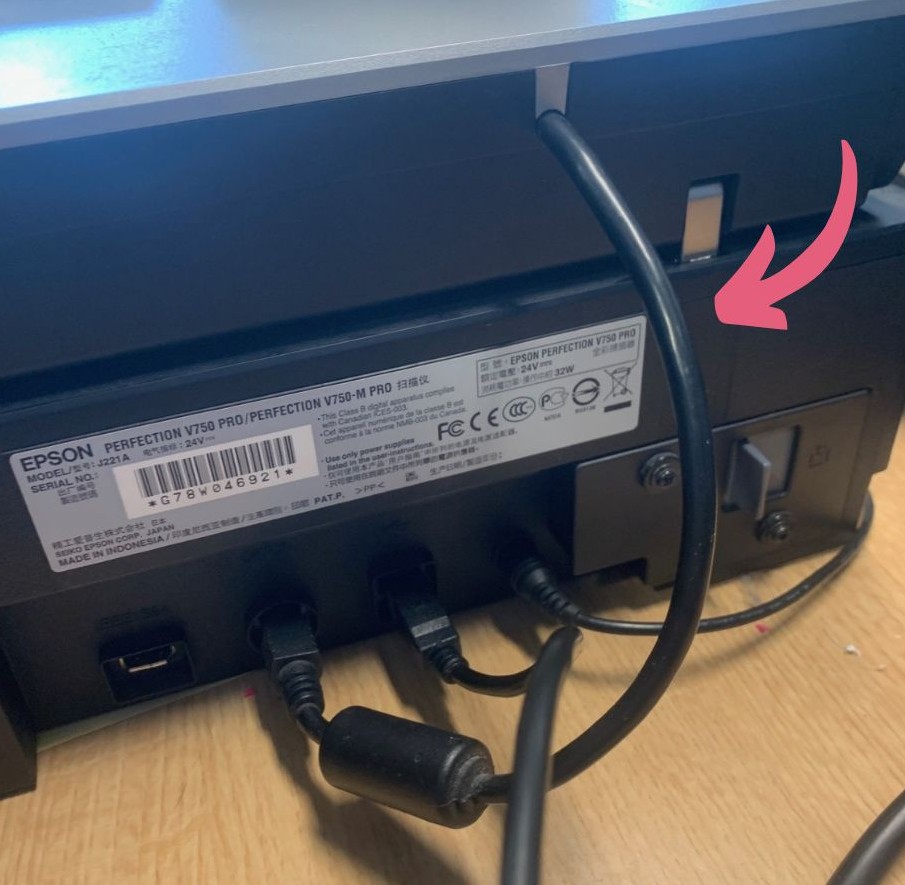
1. Open the scanner, make sure the document mat has been removed and the cable connecting the lid of the scanner and the base is plugged in. Plug the scanner in and connect it to the computer with the USB A to USB cable.
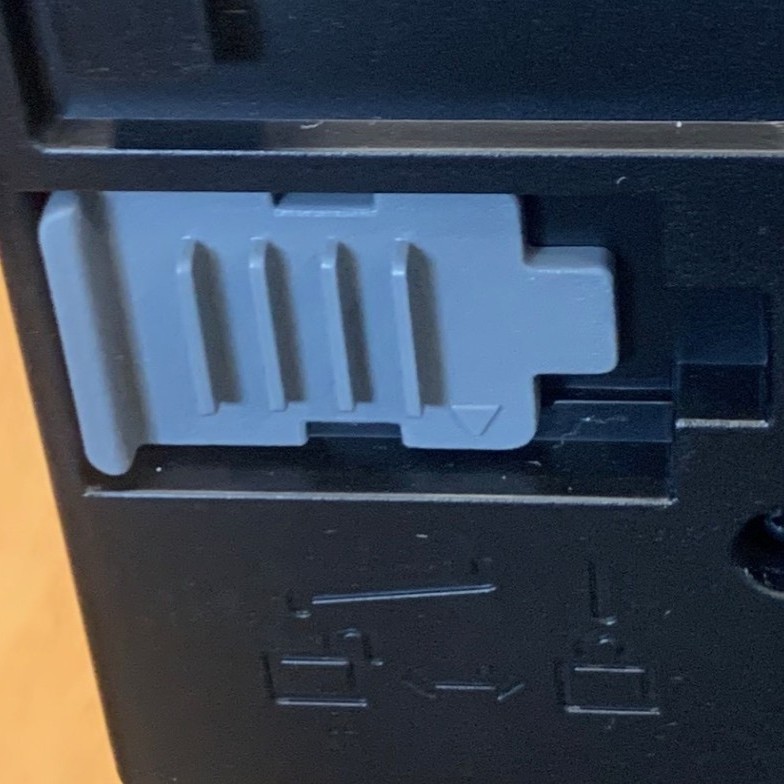
2. Make sure the transparency unit transportation lock is unlocked. Place your film or slides in the appropriate film holder. Place the film holder on the scanning bed so that it is aligned with the upper right corner and close the lid.
Film trays are stored in the organiser next to the computer.
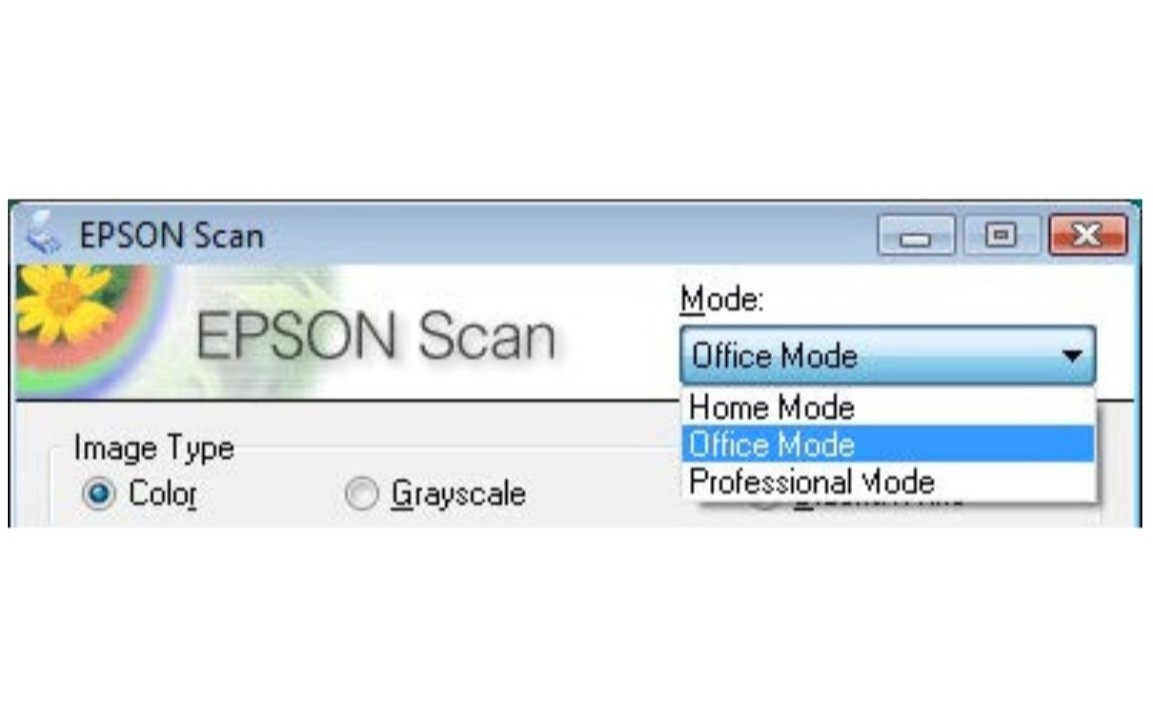
3. Open Epson Scan and make sure either Home or Professional Mode are selected. Select your settings and press preview.
This will give you a preview of how your scan will look. This may take a while if you have particularly high-resolution settings.

4. Based on the preview, make any adjustments and click scan. File Save settings will open. Save your scan as your desired file format.
This may take a while if you have particularly high-resolution settings.