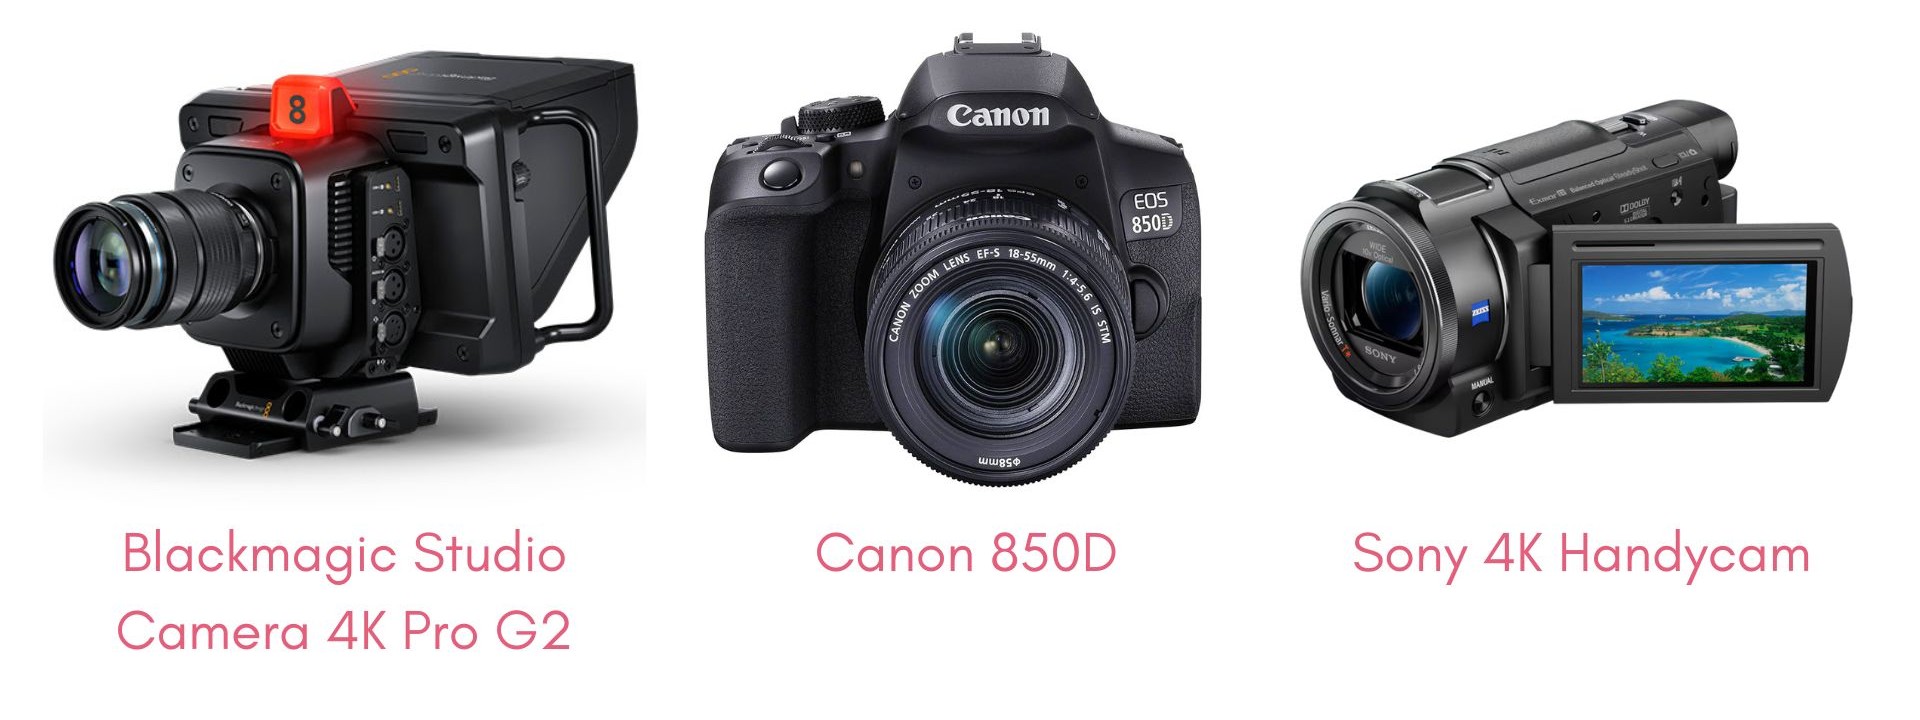
What cameras are available for use in the Digital Transformation Suite?
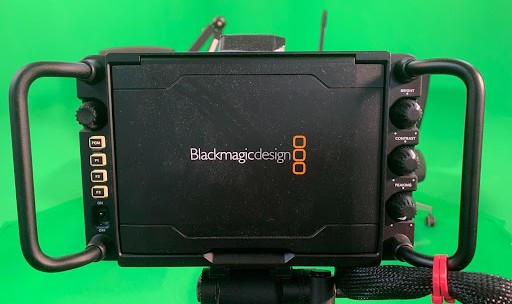
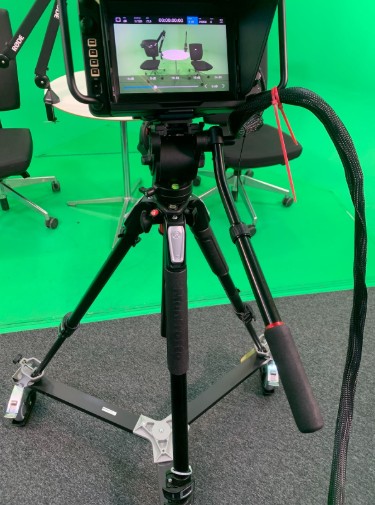
Our main camera is the Blackmagic Studio Camera 4K Pro G2. This camera remains connected in our recording set up and we recommend using this if you only require one camera angle. This camera also has an auto queue attached.
Also available are the Canon 850D and Sony 4K Handycam.
As the Blackmagic is our main camera, this knowledge base page will focus on setting up this. For information regarding setting up and using the other cameras, please download the document below.
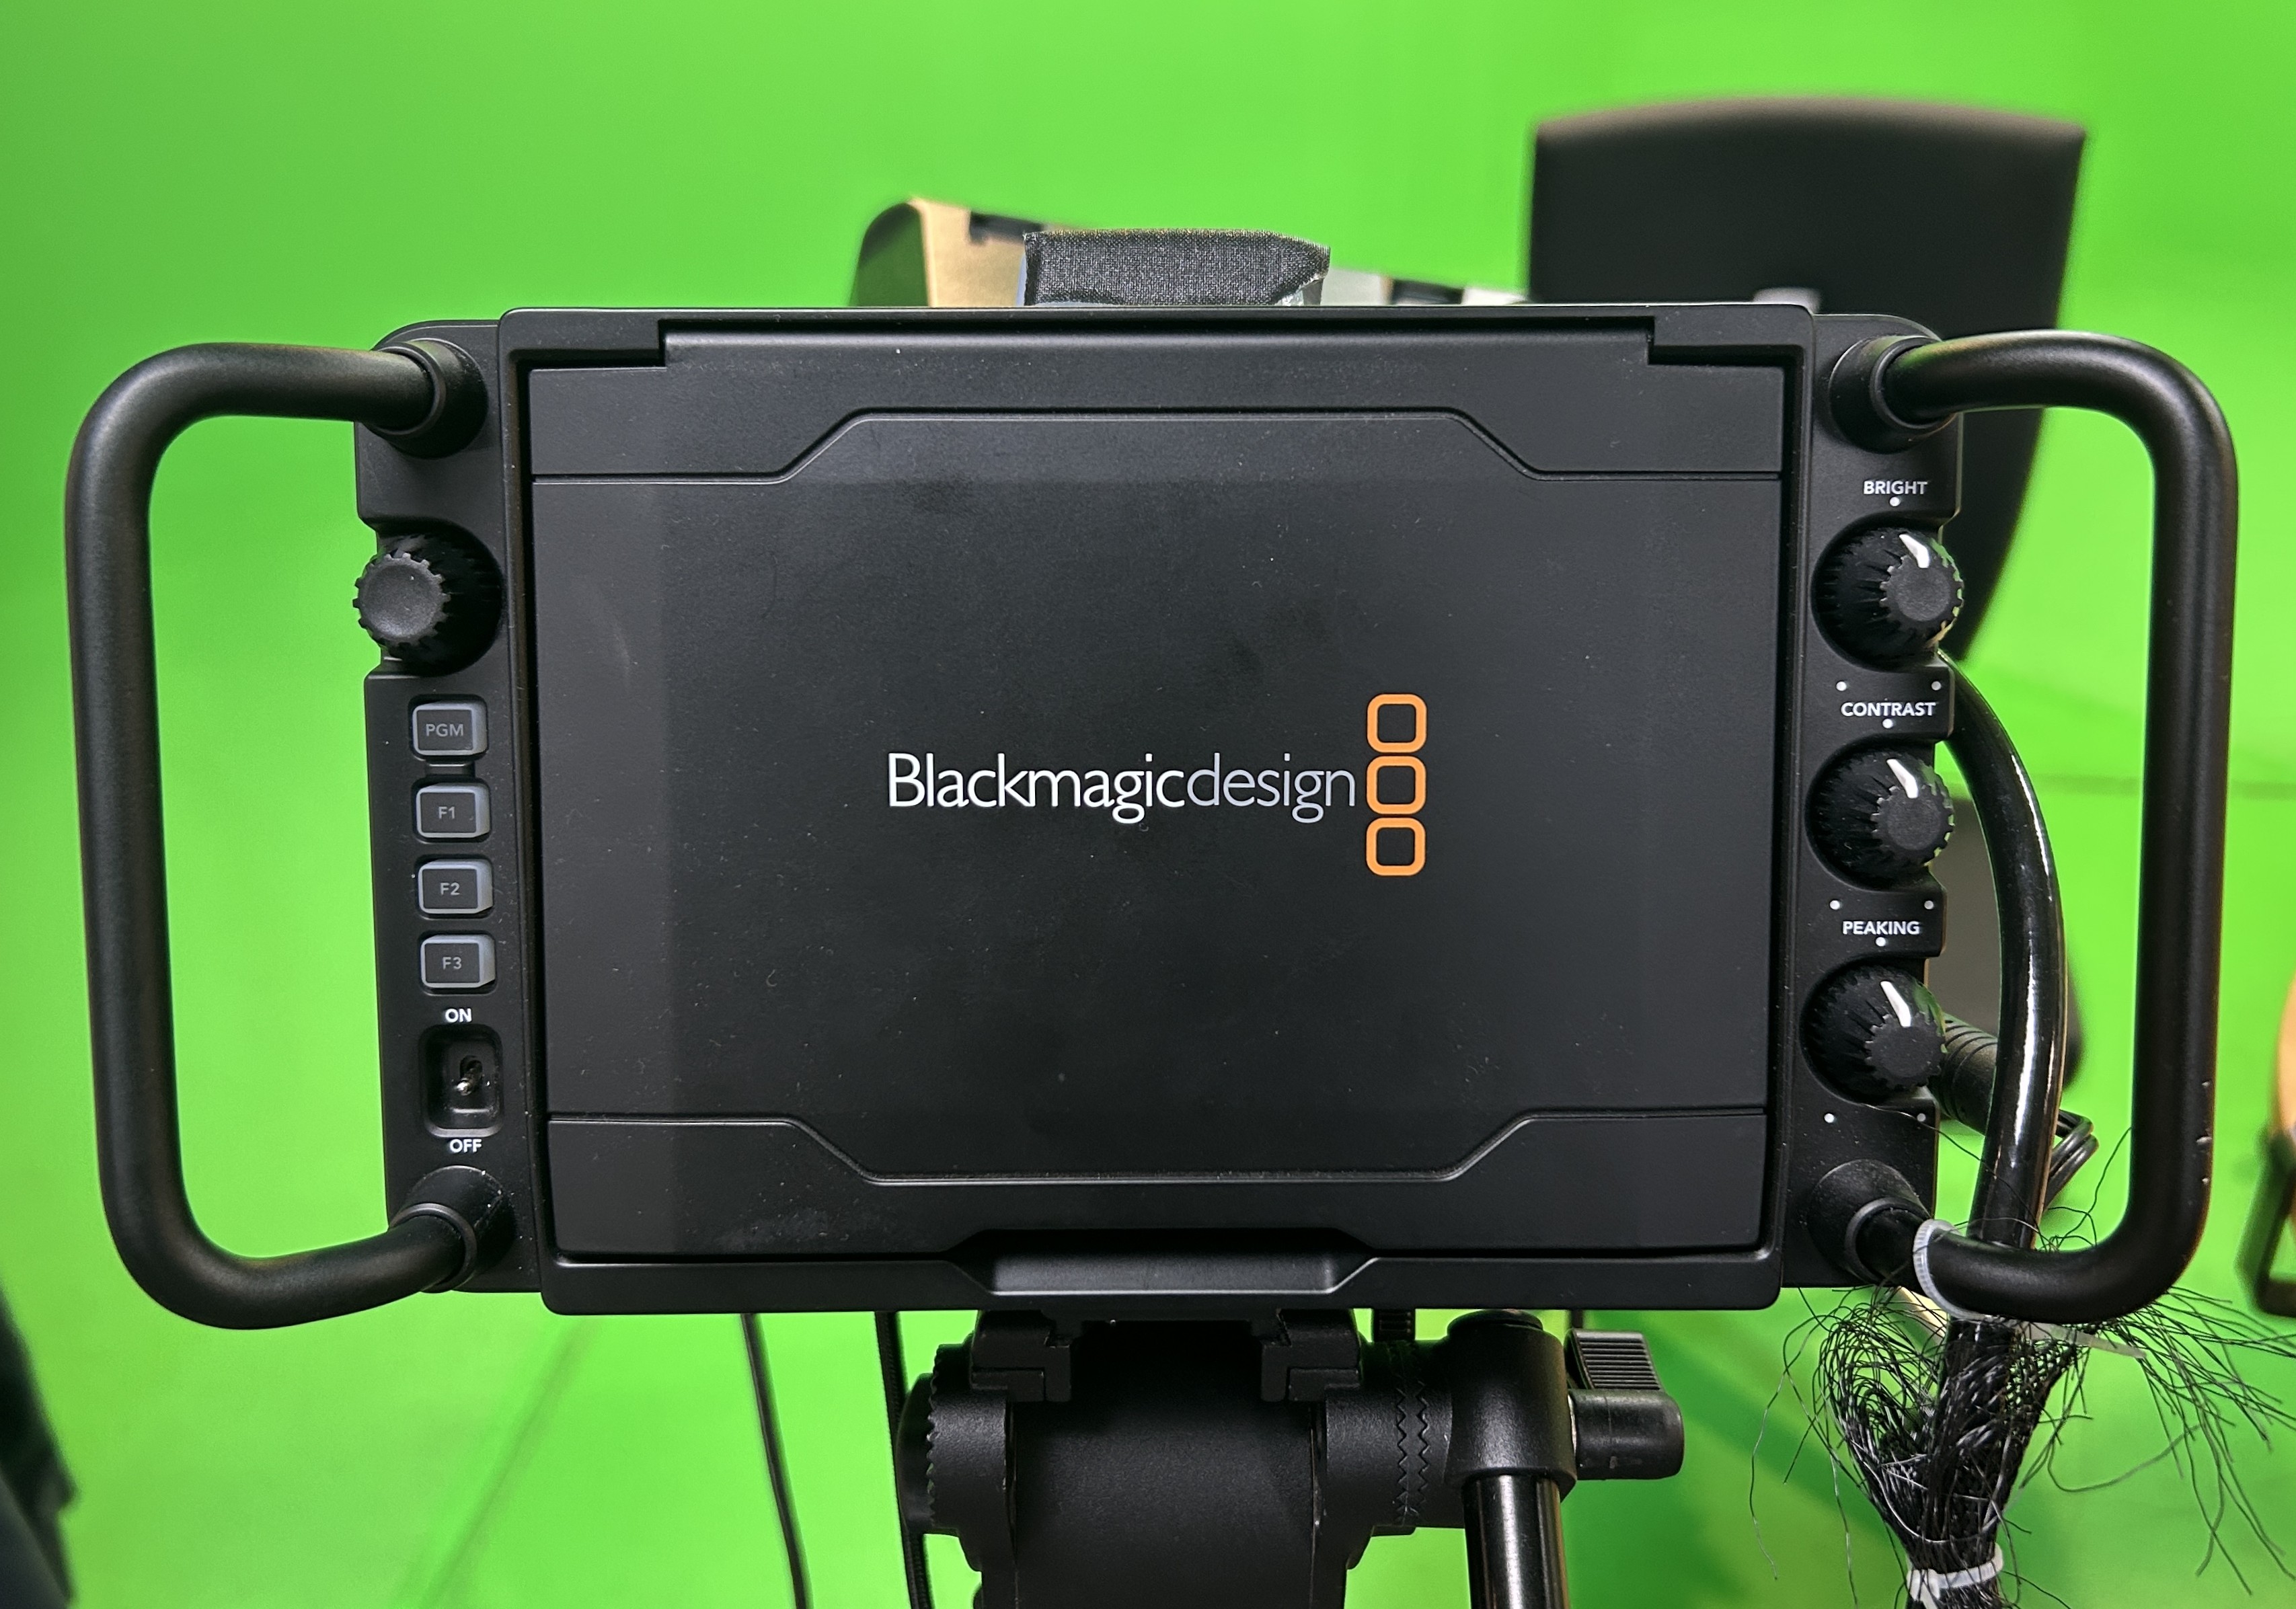
Button controls on the Blackmagic Studio Camera.
On the left side of viewing screen, there are three function buttons. These can each be pre-programmed with different settings. The PGM button allows you to view what other cameras in your setup are seeing, this is only relevant in a multi-camera rig.
On the right of the viewing screen, the dials directly control brightness, contrast and audio peaking from the camera. These are designed to help make adjustments mid-shot.
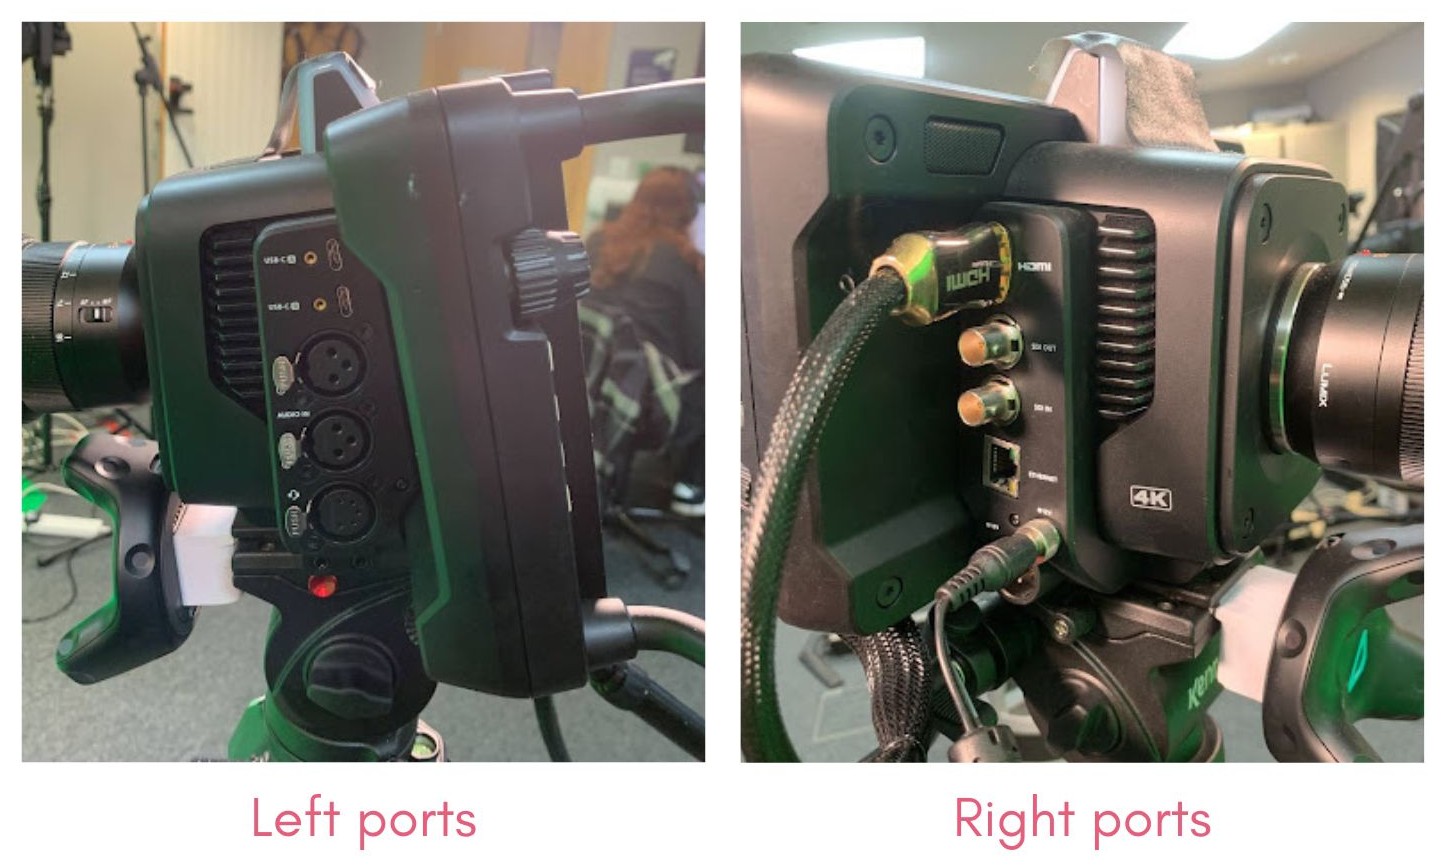
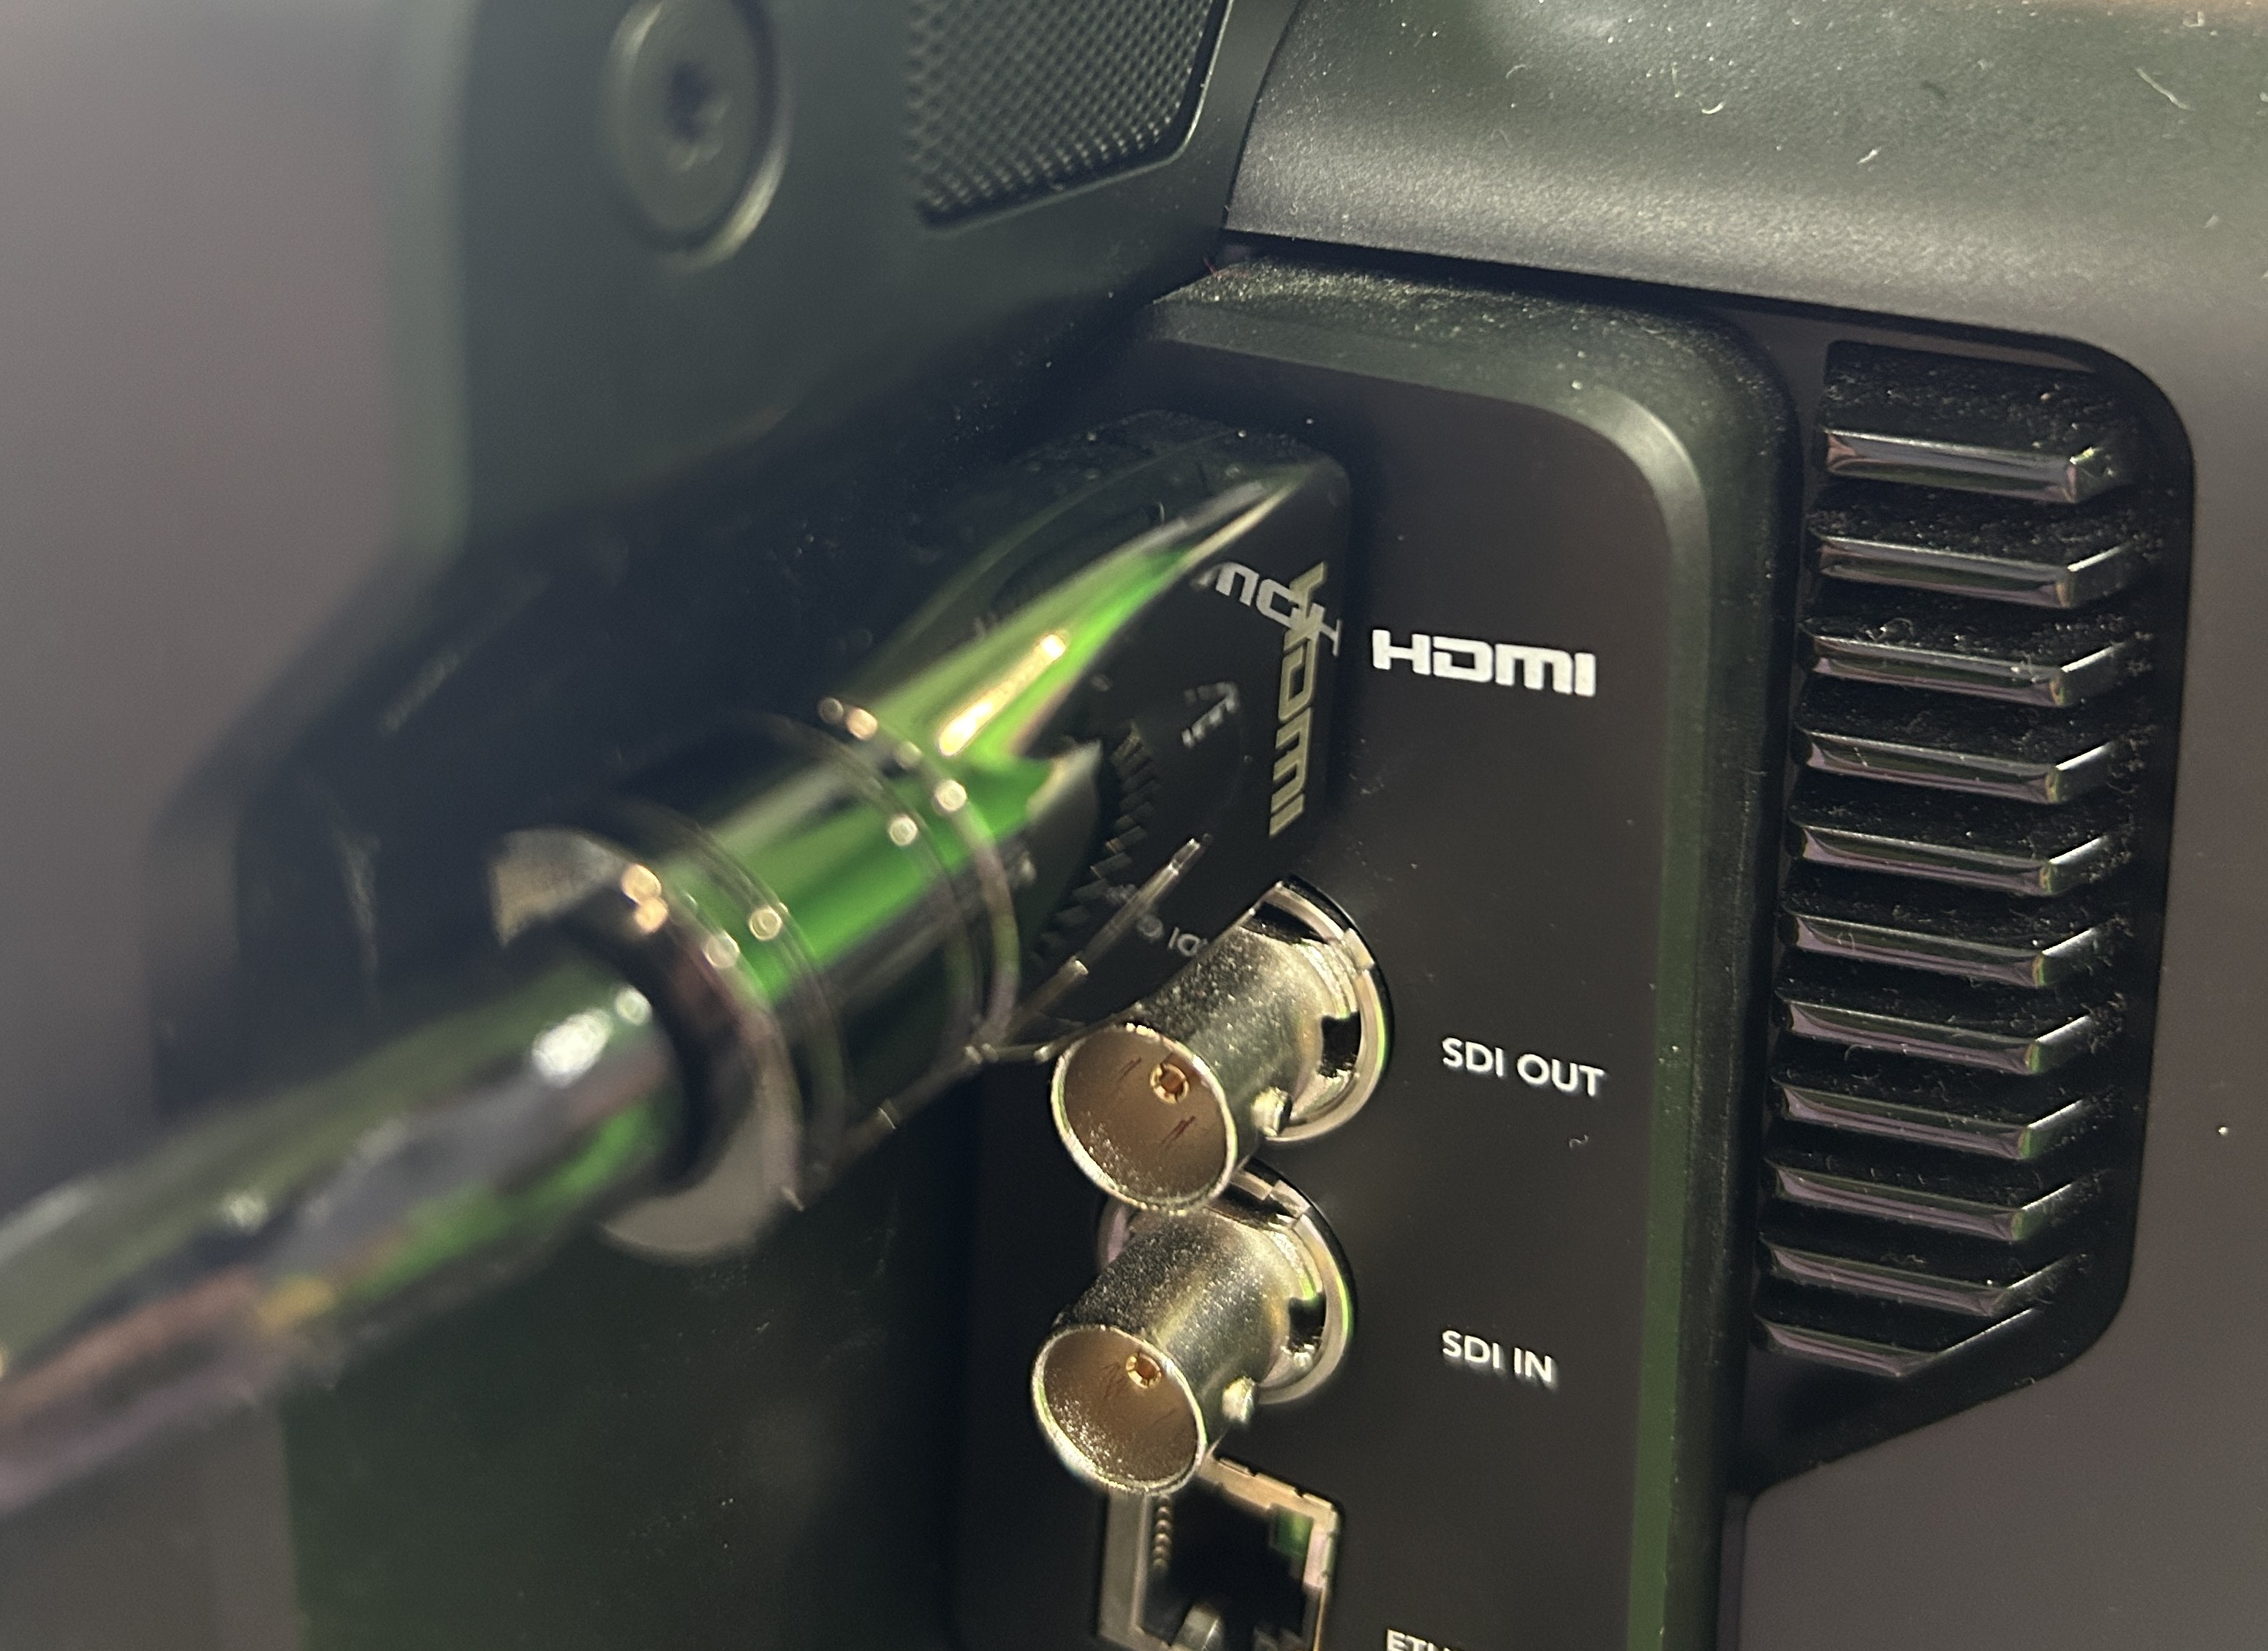
Ports on the Blackmagic Studio Camera.
The sides of the camera have a series of ports from which data from the camera can travel to the computer. We only use the HDMI and Power Cable for our initial set up.
Please speak to a member of staff if you require changing the export method.
Left ports (top to bottom):
- 2x USB-C ports (for recording disks)
- 2x XLR Audio in
- Talk back
- Headphone socket
- External mic input
Right ports (top to bottom):
- HDMI out
- 12G SDI out
- 12G SDI in
- Ethernet cable
- 12 DC power cable
- Broadcast power
Setting up the Blackmagic Studio Camera.
1. Lift the cover on the back screen and take off the lens cap.
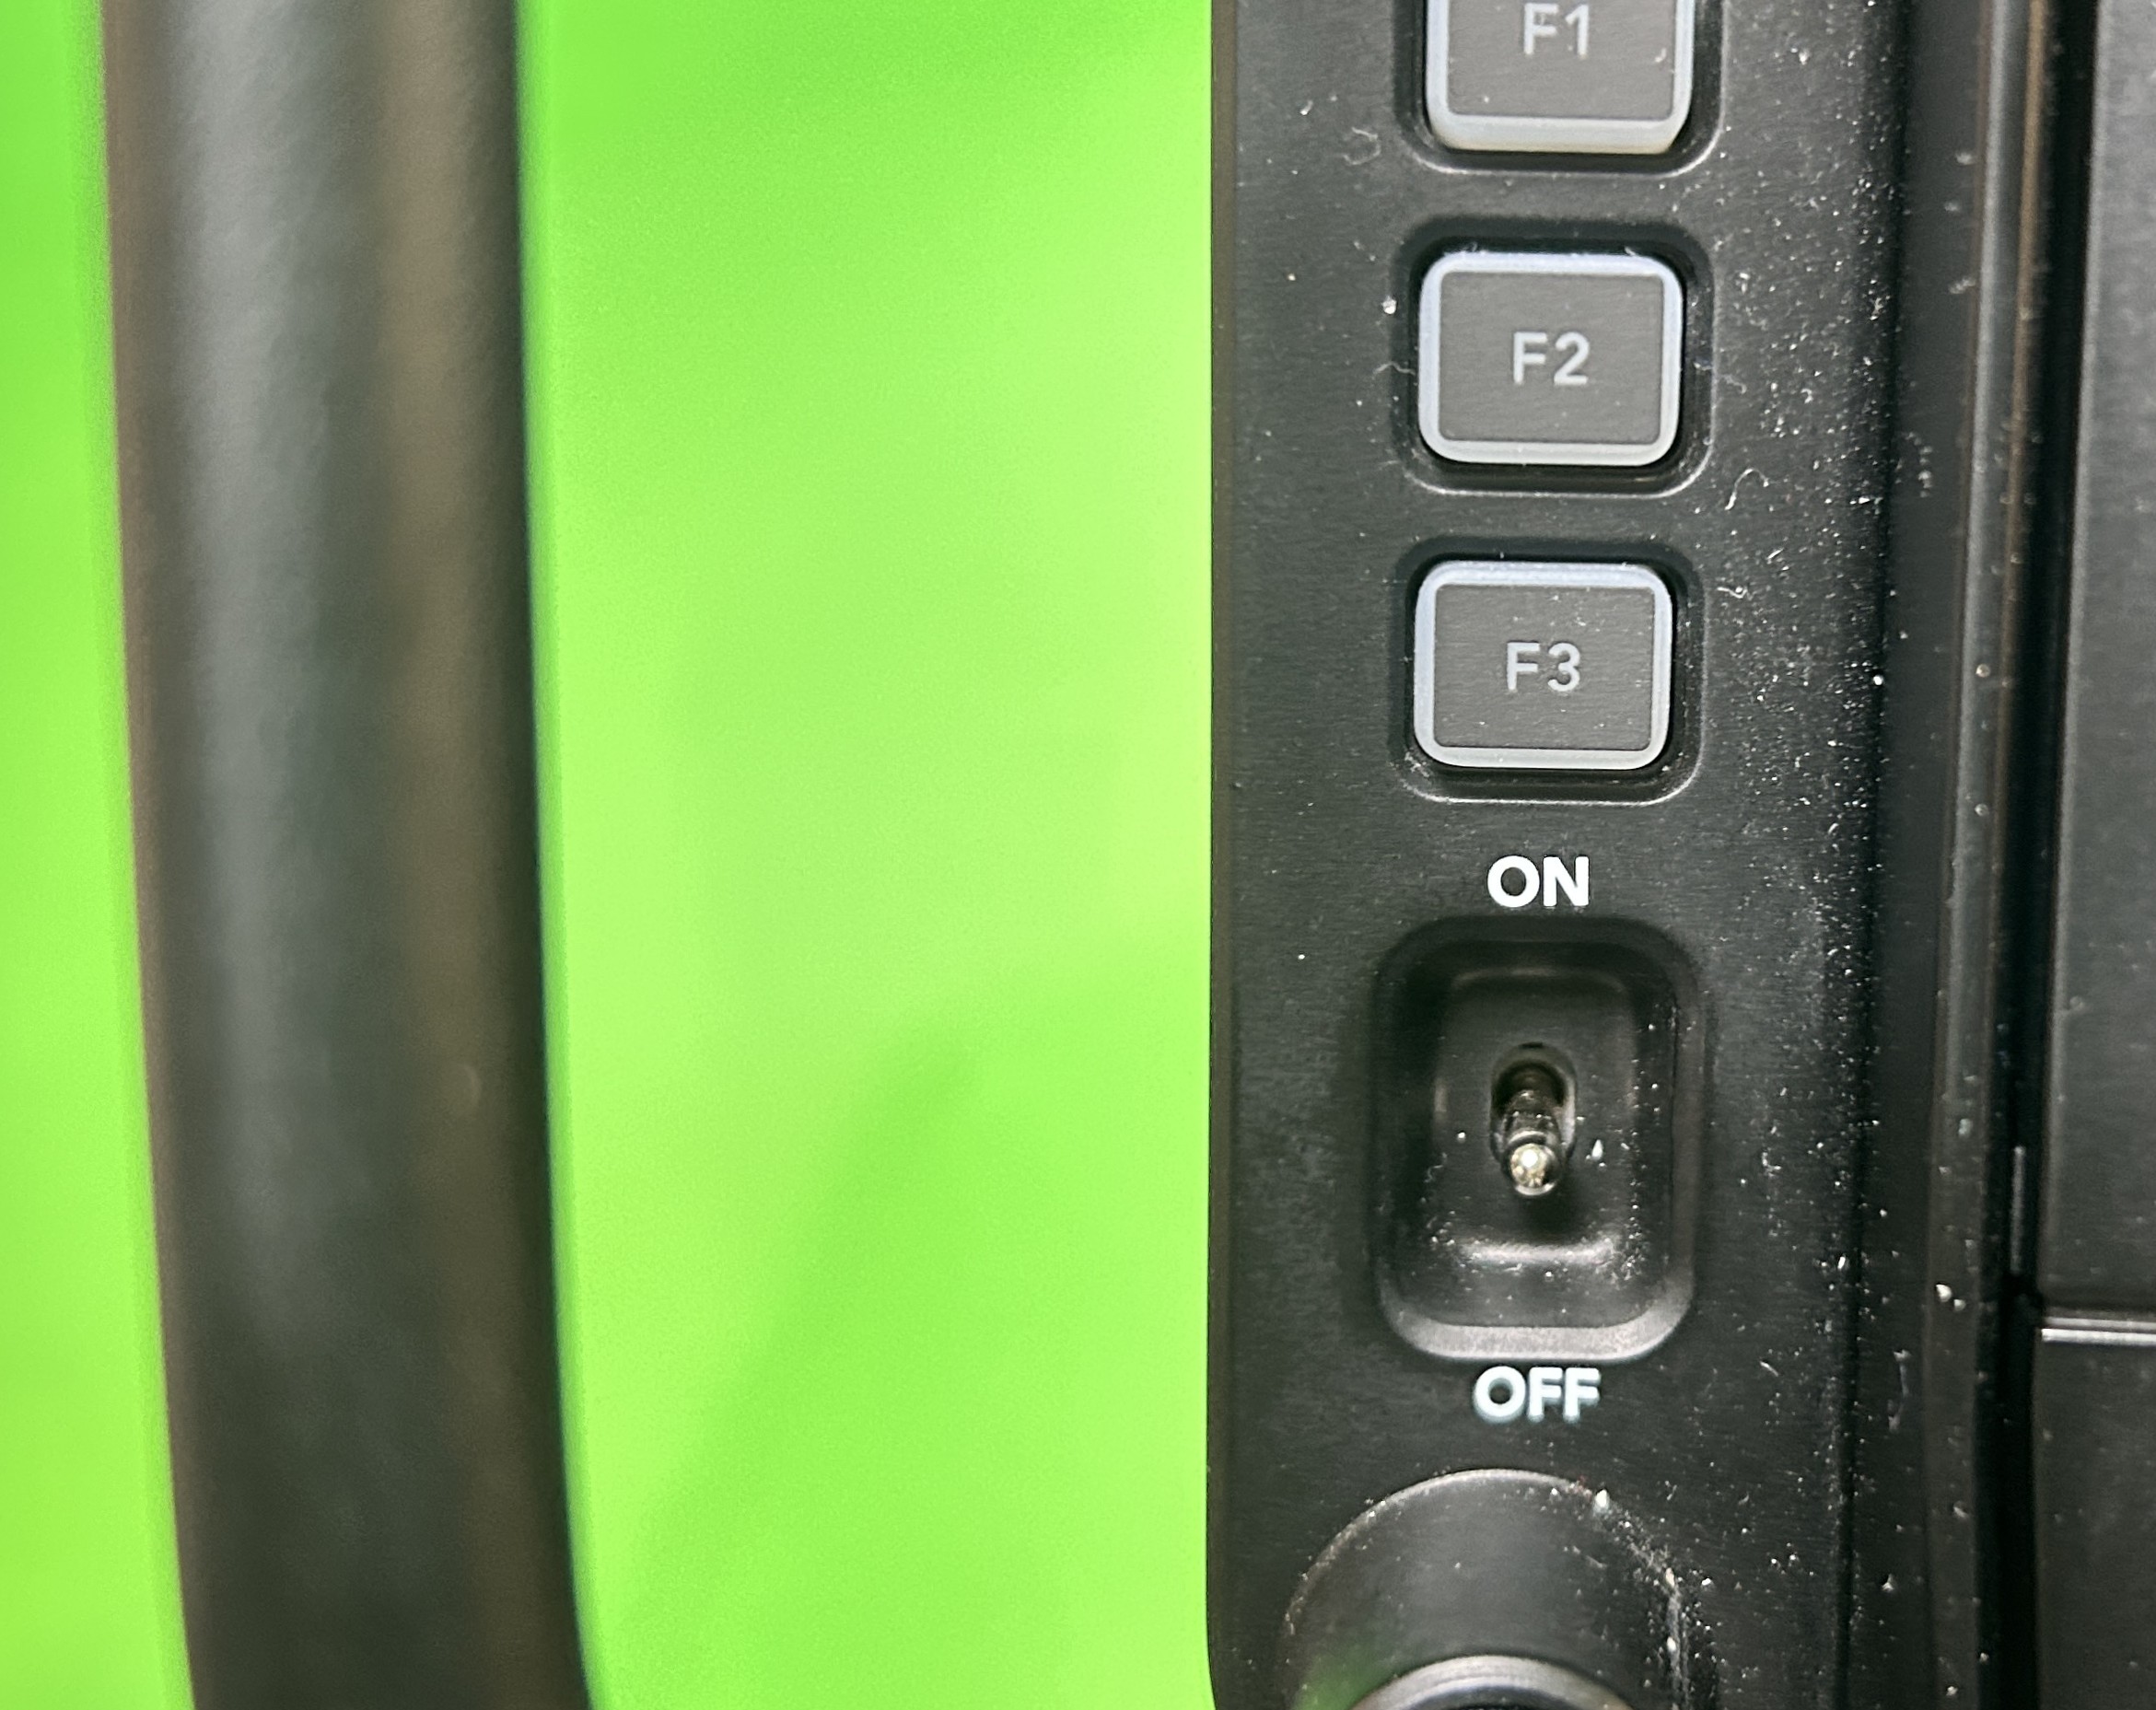
2. Turn on the power on the left side of the camera.
3. Ensure the HDMI cable is connected to the computer.
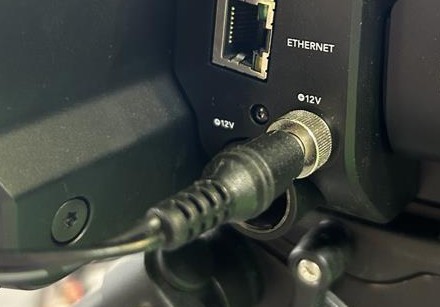
4. Ensure the power cable is attached to power source in the ceiling.
Adjusting your camera settings.
Use the touch screen on the camera to adjust your settings. Always test record before starting your main recording to see what the footage looks like.
Frames per Second (FPS), Base Setting: 60fps
If you want a more cinematic quality to your recording:
25fps UK standard for filmmaking.
23.98fps for US standard.
24fps for international standard.
Shutter Speed 1/60 - 1/1000, Base Setting: 1/120
This controls the sharpness of moving objects. The smaller the fraction the sharper/less blurry your movement will appear.
Higher the shutter speed = darker the image & vice versa.
Consider how much movement there is likely to be in your project. If there is little movement there is no need for a high shutter speed.
Iris/F Stop, Base Setting: 7.0
The iris are the shutters that open and close to block more or less light from entering lens.
A low F-stop value (large aperture), makes objects in the foreground appear sharp, while those in the background appear blurred. A high F-stop value (small aperture), helps your image stay in focus.
The F-stop value is too low if your image appears bleached (over exposed). The F-stop value is too high if your image appears too dark and colour detail is missing.
Gain/Exposure, Base Setting: 8dB (decibels)
This is a way of artificially lightening your video. Gain amplifies the signals it receives from the camera, making the video appear lighter.
Videos with higher gain may appear more grainy, therefore, keep the gain as low as possible.
Exceptions: filming quick motion in a dark space, wanting final video to appear grainy for artistic purposes, etc.
White Balance (WB), Base Setting: 3200K - 4800K (Kelvin)
Matching your white balance to the light and color of the space helps keep the colours of your filming space as natural as possible.
You can use either the camera presets or custom white balance to calibrate the colours of your image:
Icons: Bright light, bulb (Tungsten/orange light predominant), strip light (fluorescent), shade and cloud
CWB (custom white balance): Use the slider at the bottom to adjust this.
AWB (auto white balance): Click on AWB, place a white board at approximately the distance your figure will be, click “Update White Balance.” This will use the white board as the reference for the colours in your video and adjust the rest accordingly.
Tint, Base Setting: 0
Camera artificially adding colour to your video, not the camera capturing more colour. Generally don’t use.
Camera movement basics.
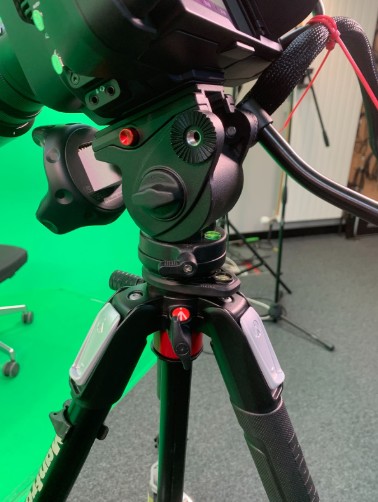
Tilting: Pointing the lens up and down
To adjust: loosen the large hinge dial on the left side of the tripod.
To stabilise: tighten the large hinge dial.
Panning: Pointing the lens to the left and right
To adjust: loosen the smaller dial just below the large hinge on the left side of the tripod.
To stabilise: tighten the smaller dial.
Make sure to keep one hand on the camera at all times.
If you absolutely have to step away from the camera, keep the tilt dial tightened but leave the pan dial loosened.
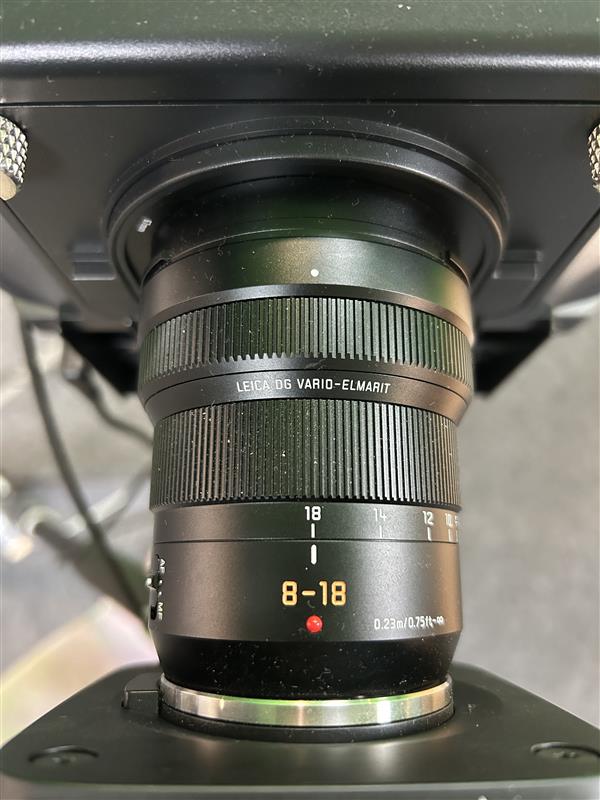
Zoom: framing a subject closer/further without adjusting the camera position
Adjusting zoom will also adjust how the foreground and background looks around a subject.
Current Lens: LUMIX Leica 8-18mm Wide Angle Zoom Lens H-E08018E lens. Adjust by rotating the ring marked "8-18mm".
MF: “manual focus,” recommended for best results.
AF: “auto focus,” camera will focus on what it thinks is the subject.
Film your close ups on higher lens numbers (more compressed in-lens space) and your wider shots on lower lens numbers (more extended space in-lens).
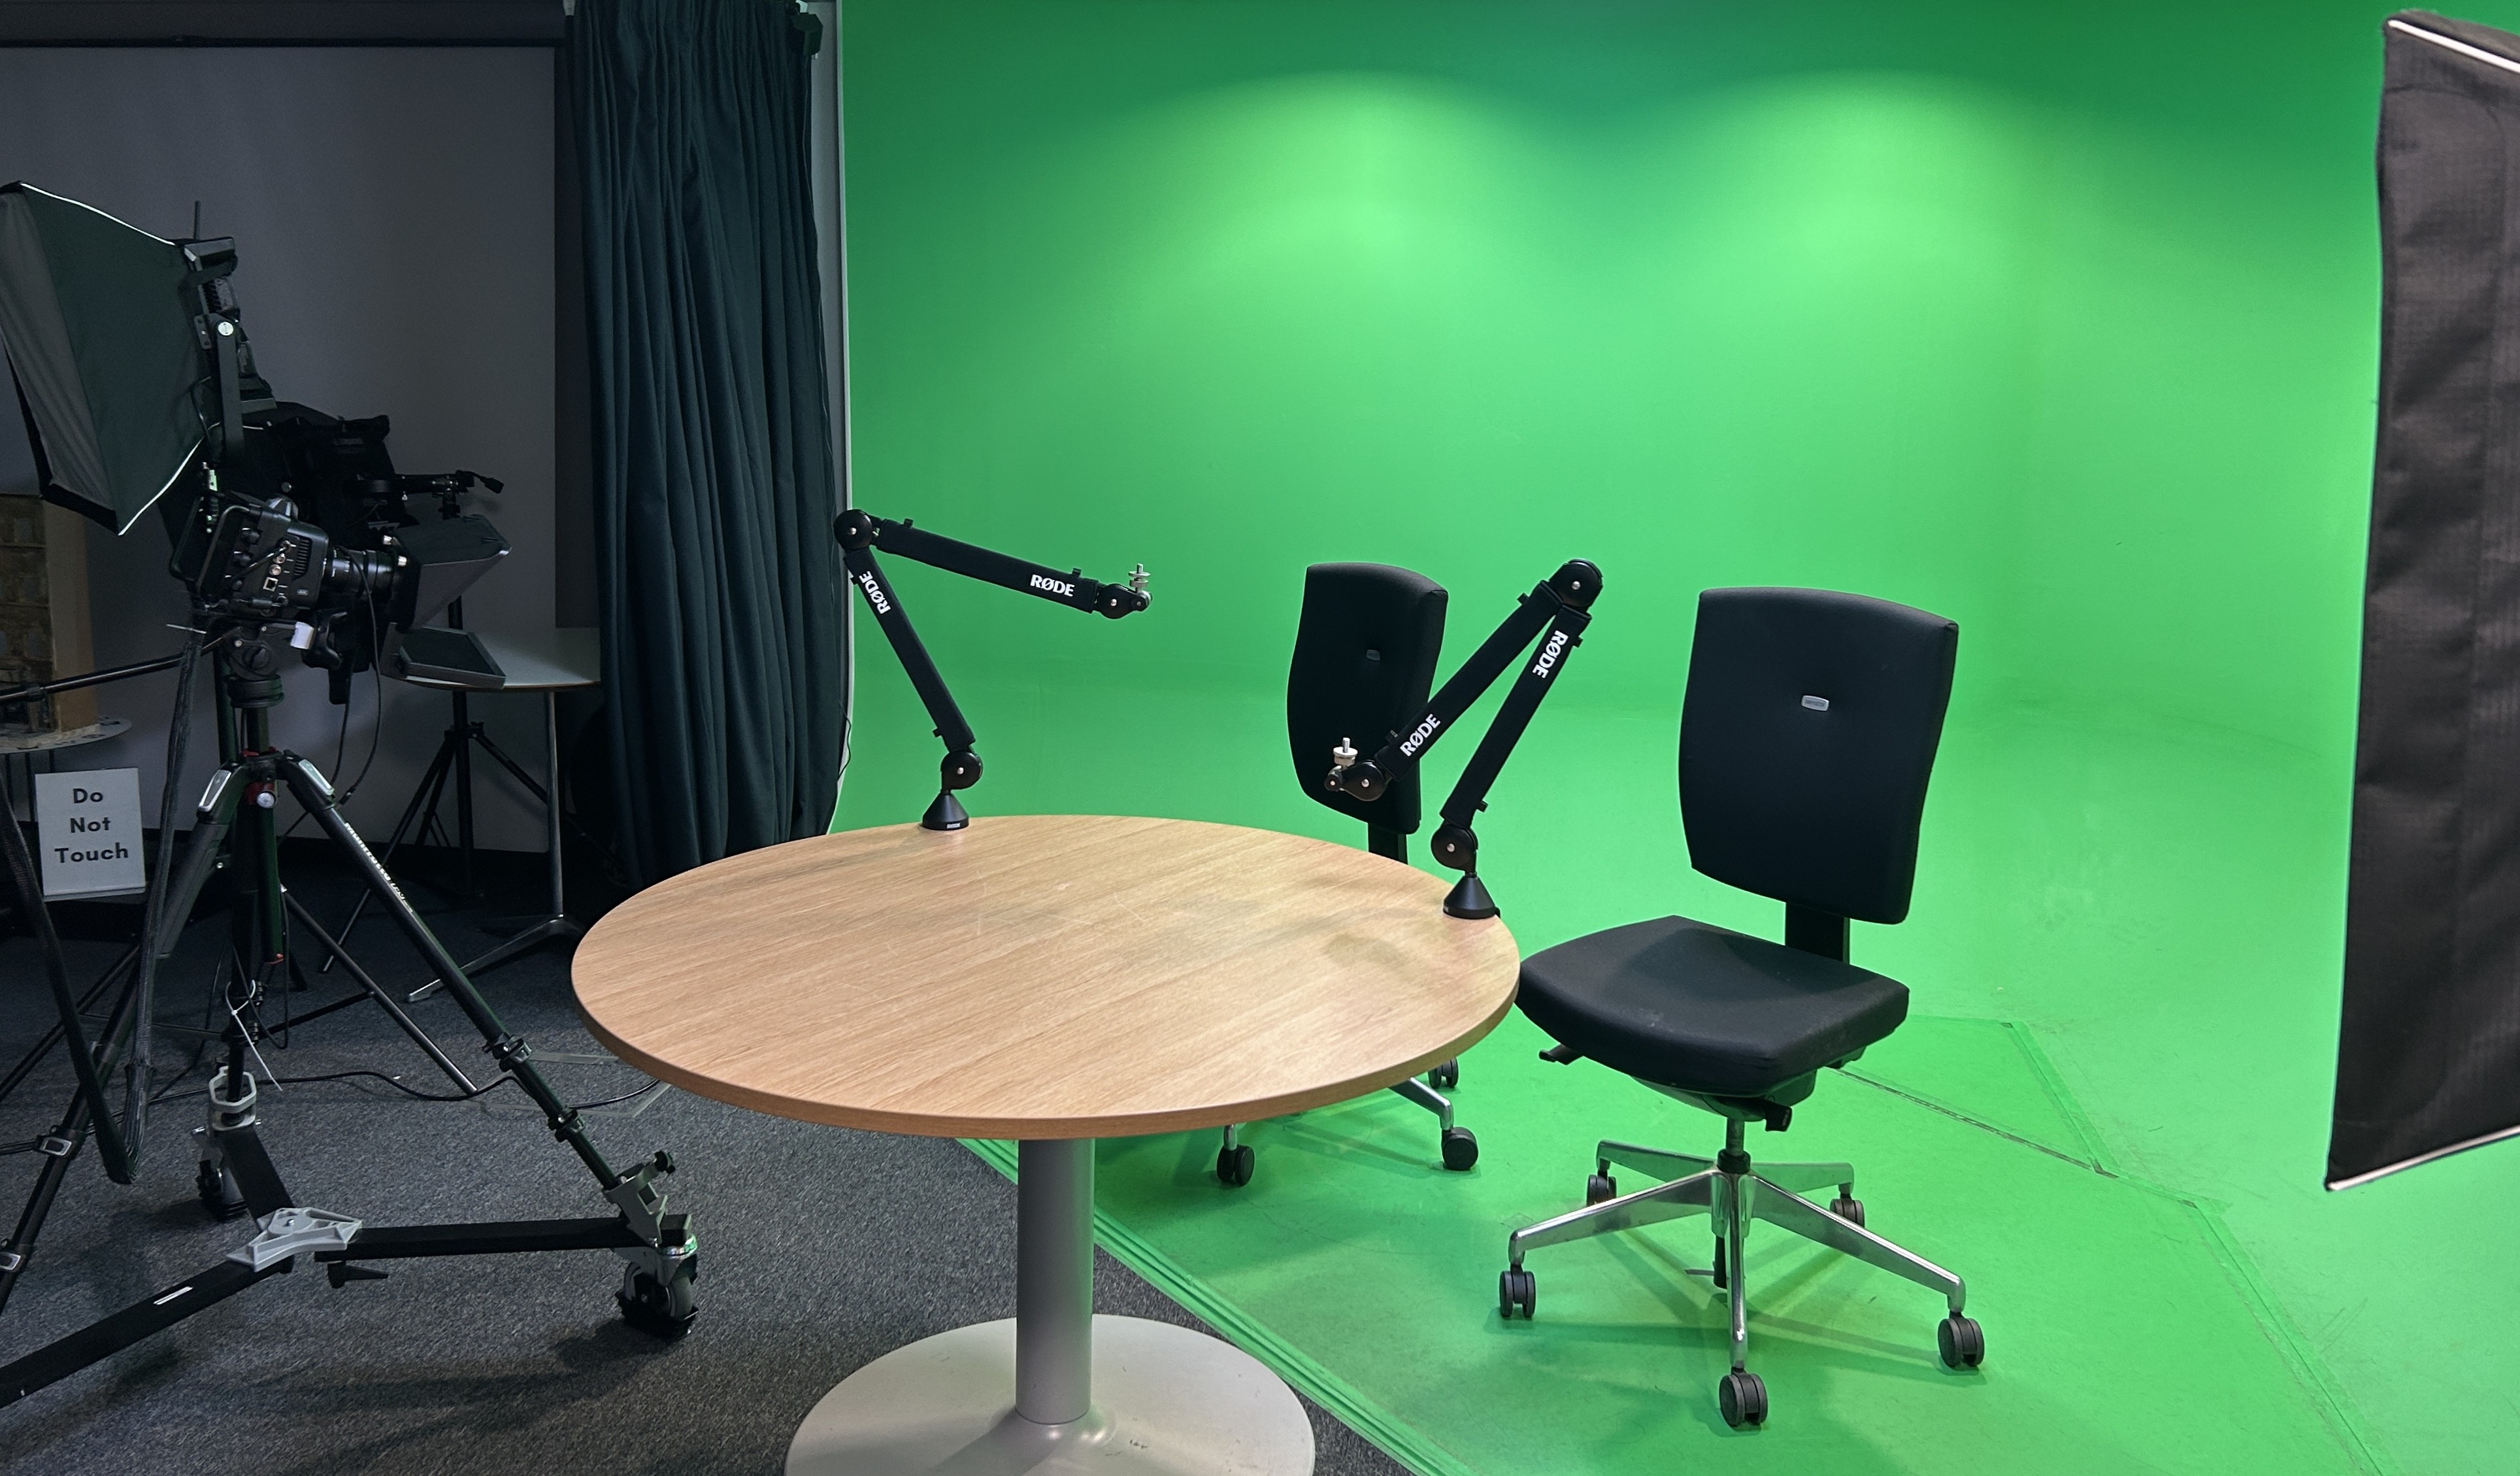
How can I access and learn more about use of the Digital Transformation Suite?
In order to use the Digital Transformation Suite, you need to have been inducted into the makerspace.
Once you have completed your induction, you are able to book to use the Digital Transformation Suite using our booking system SISO.
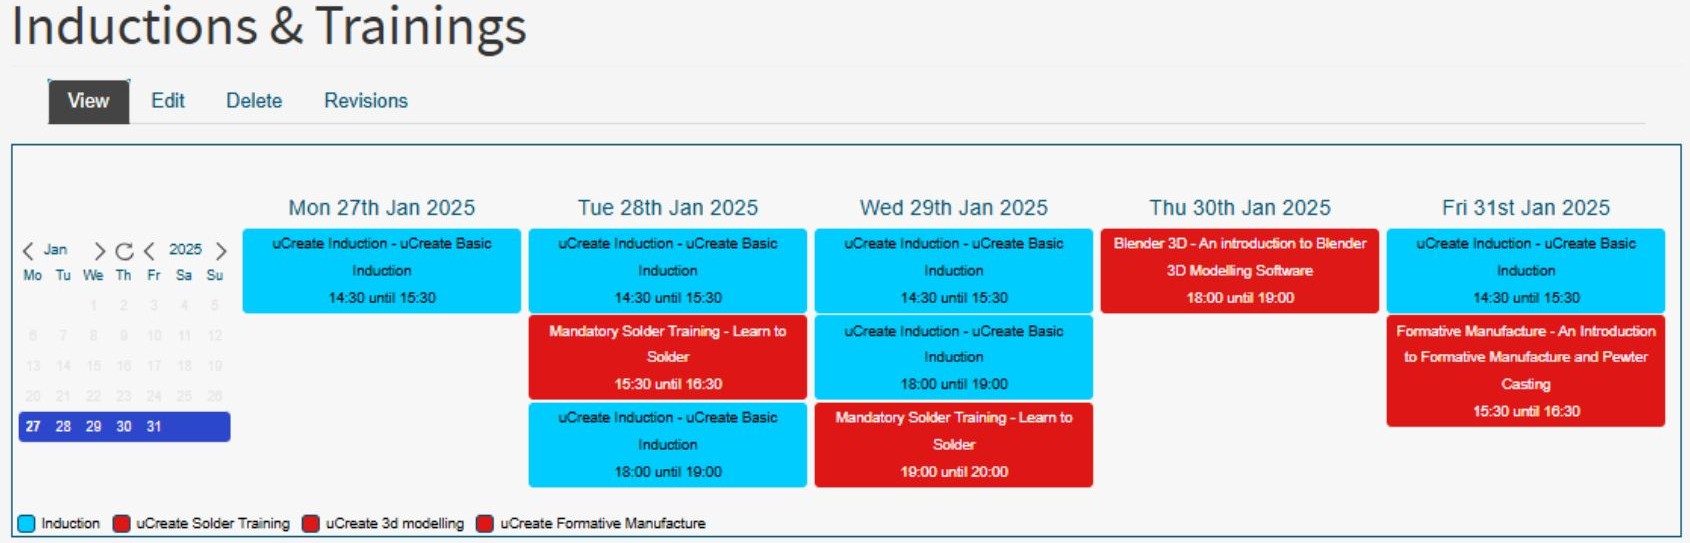
We also offer training sessions which go through use of the green screen and accompanying equipment in the Digital Transformation Suite. It is not compulsory to attend the training to use the green screen but it is strongly advised.
Training sessions are bookable via our events calendar.