Glossary
RMB: Right mouse button
LMB: Left mouse button
MMB: Middle mouse button
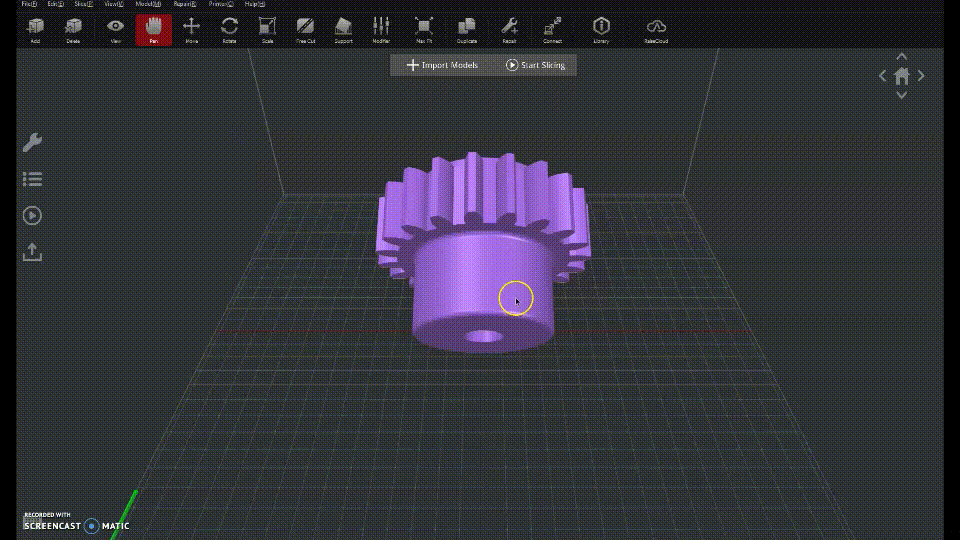
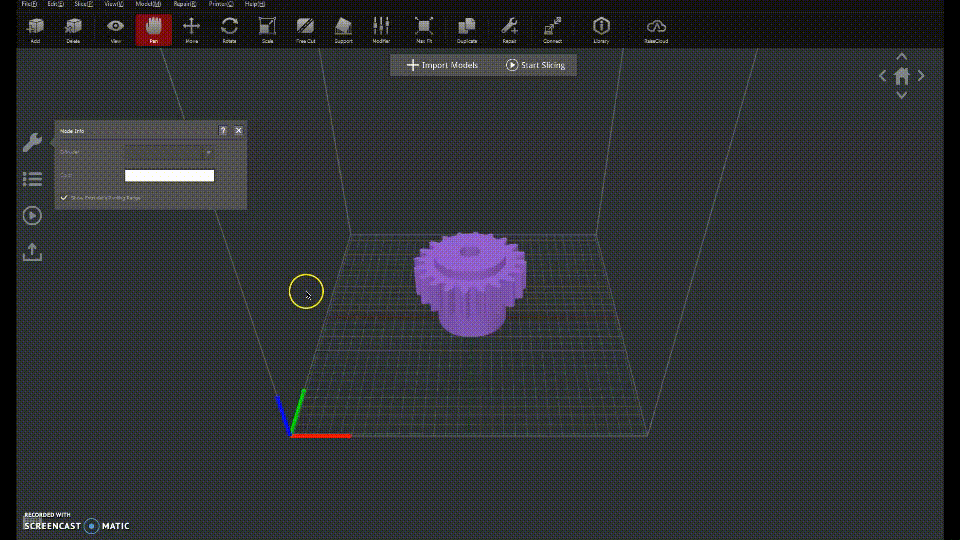
It is likely you will need to perform basic manipulation operations such as moving, scaling or rotating within ideaMaker. To start, open your model in ideaMaker.
Viewing controls:
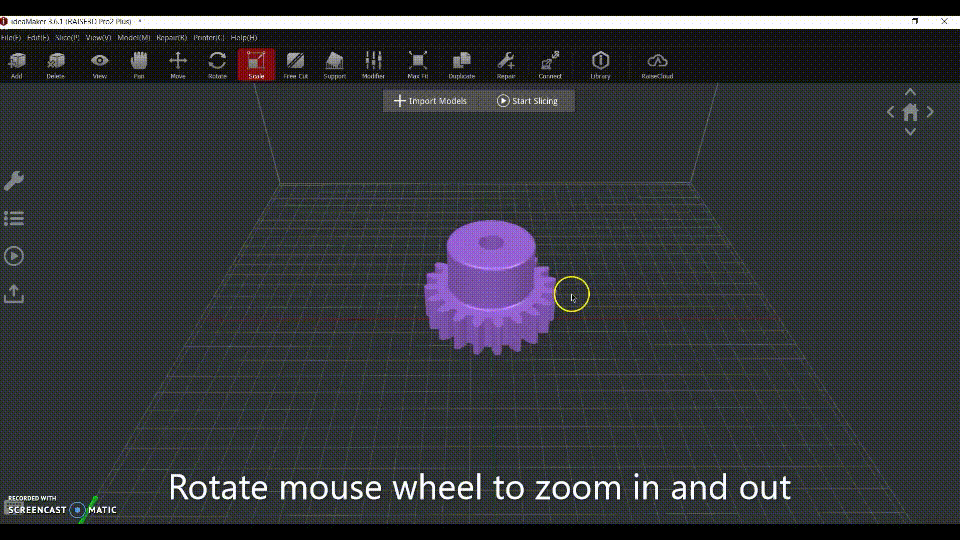
- Click and hold the LMB or RMB then move mouse to rotate view.
(alternatively you can use home/arrow buttons in right-top corner to switch between views). - Use the mouse wheel to zoom in or out.
- Press and hold the MMB to change the centre of the view.
Moving:
Select your model (by clicking on it) and click the Move button to drag and drop the part on the buildplate as you want. Or you can to manually enter X,Y and Z coordinates.

Rotating:
Select your model (by clicking on it) and click the Rotate tool. You can rotate the part on any axis by dragging the circles that appear on your model. You can also manually enter rotation angles for all three axes.

Scaling:
Select your model (by clicking on it) and click the Scale tool. To scale the model you can either drag the lines next to the model or manually enter scaling percentages or absolute values (in mm). Check the “Uniform Scaling” box to scale all dimensions of the model equally.
Lay Flat:
To make sure your model is flat on the build plate, use lay flat option. Select the part and click on Lay Flat. It will create triangular elements on the part, click on the element on the surface you want and click the Apply button on the left menu.