You can follow this guide to download and install PrusaSlicer to your computer.
Step 1: Go to https://www.prusa3d.com/prusaslicer/, select your operating system to start the download.

Step 2: When the download is complete, double click on the *.exe file to start the installation. Select the installation language and start the installation.
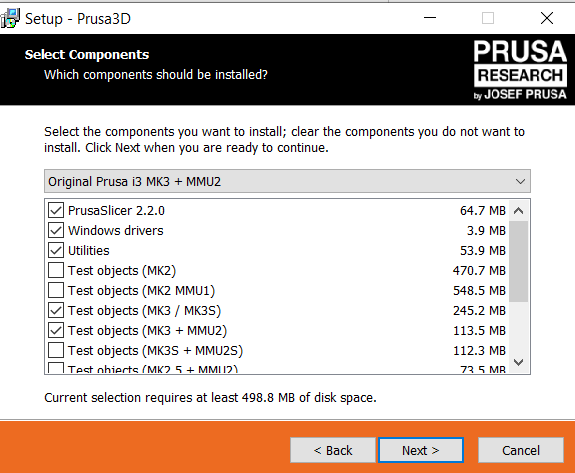
Step 3: Follow the steps of the setup wizard. Select the printer type when asked. In the uCreate Makerspace, Prusa i3 MK3S+, Prusa Mini+ and Prusa SL1+ printers are available, so choose them from the list.
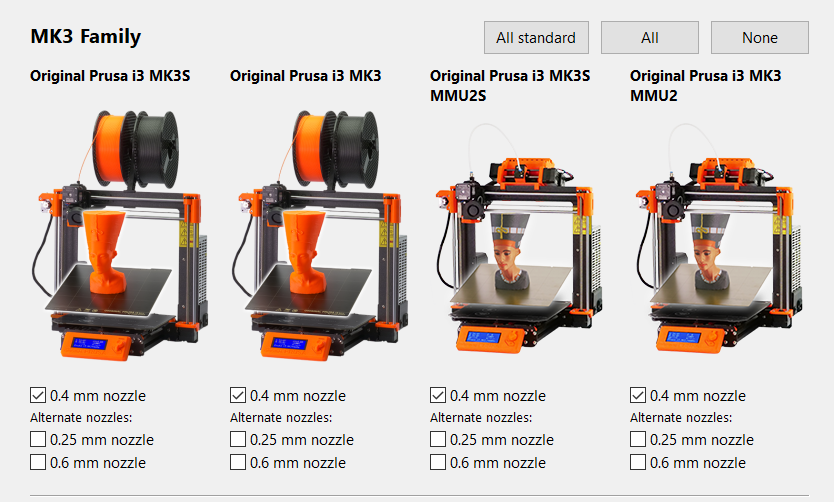
Step 4: When the installation is complete, open PrusaSlicer by double clicking on its icon on the desktop. A configuration wizard will ask you to choose printers and nozzle sizes. Select 0.4 mm nozzle for Original Prusa i3 MK3S type printer and click Next.
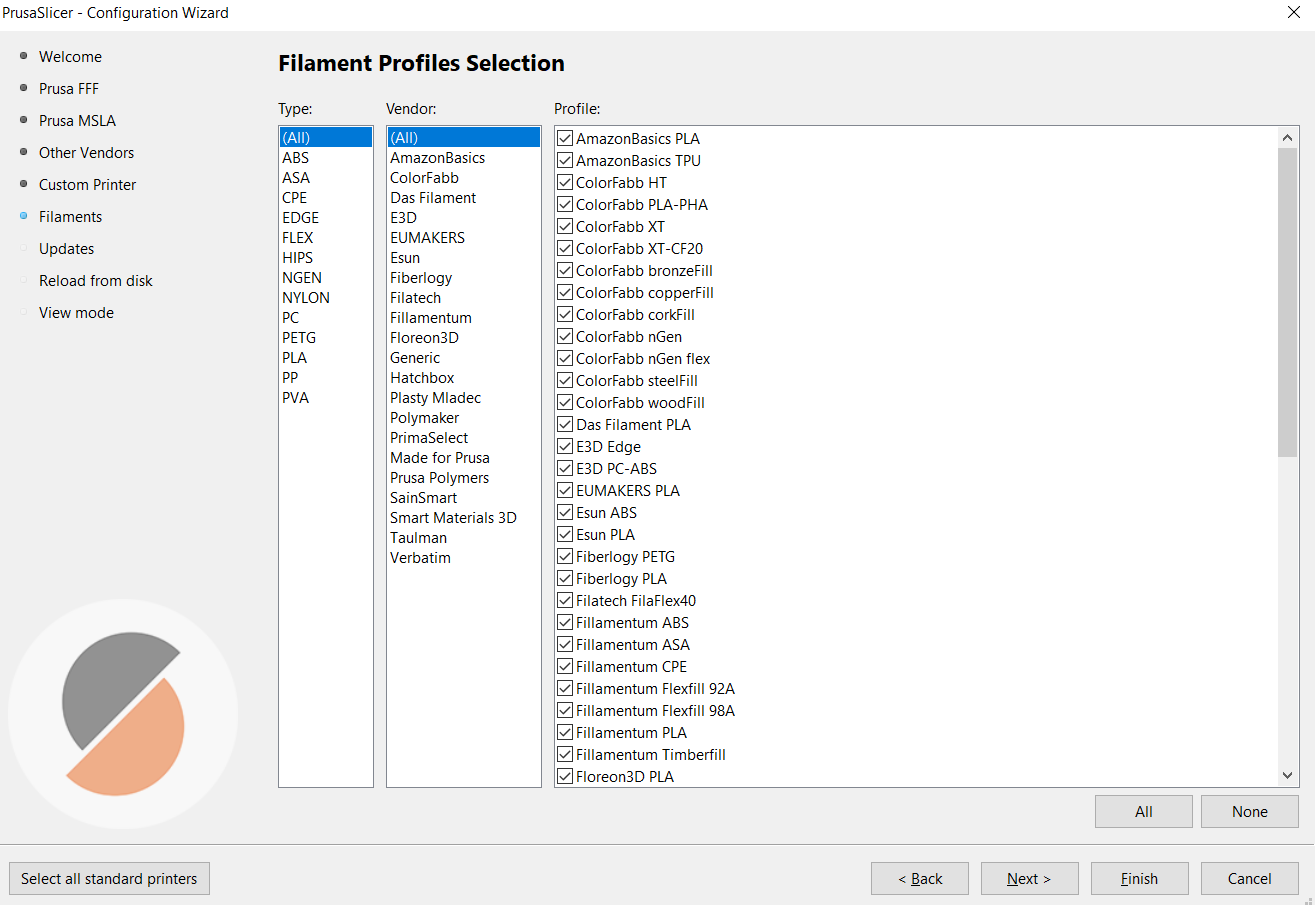
Step 5: Do not change any settings until you reach Filament Profile Selection window. Click All button to select all material types by all vendors. Click Finish button to exit configuration wizard.
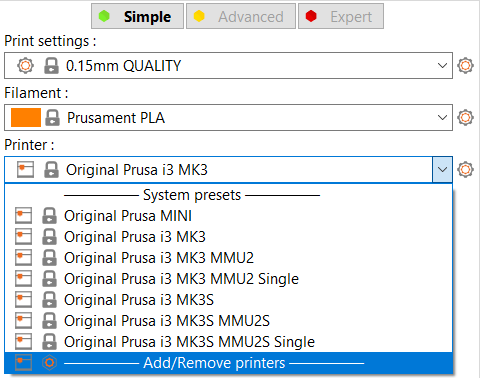
Step 6: PrusaSlicer is now installed to your computer. Note: You can add/remove printers whenever you want from the main screen as shown below.