
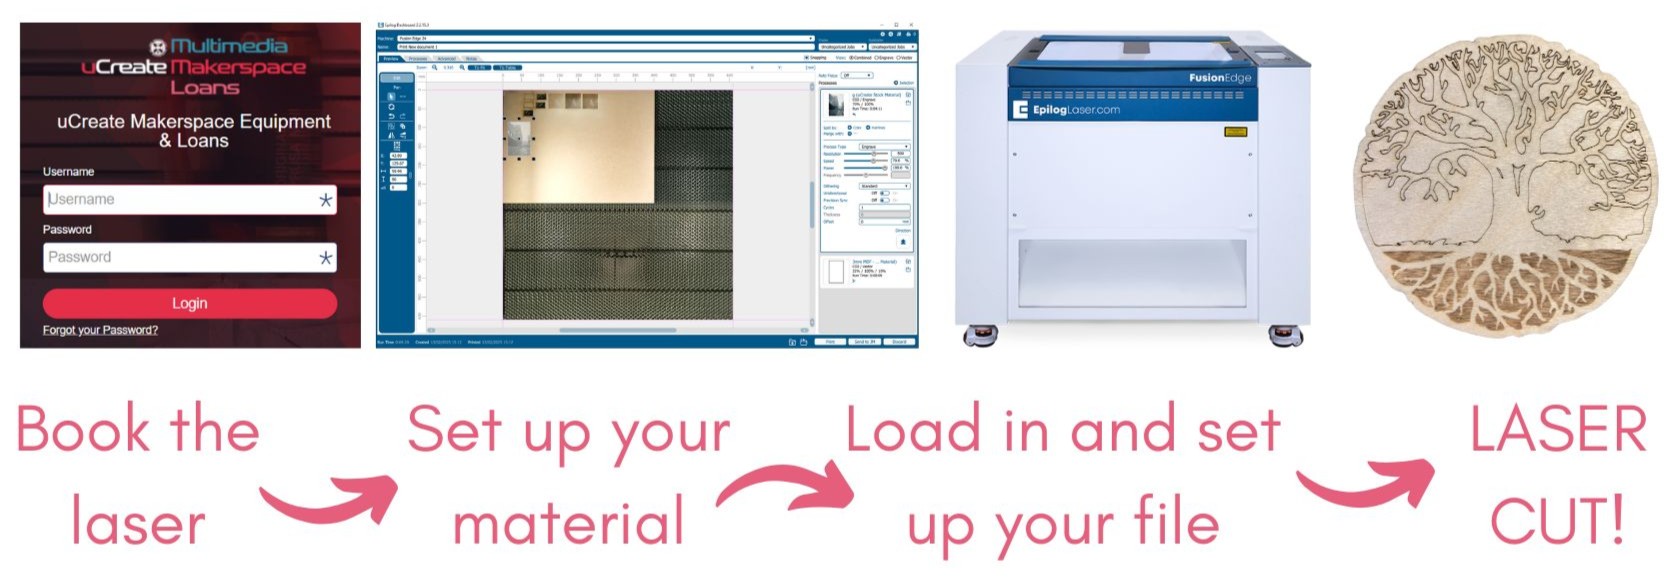
This workflow is the same that is followed in the laser cutter training and should be followed every time you use the laser cutter.
Please ask a member of staff if you are unsure about any of the steps.
Before your booking.

1. Complete the makerspace induction and compulsory laser cutter training.
In order to use the laser cutter, you must have completed a makerspace induction and the compulsory laser cutter training.

2. Create your laser cut file and have it ready for cutting.
When you go to book the laser cutter, you will be asked to submit your design file. You therefore must have this ready before you make a booking. This will also help with estimating how long you will need a booking for. You will be asked to open your file in Inkscape.
For guidance on file design, please see here.
You will need to have your file loaded onto a memory stick.

3. Make a laser cutter booking (including submitting laser cutter request form).
In order to use the laser cutter, you must have a booking, during our cutting times. As part of your booking, you will submit a laser booking request form with details of your file and material. See here for guidance on file design and here for guidance on materials.
The laser booking request form can be found under the 'My Bookings' tab in SISO.
Cutting times are likely to change throughout the year, please refer to our booking system, SISO.
Setting up your material in the laser.

4. Check the thickness of your material.
Use the callipers to double check the thickness of your material. You will need to know the exact thickness of your material later on.
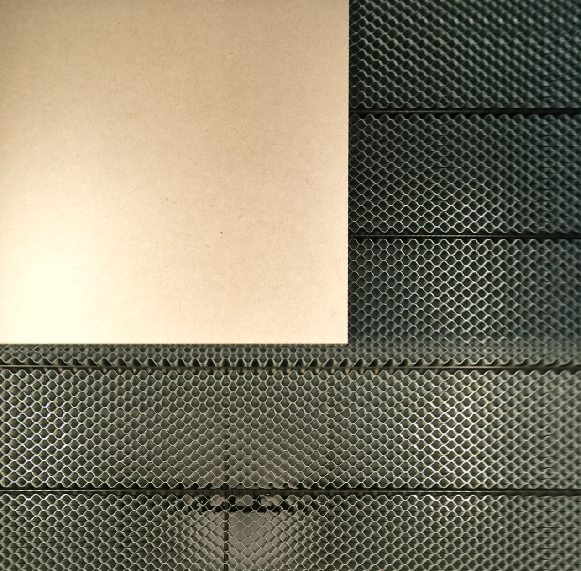
5. Place your material in the laser cutter.
Place your material in the laser cutter, pushed up against the top left-hand corner, and close the lid.
If your material needs securing down, use a steel weight. DO NOT put masking tape in the laser cutter.

6. Auto focus the laser for your material.
With the laser head over your material, click autofocus on the laser control screen.
If needed, you can jog the laser head over to the correct section of your material.
Loading in your file to Inkscape.
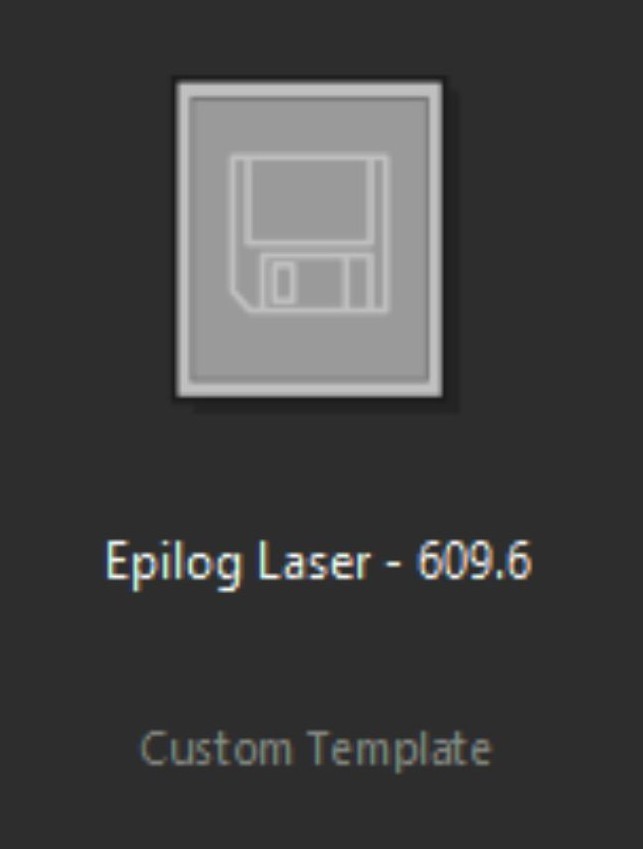
7. Load your file into Inkscape.
Before your laser booking, you should have made your laser cut file and have it loaded onto a memory stick.
Plug in your USB to the laser computer and import it into Inkscape. Use the Epilog Laser - 609.5mm square template.
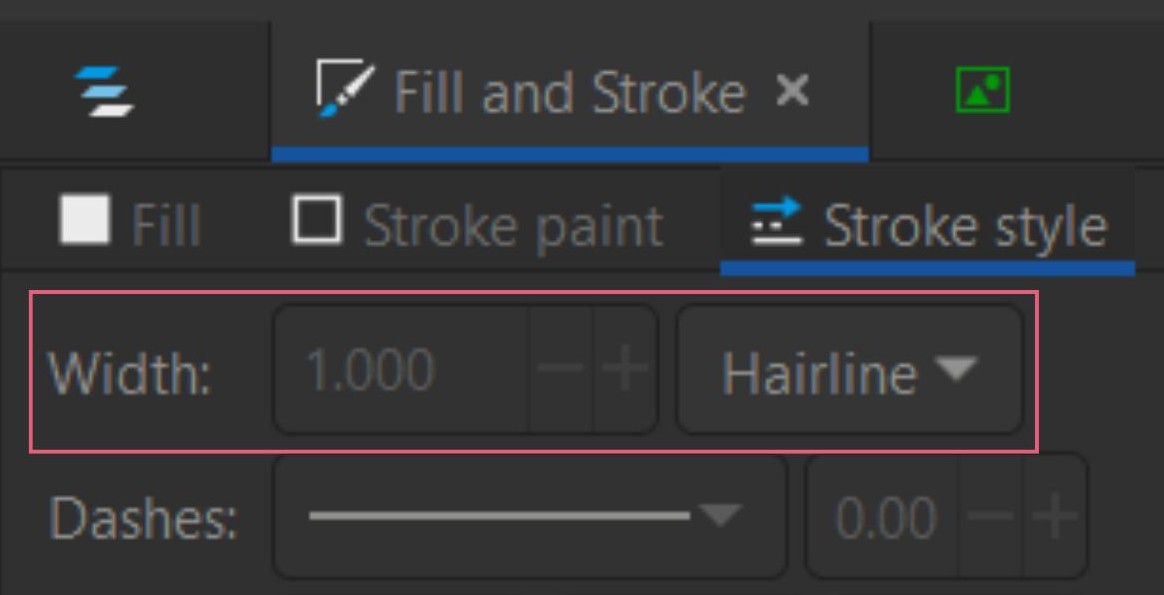
8. Ensure any cut lines are set to hairline.
The laser will only cut lines that are set to hairline in Inkscape. Everything that is not a hairline will be recognised as a raster engraving.
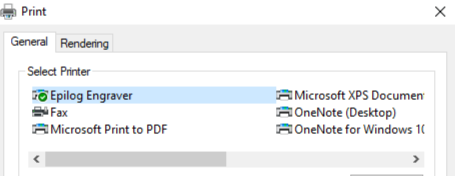
9. Send your file to the Epilog print driver.
Click 'file > print' and select Epilog laser. This will open the epilog print driver.
Setting up your file in Epilog Dashboard.
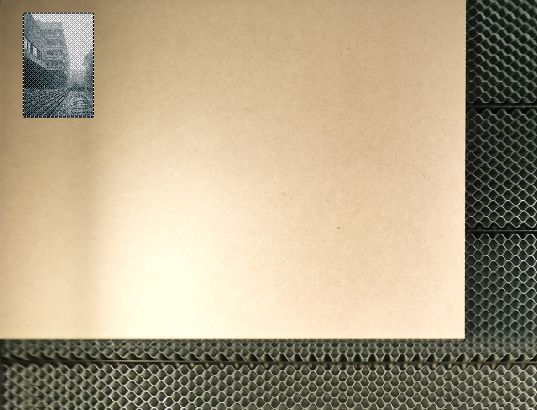
10. Drag your design over your material.
Once the Epilog Dashboard has loaded, you will see a camera capture of your material in the laser bed. Drag your design to where you want it to cut.
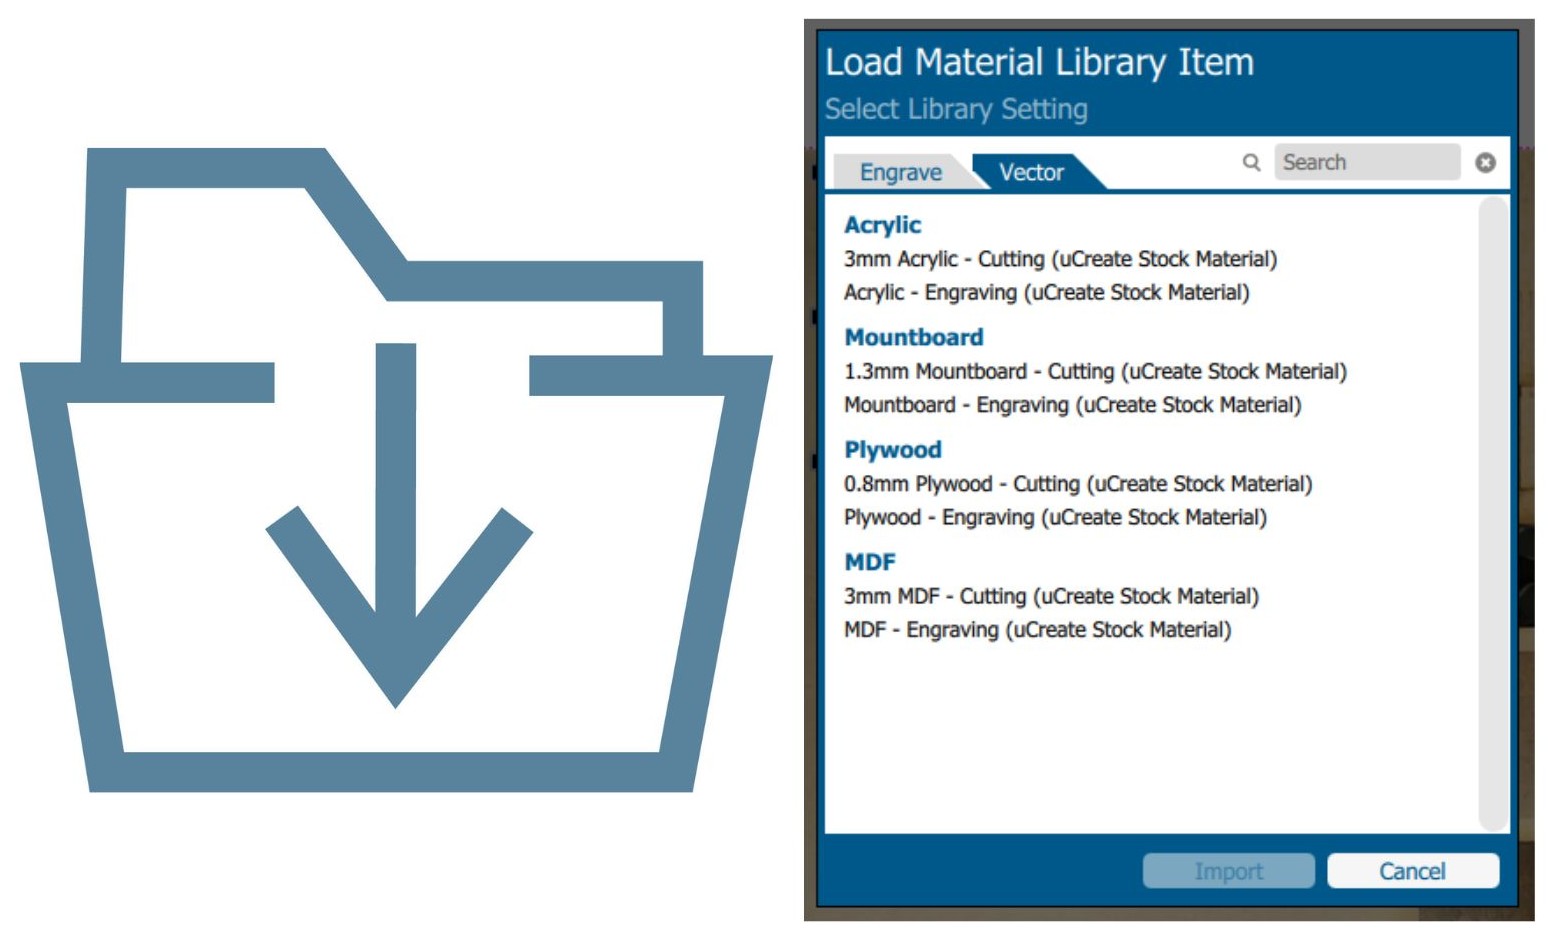
11. Assign your material settings.
uCreate has material profiles for cutting, vector and raster engraving on core materials. Click the 'Import Material Settings' icon and select the correct preset.
NEVER CHANGE ANY OF THE MATERIAL SETTINGS.
For custom materials, do not make up your own settings. A member of uCreate staff will help you determine settings. Please expect this to take an extra 15 minutes.
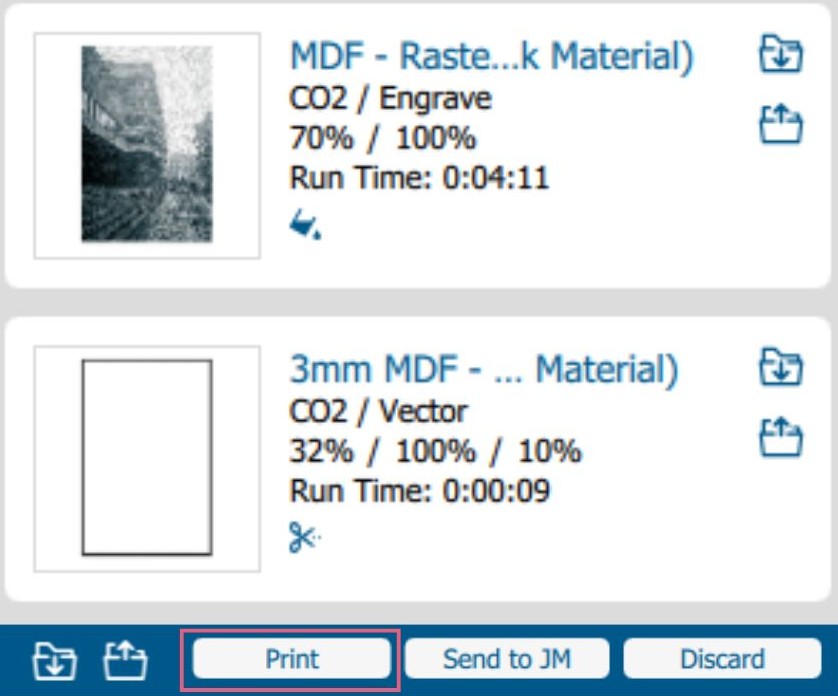
12. Order your processes, double check and press print.
Drag the processes on the right side of the screen into your cut order.
You always want to engrave before you cut as the material may drop down during cutting, changing the focus of the laser.
Each process will show the step time estimate.
Laser cutting.
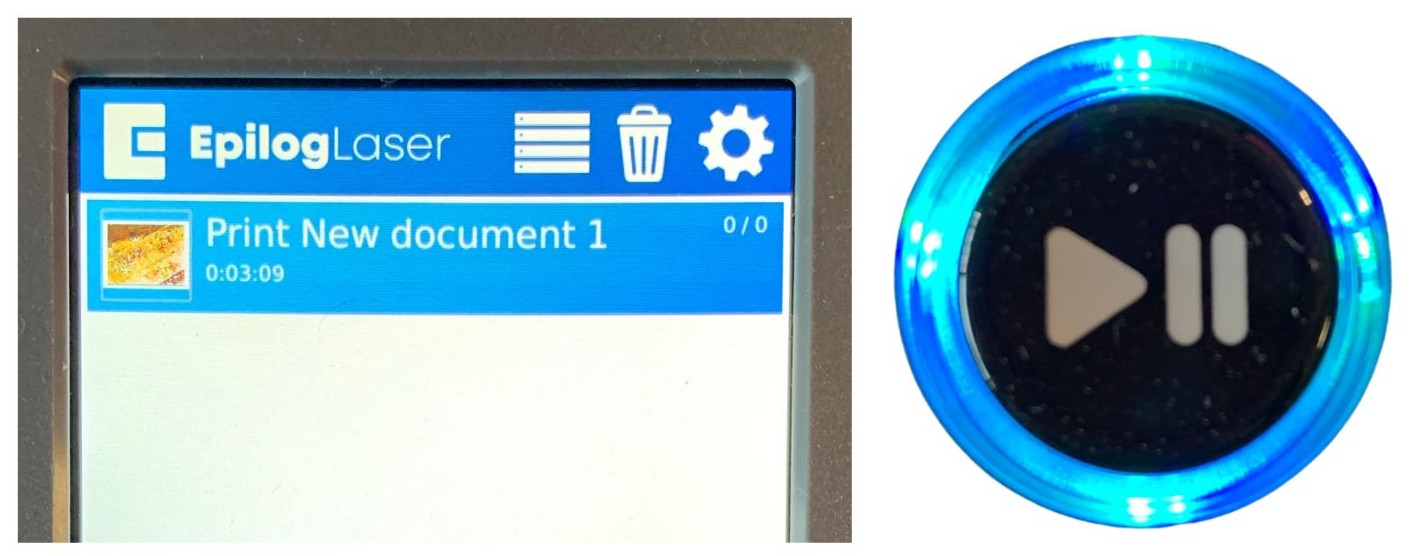
13. Select your job from the queue, check the laser is focused and press play.
You should always check your settings before pressing play.
You must stay, actively watching with the machine to make sure nothing goes wrong.
If anything goes wrong, press the pause or emergency stop button and get a member of staff.

14. Wait for the extraction to stop before opening the lid.
Once all elements of your cut have completed and the machine has beeped to indicate cutting has finished, wait for the extraction to turn off.
This will take 1 minute.
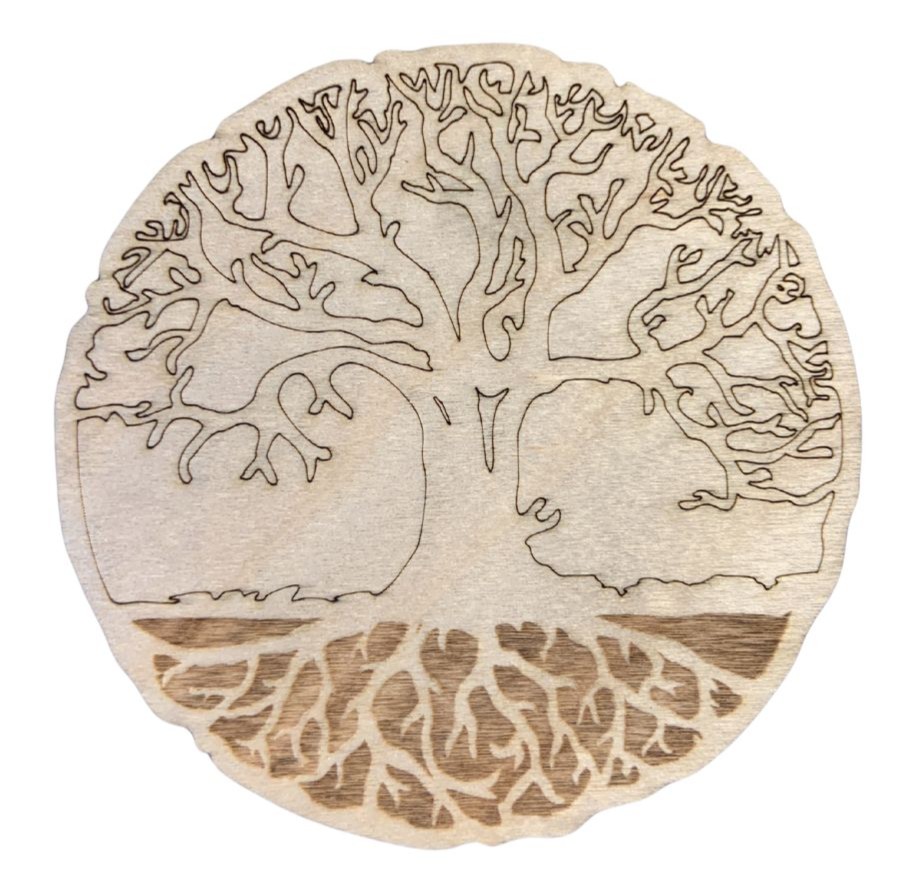
15. Check everything has cut through and remove your finished piece from the machine.
When you open the lid, DO NOT move the material until you are certain it has cut through. Once it has been moved, you will have to start again as you won’t be able to put it back in the same exact place. To check if it has gone through without moving it, use your hand to hold down the material and gently lift one edge.
Never go over something that has already been cut, if the cut has not gone through, speak to a member of staff.