

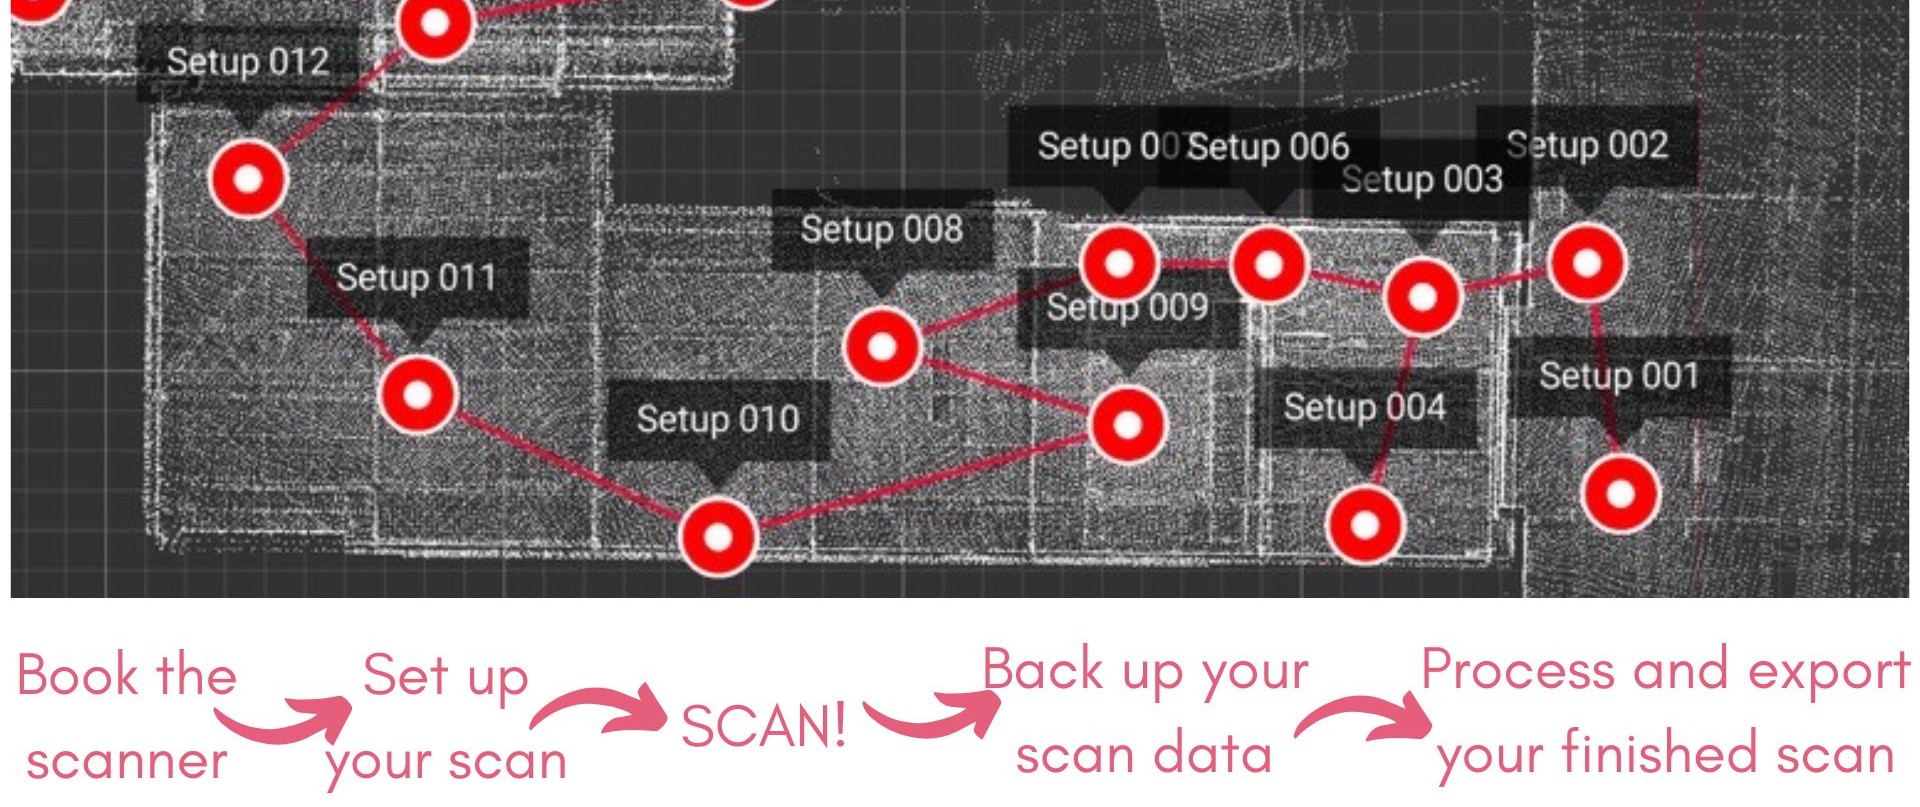
This workflow is the same that is followed in the LiDAR training and should be followed every time you use the LiDAR scanner. The workflow is also detailed on the printed hand out in each of the LiDAR mission bags.
Please ask a member of staff if you are unsure about any of the steps.
Leica have an extensive glossary of terms used in their softwares, which can be found below.
https://rcdocs.leica-geosystems.com/cyclone-register-360/latest/glossary
Video workflow.
Before your booking.

1. Complete the compulsory LiDAR scanning training.
In order to use the LiDAR scanners, you must have completed the compulsory LiDAR training. This is due to the complexity and value of the equipment. The training runs once a month.
2. Make a LiDAR scanner booking.
In order to take out the LiDAR scanner, you must have booked the scanner on SISO. When booking out the scanner, you will be given a mission bag (with the scanner and accessories) and a laptop. The software used with the LiDAR is a paid, licensed software and therefore you cannot use the software on a personal computer.
Scanning - Setting up the scanner and connecting the tablet.
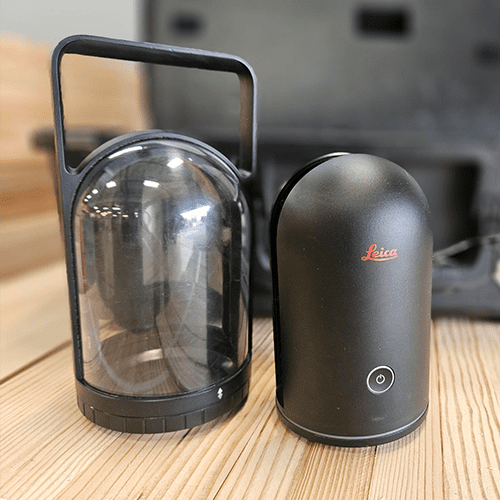
3. Remove the scanner from it's case and place it on the tripod.
The scanner can either be placed on a stable surface or attached to the tripod. If you are using the tripod, ensure that it is level, remove the scanner from its casing and attach it to the tripod.
When the lidar is in it's case, always hold it from the base to reduce risk of dropping. Never touch the mirror of the LiDAR.

4. Single press the LiDAR power button to turn it on.
After pressing the power button, the light on the scanner will flash yellow and then turn green when it is ready to scan. If the scanner does not go green, see the common problems knowledge base page.

5. Connect the scanner to the iPad.
To connect the tablet, unlock the iPad (password is 123456) and open the settings app. Connect to Wi-Fi network BLK360-xxx. If it asks for a password, it is inside the battery flap of the scanner.

6. Place the scanner in its first scanning location.
Make sure that the scanner/tripod is on a stable surface.
Scanning – Setting up your project.

7. Open the Cyclone Field 360 app on the iPad.
The BLK360 G2 has an additional app called BLK Live. It is a simple viewer which allows you to start scanning and view the scan data and can help you to choose your scan resolution. It does NOT replace Cyclone Field 360.

8. Connect the scanner to the Cyclone Field 360 app.
Tap the Wi-Fi symbol on the left-hand side of the screen and select the scanner to connect. You will be able to see the free storage and battery level of the scanner. The amount of battery a scan will take, depends on the resolution. If scanning where there is no access to power, we recommend charging all three batteries ahead of time.
9. Create a new scanning project.
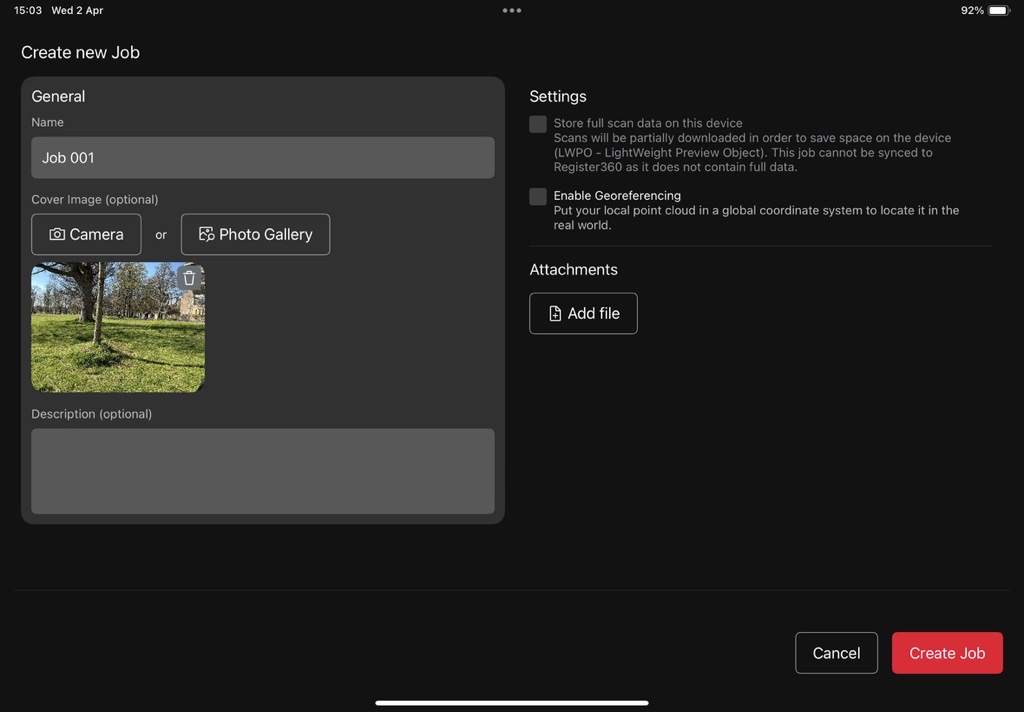
Hit the + sign at the top of the screen to create a new project. Name the project with your name, student/staff number and date. You can also take a photo of the area to be scanned. Hit 'create job’ and open the project you have just created.
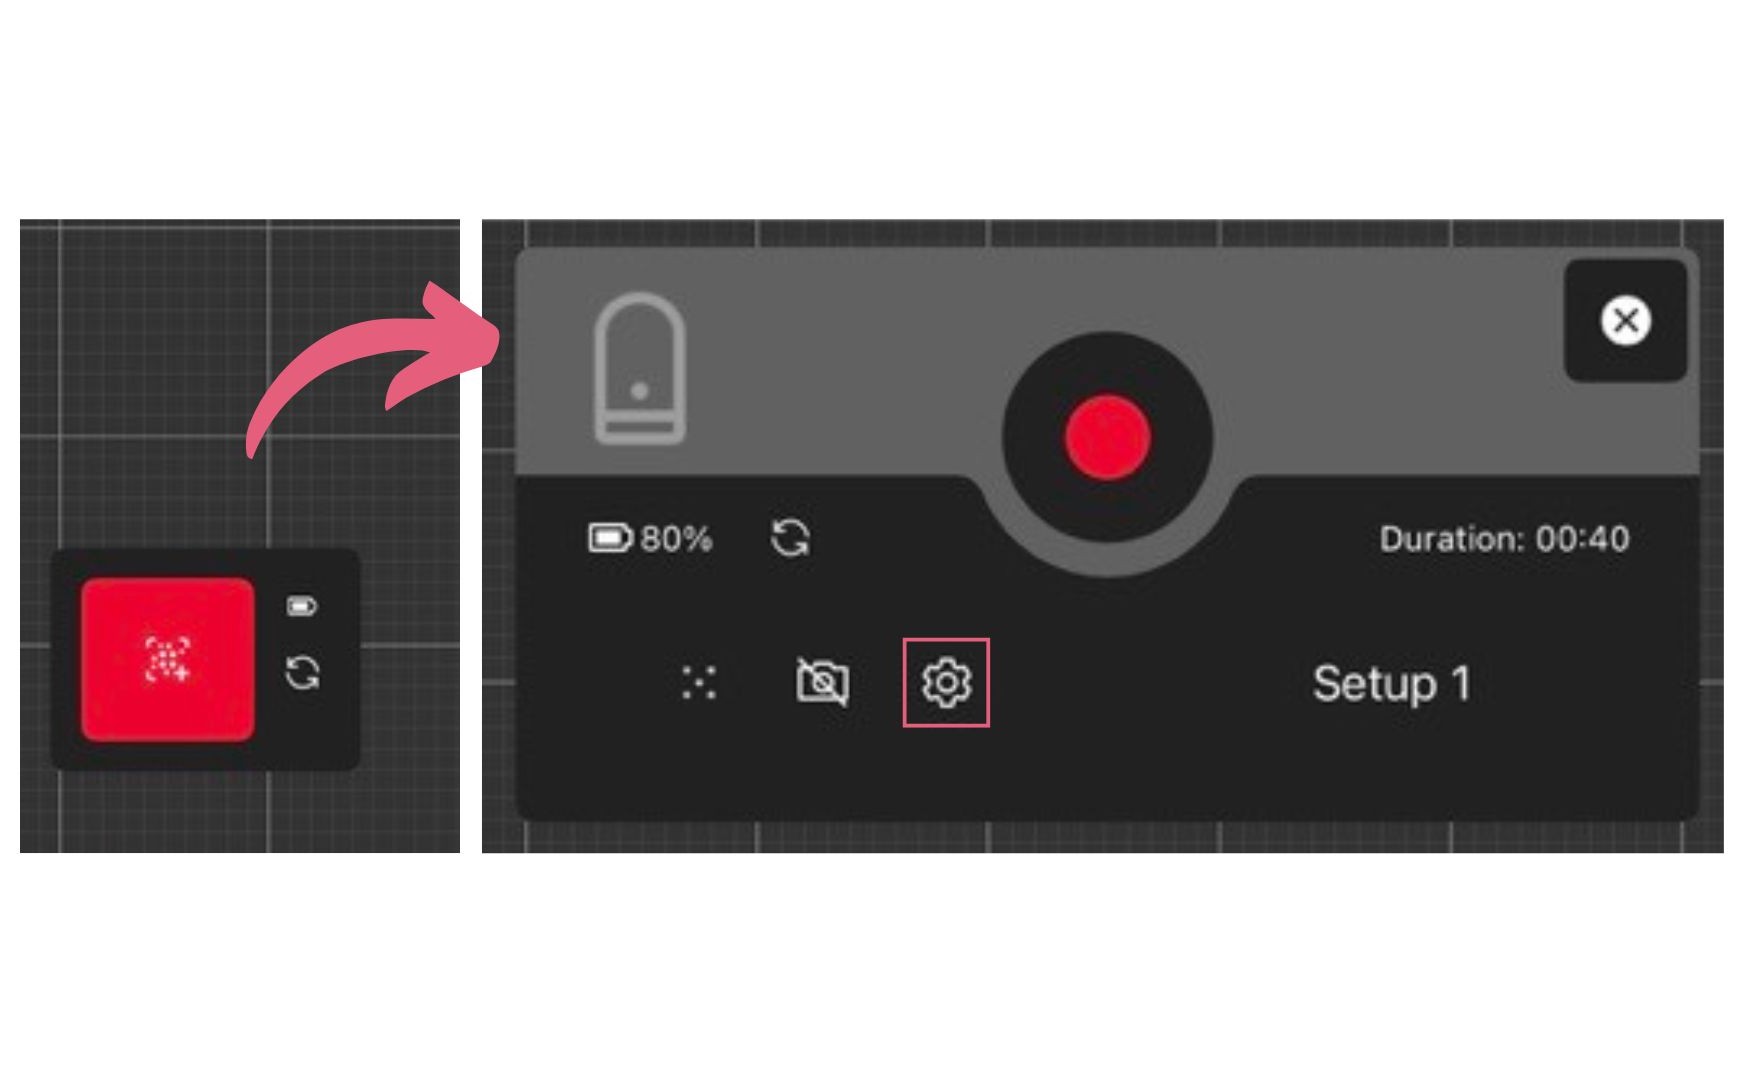
10. Open scan settings.
Click the scan icon in the bottom left corner of the screen and click the cog to open scan settings.
Scanning - Scan settings.
Choose the settings for your scan. In this guide we will cover how to scan using the app Field360, however, you can scan by single pressing the power button on the scanner. This is useful if you have no access to power as the batteries will last longer. The downside of this is you will not be able to see your scans on Field 360 and align them as you go, making it more difficult to know if you have all the data you require for your project.
These settings are for the Leica BLK360 G1, and the settings differ slightly for the G2. However, the basic principals are the same.
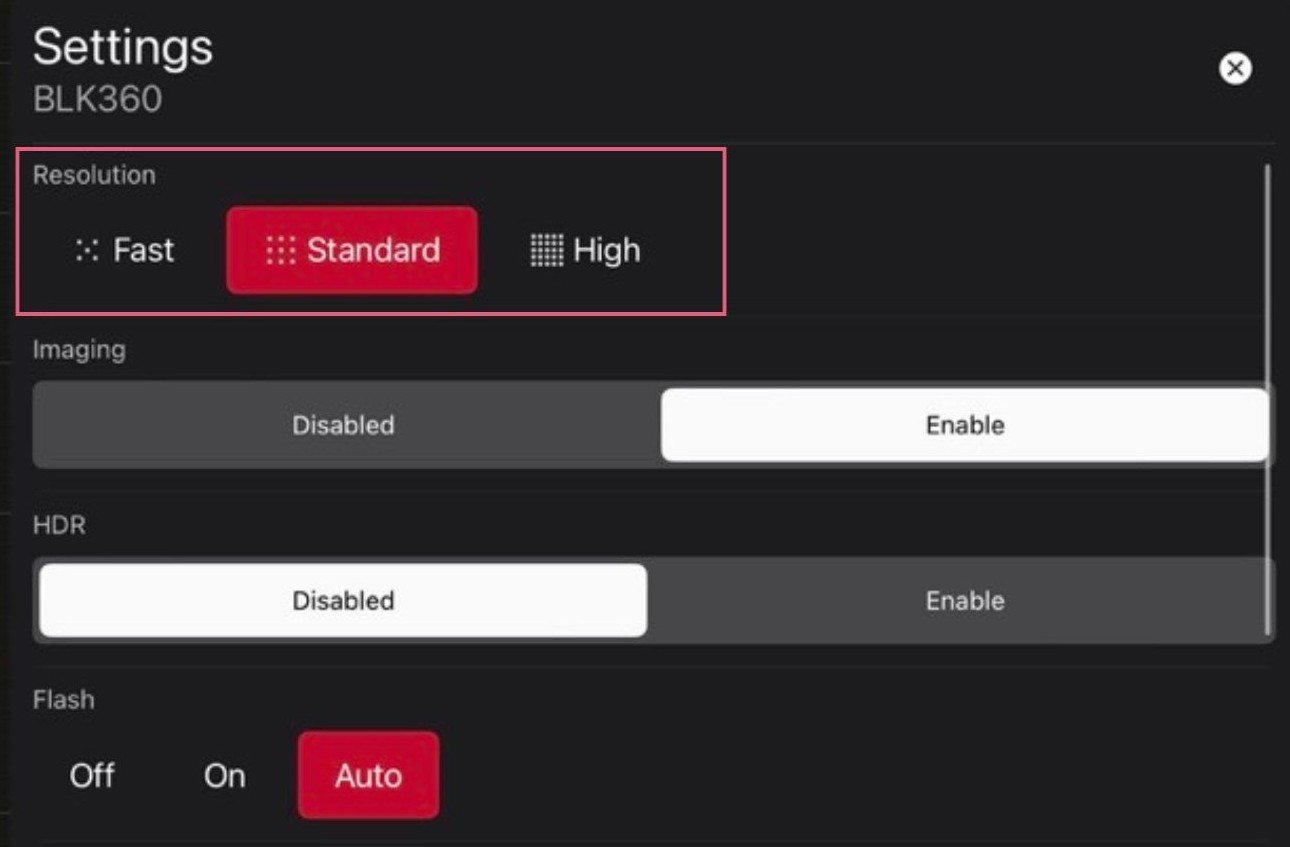
Resolution
Affects scan density and accuracy. Higher density means more points are captured per unit area.
A higher resolution will result in a better 3D model.
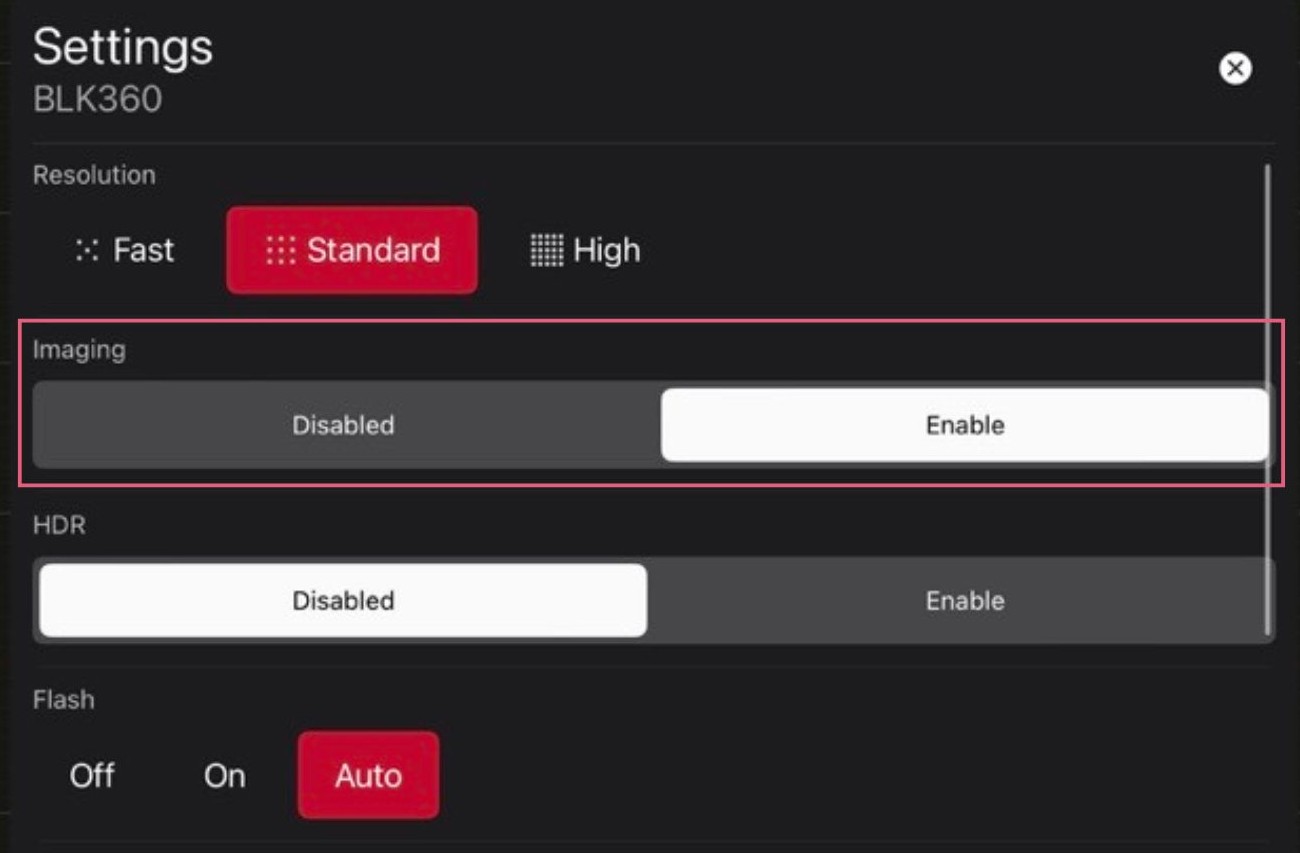
Imaging
Leave as enabled to take a coloured 360 photo as part of your scan.
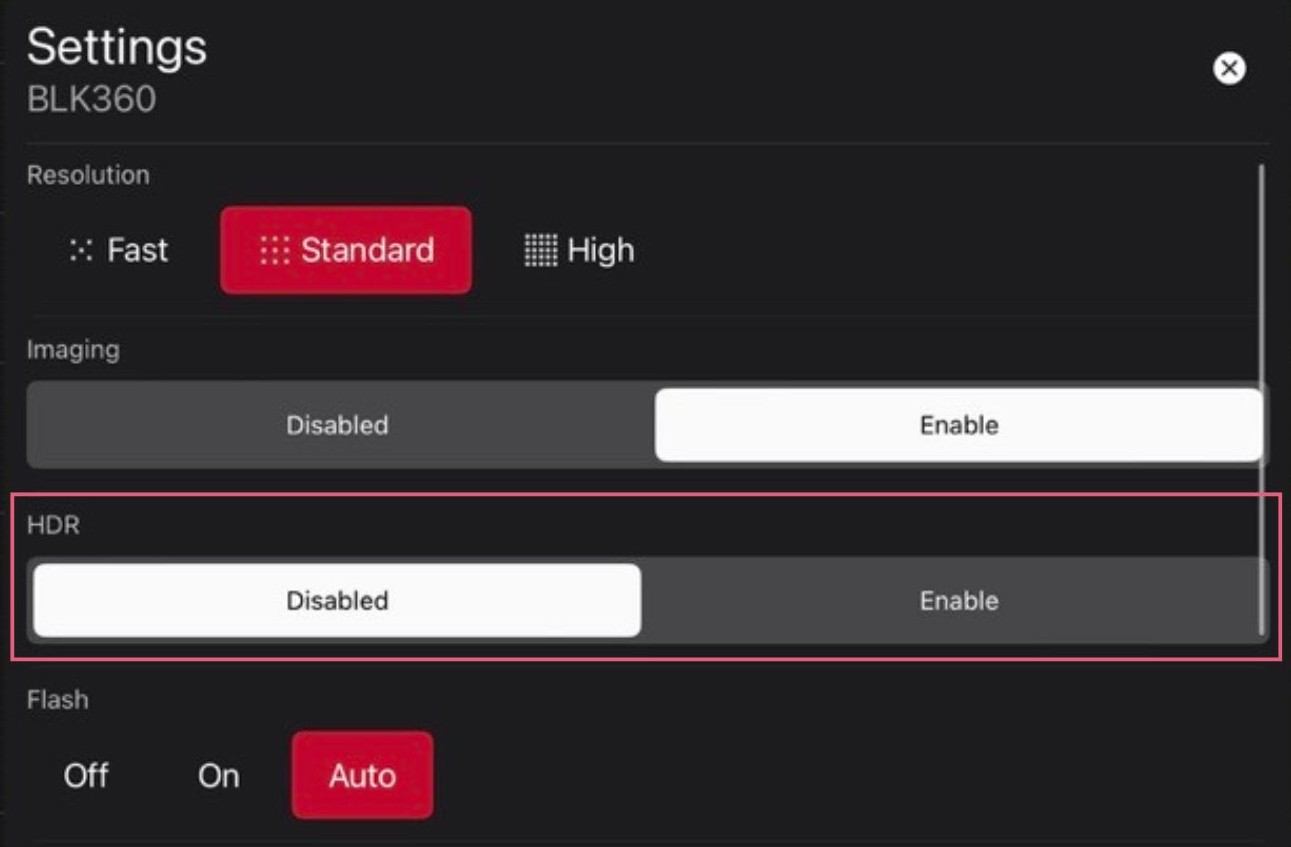
High Dynamic Range (HDR)
Adjusts the brightness of the point cloud, giving higher quality coloured scans. Enabling HDR increases the size of your scan, therefore HDR scans will take longer to import into Register 360 than scans without.
Turn HDR off if you are concerned about battery life.
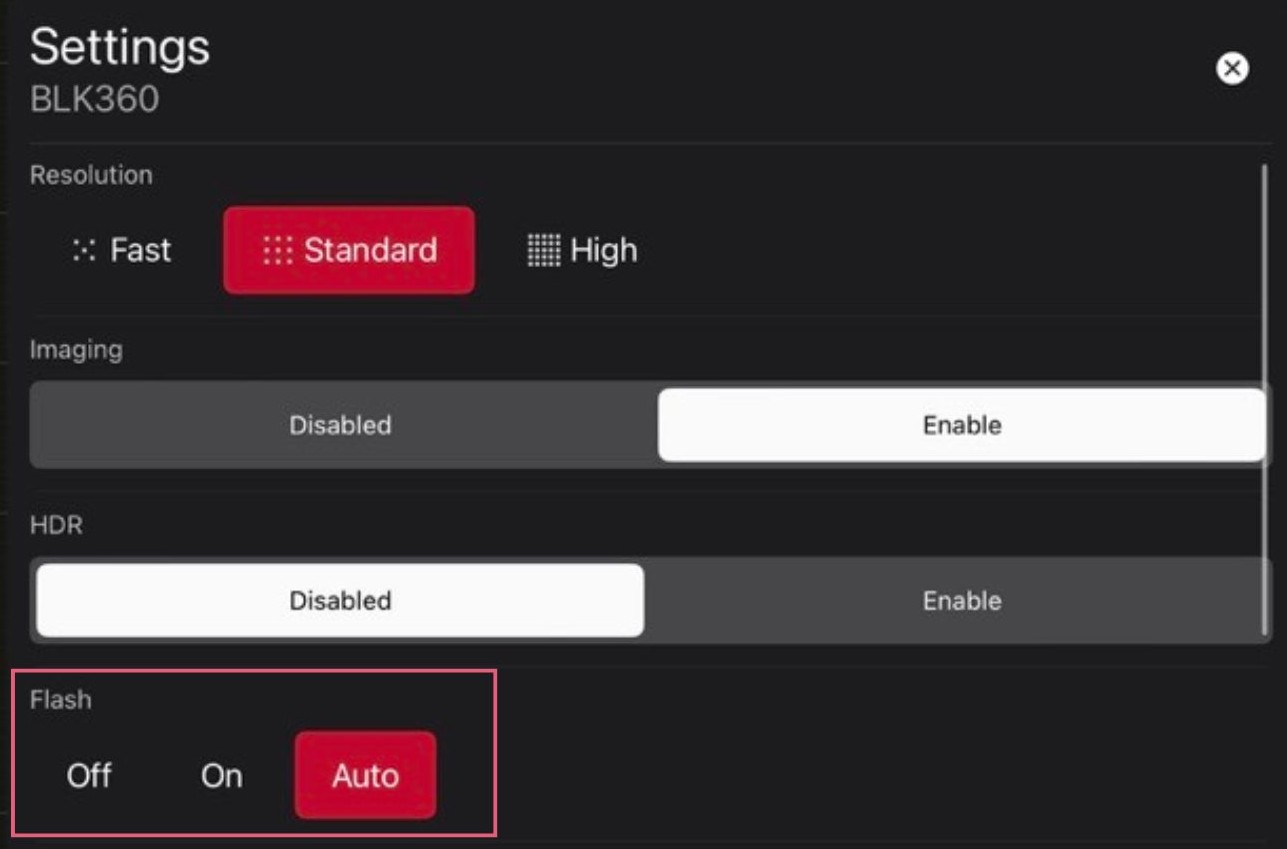
Flash.
Leave as auto.
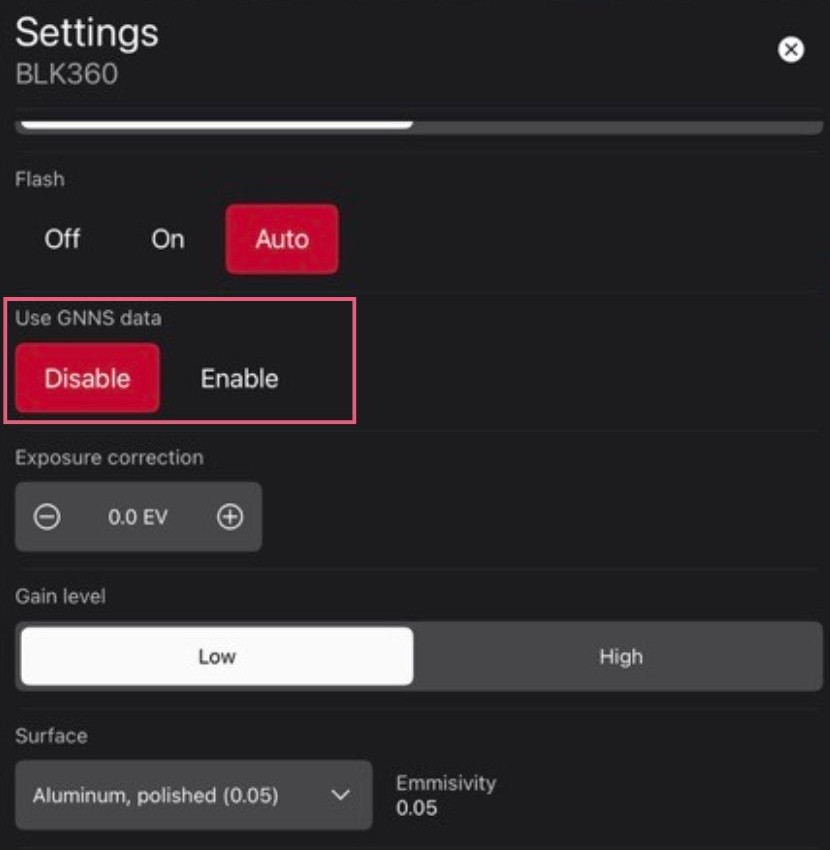
Use GNNS data.
This data refers to the signals and information transmitted by Global Navigation Satellite Systems satellites, which are used by receivers on Earth to determine location, speed, and time.
Leave as disabled.
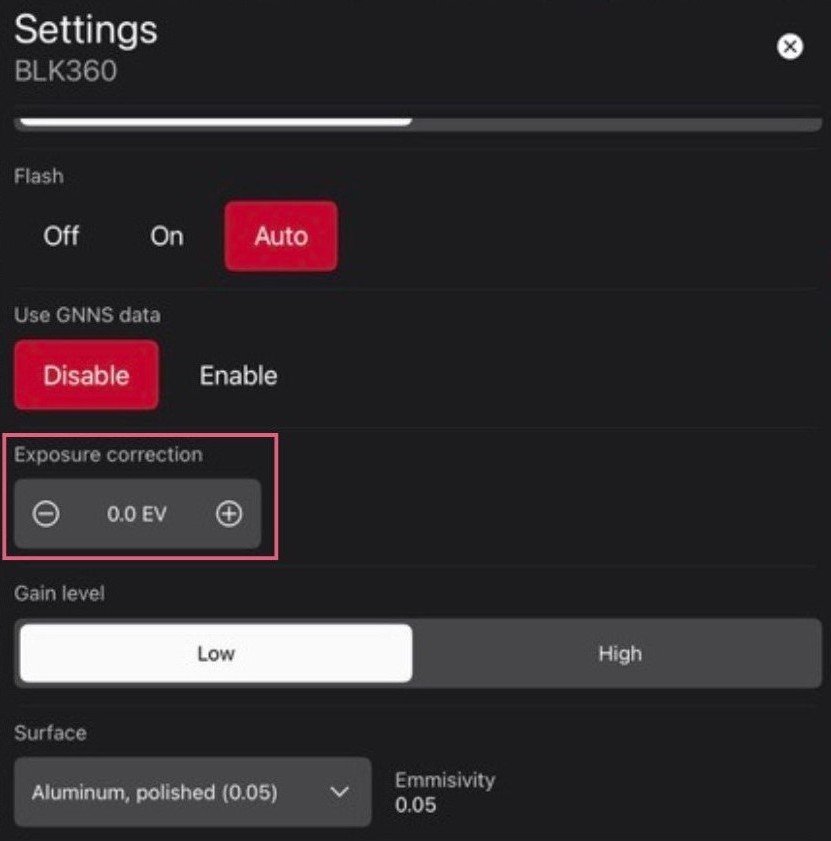
Exposure Correction.
Adjusting the amount of light allowed into the scanner. In general, leave at default 0.0 EV but adjust depending on outcome of scans.
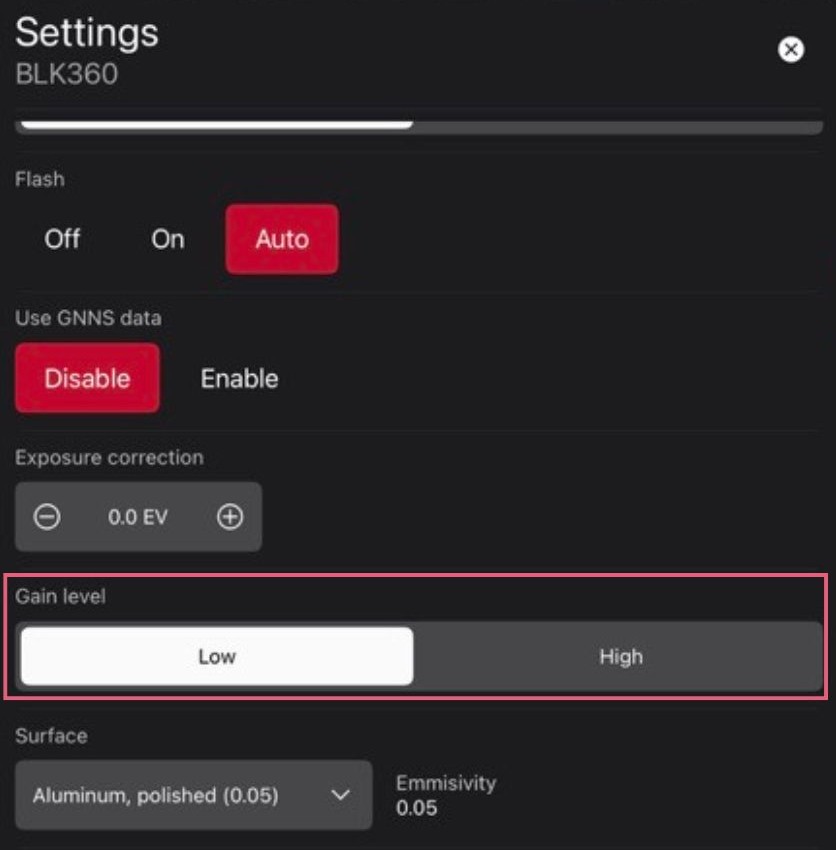
Gain level.
Gain refers to the amplification of the signal received by the scanner's laser detector.
Relevant for collecting thermal data from the BLK360 G1 scanner.
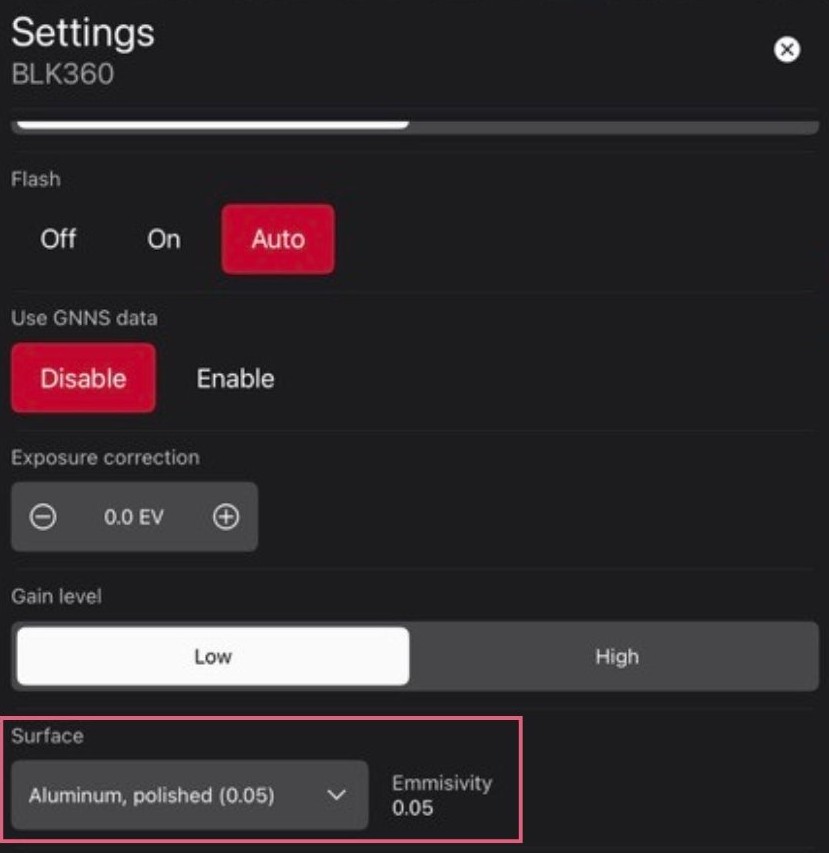
Surface and Emissivity.
The emissivity of the surface of a material is its effectiveness in emitting energy as thermal radiation.
Relevant for collecting thermal data from the BLK360 G1 scanner.
Scanning – Taking a scan.
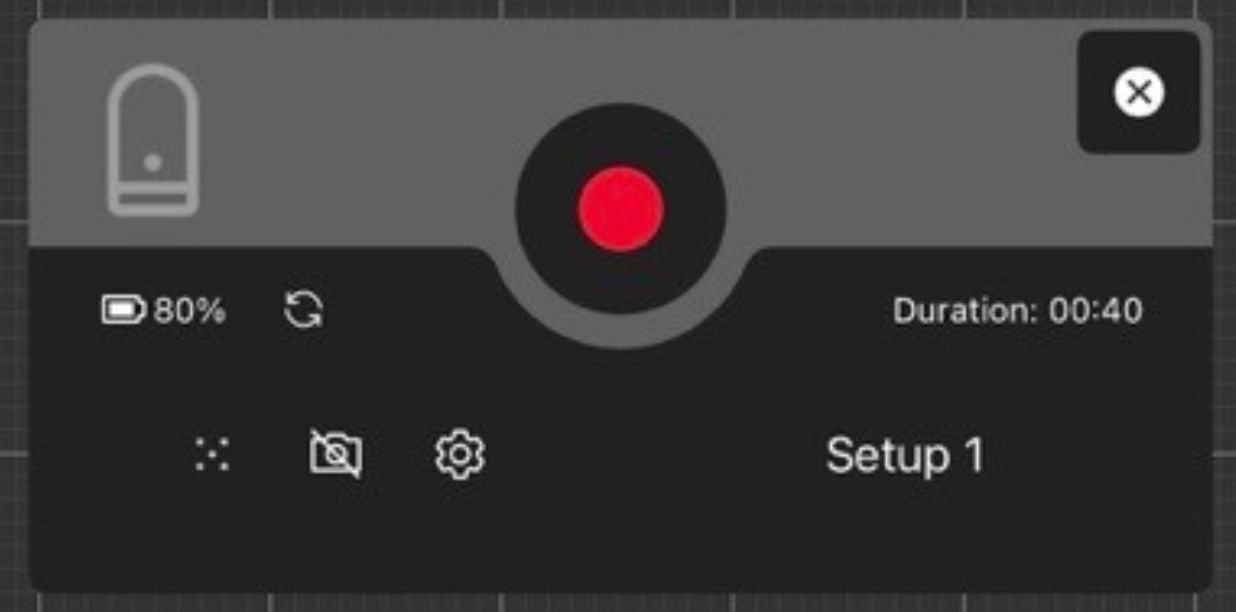
11. Start the scan by pressing the red circular start button.
Do not walk away with the iPad while the LiDAR is scanning as this could cause connection to be lost and your scan will fail. While scanning, the LiDAR light will flash yellow.
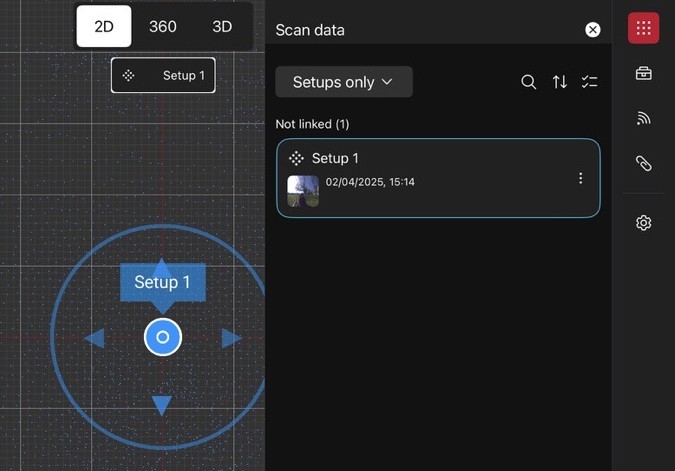
11. View the scan.
Once the scan has completed, the LiDAR light will turn green. The scan will appear in the menu on the right-hand side of the screen, under ‘setups only’. Access this menu by clicking the 9 dots icon. Each individual scan is a setup. Setups are joined using links. Multiple setups joined by links are a bundle.

12. Take another scan.
Move the scanner to its next scanning location (look at where most data is missing from your current scan) and repeat. There is no maximum number of scans you can do, look at your scan data that has already been collected to determine how many scans you need to take.
Try adjusting the point view size for a more accurate view of the data collected.
Scanning – Aligning your scans.

13. Enter alignment mode.
After a scan has been completed, a button to align your scans should automatically appear at the top of the screen. If does not appear, click the link symbol at bottom right of screen to enter align mode. If it is greyed out, select one of your setups first.
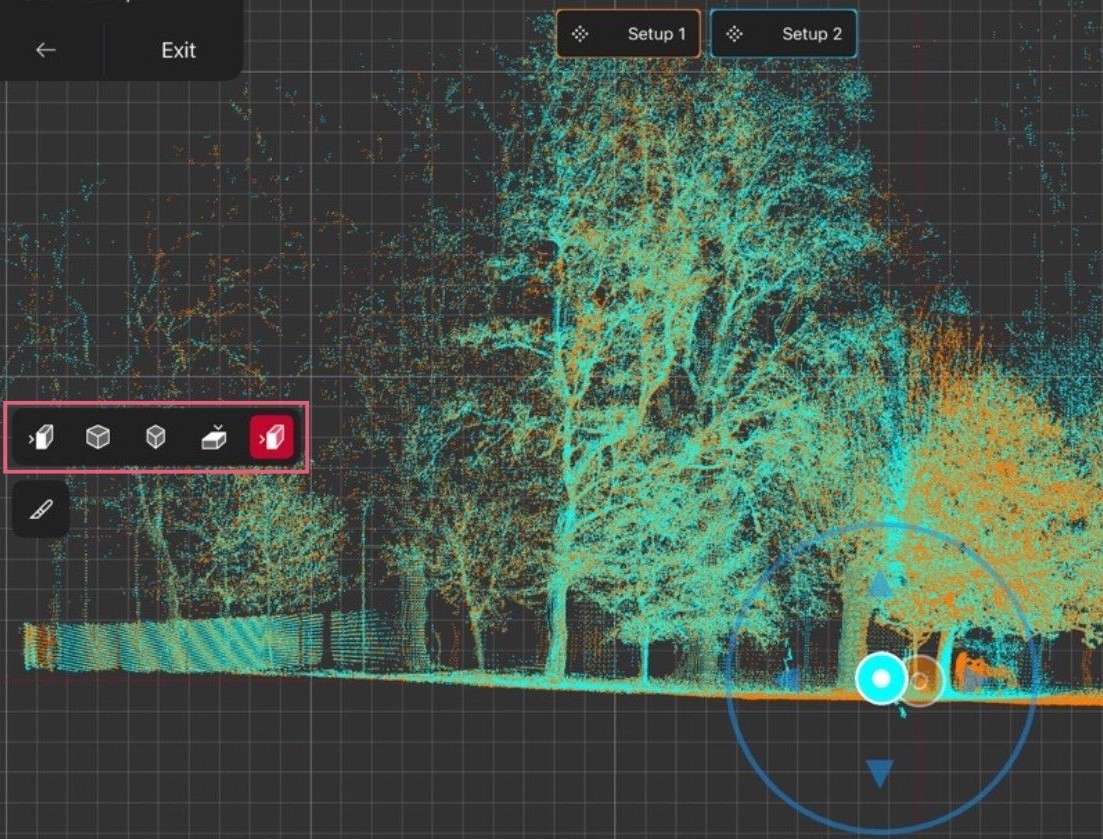
14. Check your scan alignment.
Your scans will automatically align. Check the scans are aligned in all views by changing the view in the top left-hand corner.
If your scans are not aligned, move and rotate the scans to be approximately aligned. If your scans still won't align, try aligning a different pair of scans first. There must be overlapping data between scans for them to align.

15. Confirm your scan alignment.
Click optimise to create a link between scans. Repeat this step for each new scan. This creates a bundle.

16. View your aligned scans.
Click on the menu where you had your unlinked setups and select ‘bundle view’ to view your bundles. If not happy with the alignment, click on a link to delete it and retry.
Post Processing - Backing up your scan data to BLK Data Manager and external drive.
It is important that you transfer your data from the LiDAR onto the laptop and onto your own external drive. Your scan data will be lost if the scanner, iPad or laptop are wiped. Opening your scans in Cyclone Register 360 does not save your raw scan data.

17. Connect the LiDAR scanner to the laptop.
Disconnect from the BLK360-xxx network on the iPad and connect to the BLK360-xxx network on the LiDAR laptop. The scanner can only talk to either the iPad or laptop at any one time, not both.
18. Create a folder to save your scans into.
Navigate to the ‘User Scans’ folder on the desktop and create a folder with your name, student/staff number and date.

19. Open the BLK Data Manager and connect to the scanner.
Open the BLK Data Manager and select the BLK360 G1 (BLK360 for the G2). Click Discover, followed by Discover & Connect Device once it has found the scanner.
Check that the scanner has more than 50% battery before moving onto the next step.

20. Identify your scans and select them to download.
A list of all the scans on the LiDAR will appear. Use the date stamp to identify which scans are yours, select these and click download. Choose the folder you created as the download location.

21. Check the download was successful.
Once transferred, check the folder to ensure the download was successful. They will be .blk files.

22. Transfer your files to your own external drive.
If our laptops become full, we will wipe user files from them. It is important that you have your own copy of your data on your own drive. You also may not be given the same laptop each time you loan out a scanner.
Post Processing - Transferring your scan data into Cyclone Register 360.
The video below details how to import your data into Register360, check the setups, finalise the bundle and export a report and point cloud file.

23. Create a new project in Register 360.
Open Cyclone Register 360 and create a new project. Label the project with your name, student/staff number and date.
24. Select Field 360 as your transfer method.
Select Field 360 from the transfer options on the left side of the screen. To transfer data from the iPad to laptop, they must be on the same network. This does not have to be the BLK360-xxx Wi-Fi.

25. Connect the iPad to the laptop by activating sync server on Field 360 on the iPad.
On Cyclone Field 360 (iPad), tap the three lines menu icon in the bottom left corner of the home screen, followed by ‘Activate Sync Server’ to get the IP address and port number. Enter them into Cyclone Register 360 (laptop) and click test connect.

26. Add your scans to your Register 360 project.
Click add to project. You will see previews of all the projects stored on the iPad. Click the tick box next to the scans you would like to import. You can expand this section to reveal the tick boxes if they are hidden.
27. Configure your import settings.
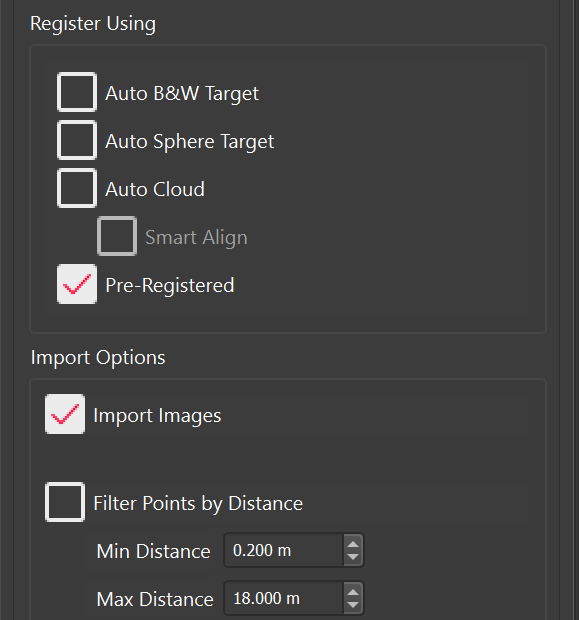
On the right side of the screen, select preregistered. You preregistered your scans on Field 360. If you did not align your scans on Field 360, click ‘Auto-cloud’ and ‘Smart-align’. If you were using targets click ‘Auto black and white targets’. Filter points by distance can be used to get rid of surplus data.
28. Import your scans.
Click Import. When the transfer is completed, the Review and Optimize window will open.

29. Delete your files from the LiDAR scanner and projects from Field 360 (iPad).
Once you are certain you have copies of your scans and everything has successfully imported, delete your scan files on the LiDAR through the BLK Data Manager and delete your projects from the Field 360 app (iPad). Select the scans and hit delete. User files should not remain on devices when returned.
Bundle guides to quality.
Your scan data should have imported, pre-aligned, with the links you made on Field 360. If a link is green, it has no errors, a red link is problematic. The panel on the right side shows bundle/link information. Click on a link for link information.
You are looking for all sections of these guides to be green.
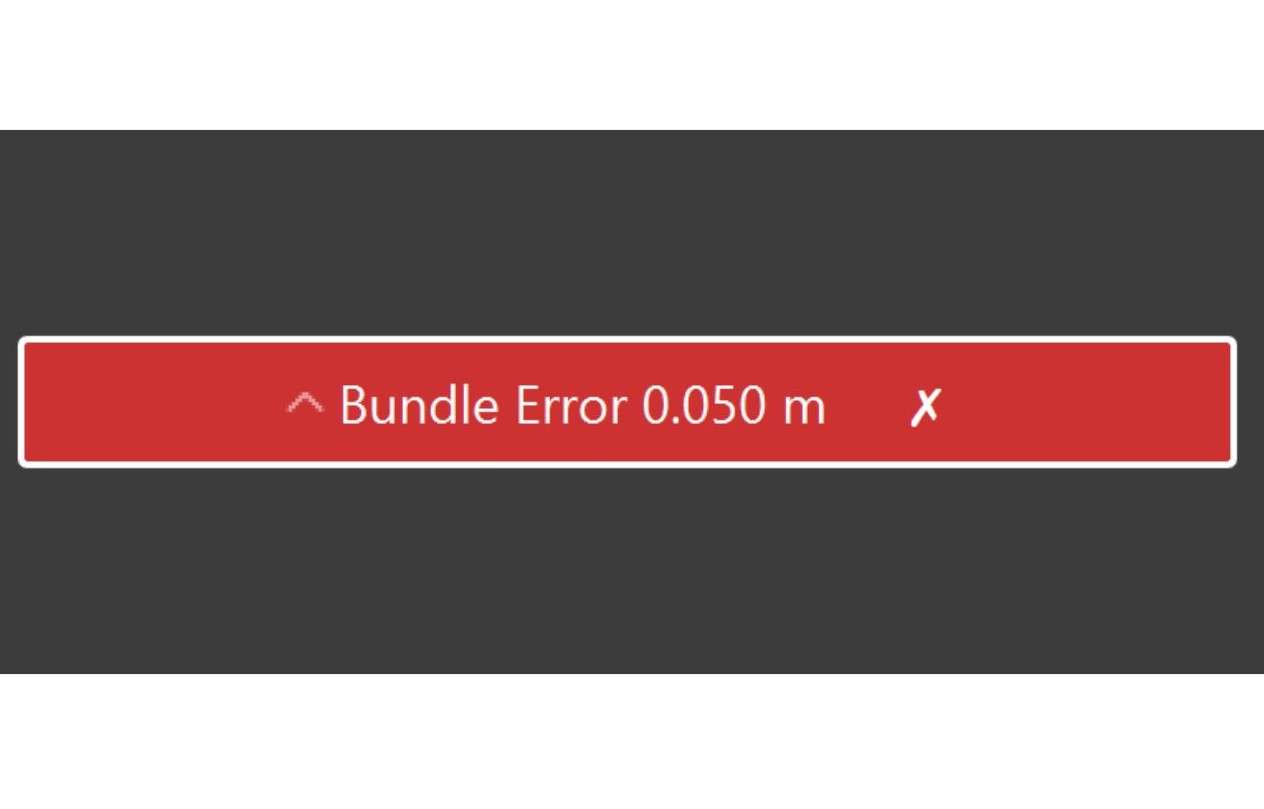
Bundle error
The error spread across the whole data (best guide to data quality, should be sub 5mm).
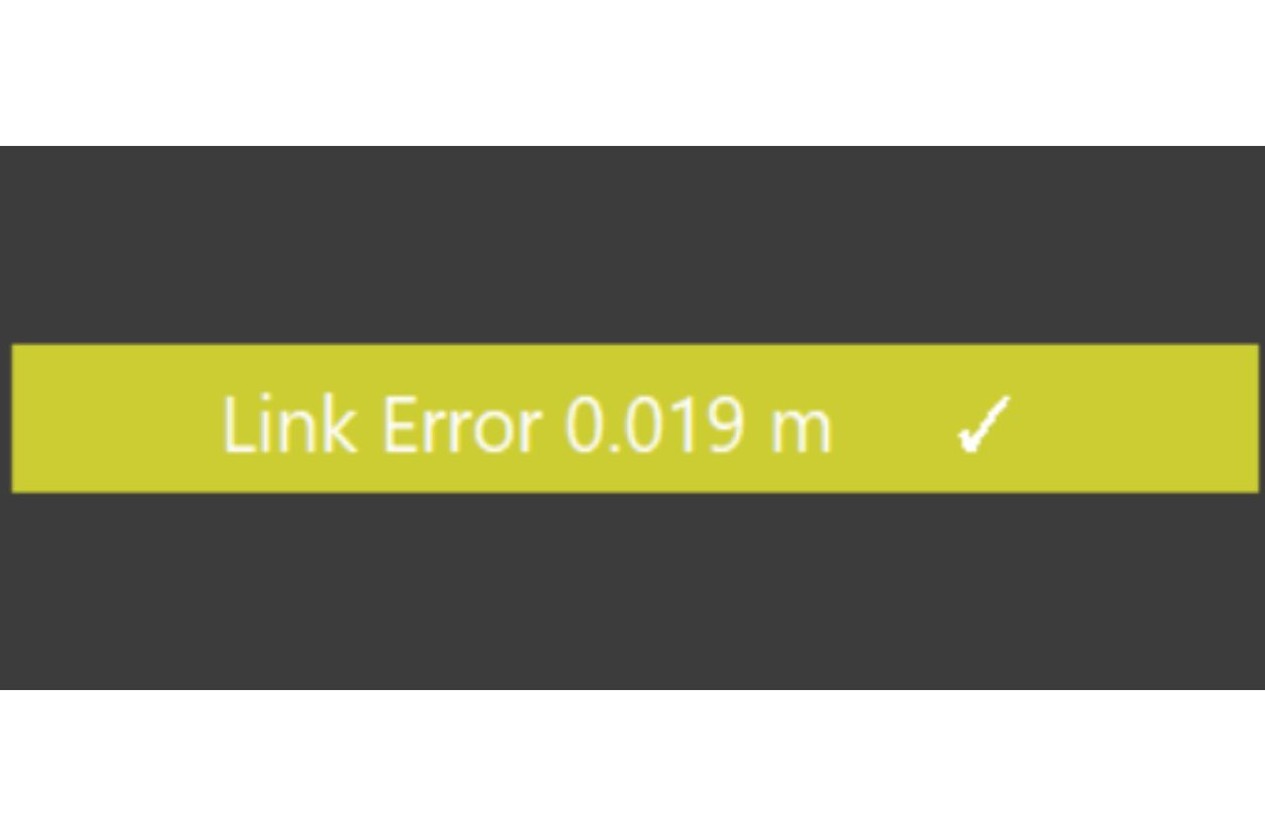
Link error
The error across the link from set-up A to set-up B. It is an accumulation of these that create the bundle error (should be sub 5mm).
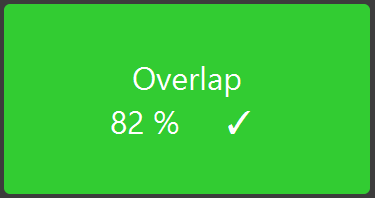
Overlap
The amount of scan data overlapping between two adjacent scans (should be higher than 20%).
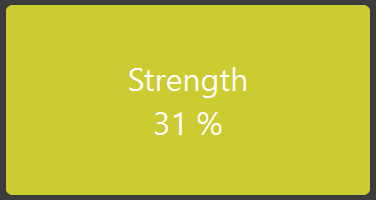
Strength
The geometry of the setups. Scans in a line have low strength as the geometry is low, whereas scans that loop around and form multiple triangles have high strength.
Post Processing - Processing your scan data on Cyclone Register 360.
Cyclone REGISTER 360 PLUS provides a feature that allows the creation of a single unstructured Setup from an existing Bundle. This is particularly useful for large or complex projects, such as multi-day scans or projects with multiple teams, as it helps keep everything organized and manageable.
If you think this may be useful for your project, see the guide linked below.
https://rcdocs.leica-geosystems.com/cyclone-register-360/latest/unified-point-cloud-creation
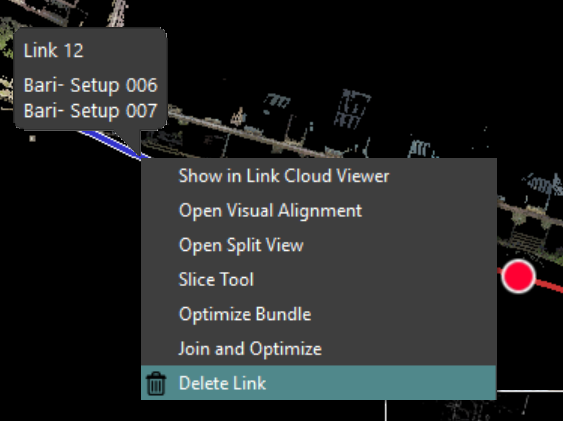
30. Manually deleting and adding links.
To delete a link, right click it and hit delete. Deleting links is needed if scans are misaligned. To add a link between 2 scans, hold shift and click both scans. Right click and select create link.
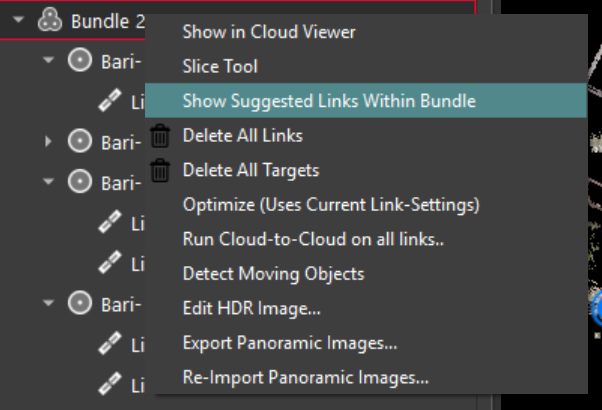
31. Automatically adding links.
To automatically add links, right-click on the bundle and select show suggested links. For a bundle with multiple scans, each scan should have a minimum of 3 links. This is the fastest and recommended way of adding links to your bundle. Like on Cyclone Field360, you can realign the scans by clicking Visual Alignment.

32. Use TruSlicer view mode to look at the quality of your scan data.
We suggest looking at your scan data in TruSlicer view mode (bottom right side of the screen). This is used for quality assurance. Point clouds from each setup will be coloured differently. Good alignment shows a thorough intermixing of coloured points.
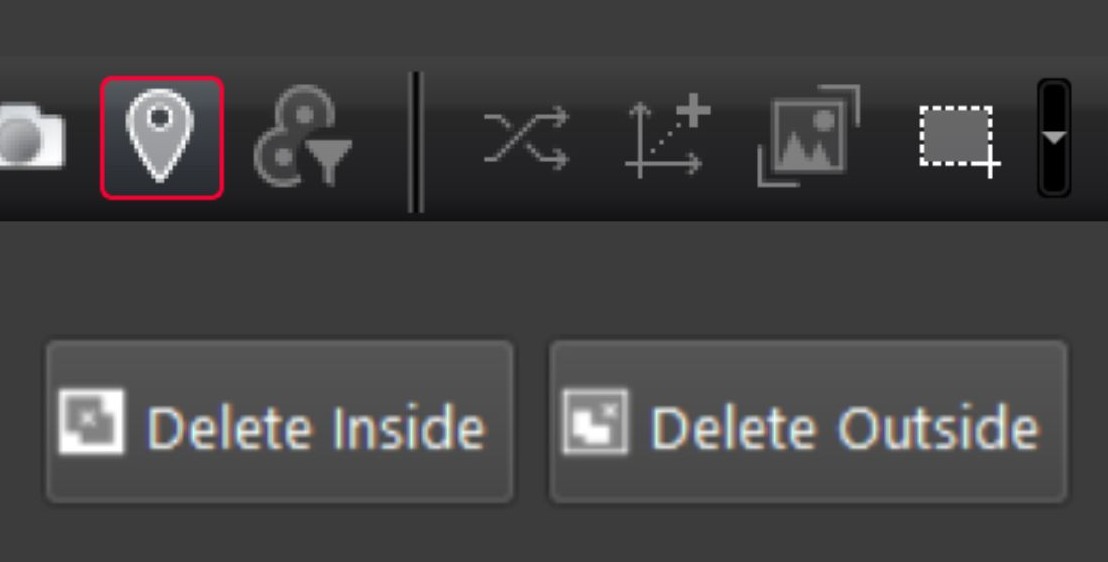
33. Delete unwanted data.
If you have extra data in your scans that you would like to delete, ensure you are on Bundle Cloud, top view and click the rectangular selection tool (top tool bar). Draw a box over the area you want to delete and click delete inside.
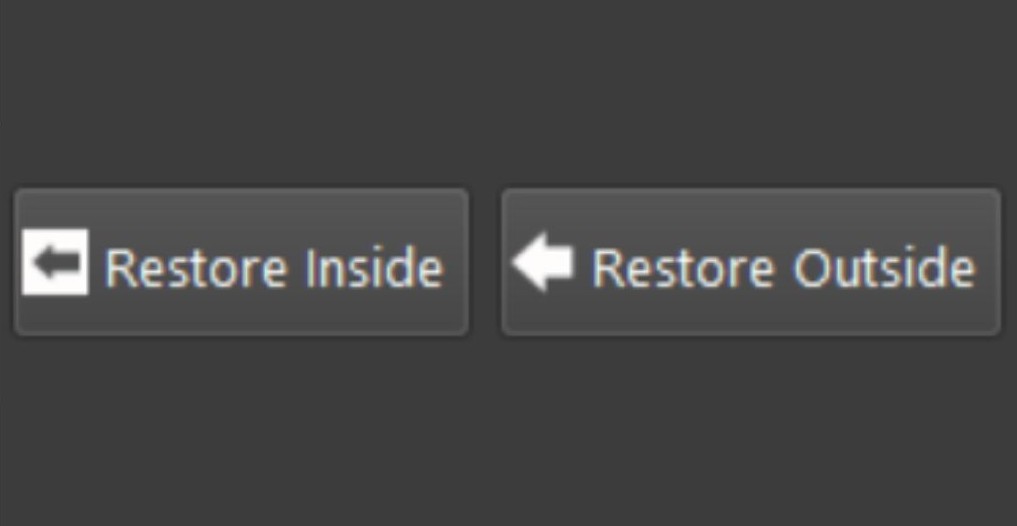
34. Restore previously deleted data.
You can restore deleted points by selecting the area you want to restore and selecting restore inside. If you cannot see the rectangular selection tool, expand the work area.
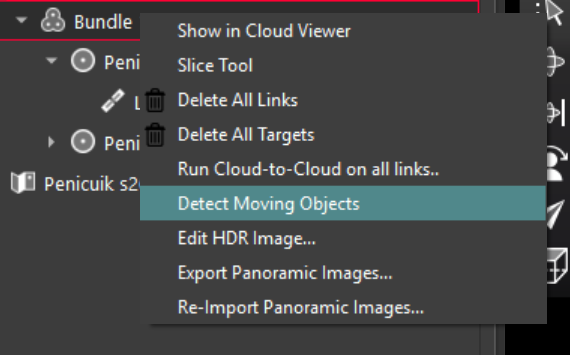
35. Delete moving objects.
If there are moving objects (e.g. people or cars) in your point cloud data that you want to remove. Use the detect moving objects command by right clicking on the bundle on the left side of the screen.
Post Processing - Exporting your point cloud data from Cyclone Register 360.
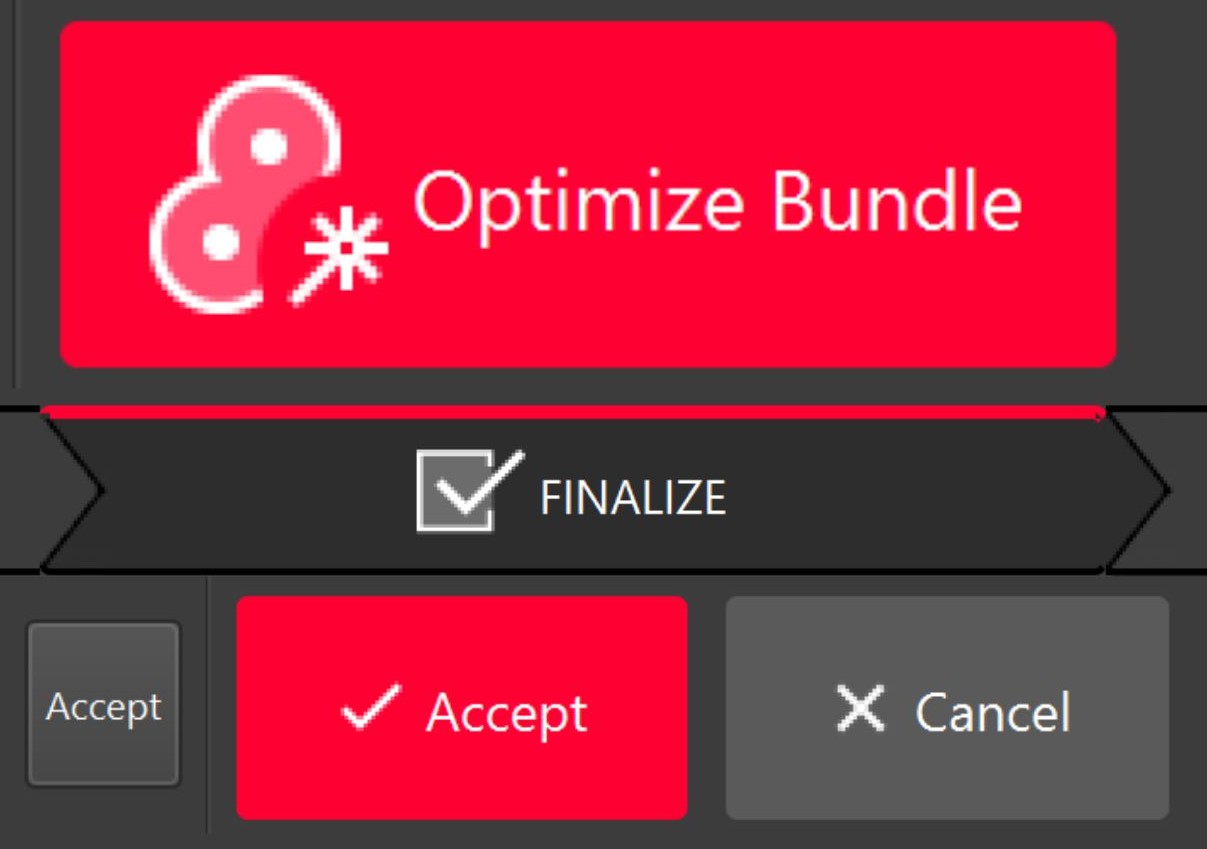
36. Navigate to the export page.
Click optimize, finalize at the top of the screen, and accept (twice) buttons.

37. Generate a report.
If you want to generate a report, go to properties, report options and tick everything you want in the report.
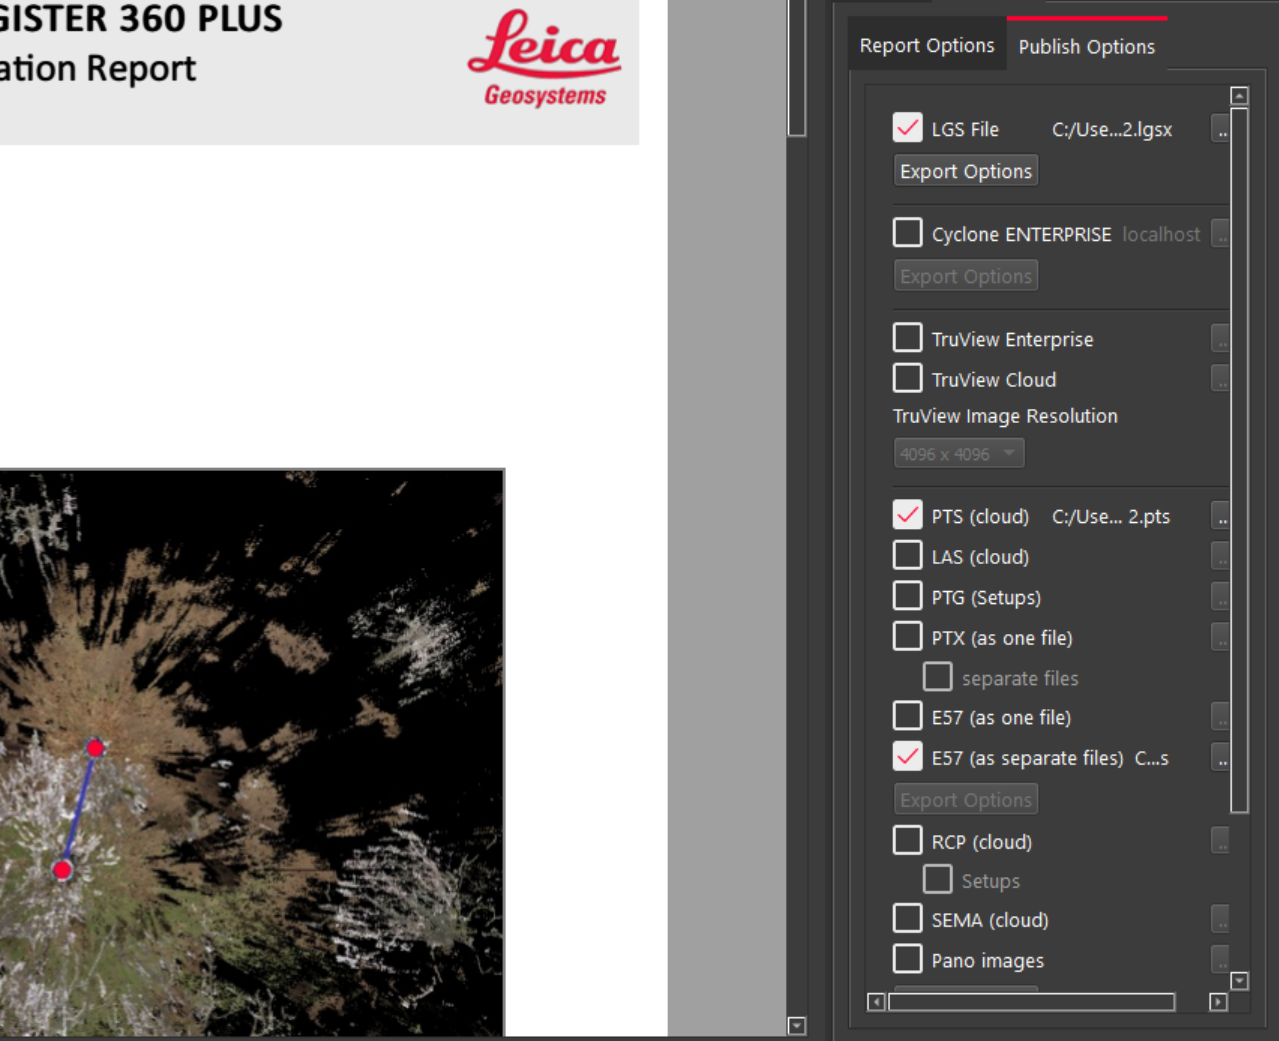
37. Choose your export file types.
To save your scans, navigate to publish options and select your desired file type. Choose the folder you made earlier as your save location. Main file type definitions are below.

38. Publish your files.
Click publish, your files do not save until you have clicked publish. It is always a good idea to check that your files have saved before exiting Cyclone Register 360.
Main export file types.
LGS
Works with point cloud data in 3DR software. This file type also works like a stand-alone google street view through the application TruView. 3DR can be used for creating mesh models from the 3D point cloud data. It can generate watertight models for 3D printing.

PTS
Export point cloud data as a single unified point cloud that can be used in other point cloud editing or meshing software (e.g. MeshLab).

E57 (as separate files)
If you want to retain individual scans and work in other point cloud editing software.