
The Interface
The application menu bar along the top provides general menu options.
The tool controls bar just below adjusts to the currently selected tool. It displays adjustable options for the currently selected tool.
Vertically on the left, the toolbox contains the main drawing tools, e.g. for creating and editing shapes, as well as to zoom in and out.
The large blank area is the canvas, where the image is edited.
A white rectangle represents the visible page area.
On the right side of the window, is the commands bar, which gives quick access to commonly used commands, also available via the dropdown menus. If not all the commands are shown, there is a right-facing arrow that gives access to the hidden choices.
In the top right corner, a little arrow next to a magnet symbol lets you access the snap controls.
There are rulers at the top and on the left of the canvas, to help with grid and guideline placement.
Scrollbars are available to the right and bottom to move around on the canvas.
The colour palette is near the bottom of the window. Its most basic usage is to change the fill colour of an object.
At the very bottom, the status bar provides information such as the colours of the selected object, layers, cursor coordinates, zoom level and page rotation. It also contains a field where Inkscape can display helpful texts, such as the number and type of selected objects, or tips about keyboard shortcuts and usage hints. Whenever Inkscape doesn’t do what you think it should be doing, look here first.
Dialogs for specific functionality will by default appear attached to the right of the canvas, in the docking area.

Guides and grids.
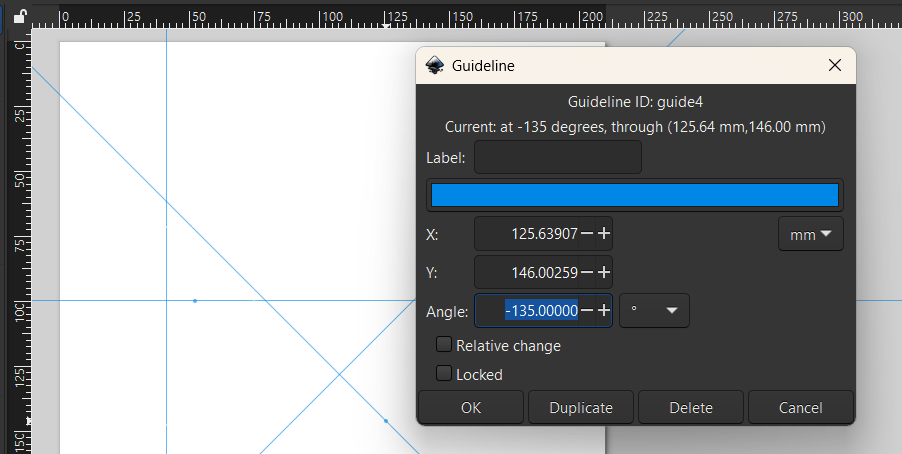
Guides are useful for accurately drawing or positioning objects. You can create vertical and horizontal guides by dragging out the rulers, and diagonal guides by dragging out at the corner of the rulers. Double click a guide to access guide options to change its name, colour, and position.
You can use an object as a guide by selecting the object and clicking Object and Objects to Guides. To toggle the visibility of guides, click on View and then Guides.
You can delete a guide by hovering over it till it turns red and pressing Delete.
Grids are useful for certain images such as technical drawings and 3D artwork. There are two kinds of grids: rectangular and axonometric.
You can create a grid by going to File, Document. Properties and then Grid.

Snap controls
There are many options for snapping objects to other objects such as grids and guides which can make it faster and easier to draw objects and move existing objects with precision.
You can set the desired snapping behaviours using the snapping menu.

Display modes
Inkscape has a few different viewing modes to help you see your artwork clearly. For example, to see the shapes of the objects as outlines, you can use Outline mode by clicking View, Display Mode and then Outline. You can also click No Filters to remove filters from objects to make edits easily.
Create duplicate windows using View and Duplicate Window and press Ctrl + Tab to switch between them. This is useful for compare the same artwork in two different modes.

Layers
Layers help you organise your artwork by putting items in front or behind each other. Each layer can hold one or more objects and many layers can be created depending on the complexity of your artwork
There are three places in Inkscape where you can work with layer: Layers menu, Layers dialog and the Status Bar. All of them have almost the same commands.
Note that when you switch to a different layer, anything you have selected on another layer, will become deselected.
To move an object from one layer to another, select the object, go to the Layer menu, and choose the appropriate command. This can also be done by right RMC clicking the object and choosing Move to Layer or cutting and pasting the object on a selected layer.
The Status Bar shows the current layer and its visibility and lock status. A hidden layer has its name greyed out and a locked layer has its name in brackets.
Finally, you can RMC right click a layer in the dialog to Show/hide other layers and Lock/Unlock other layers. These are useful for focusing on a specific part of your artwork and remove distractions.
