Why is post-processing important?
3D printing is a very fast way of prototyping designs but often, especially when supports are used, the printed part will need post-processing. A 3D printer often does not produce your finished product.
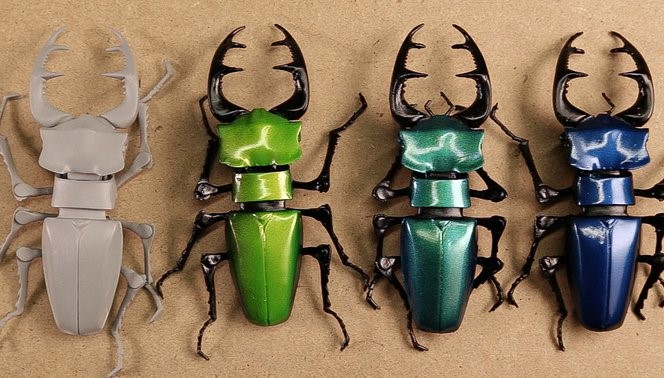
Support removal is to be expected for most 3D prints. Depending on your model, you may also need to sand, fill, prime, paint and apply a finish to your model.

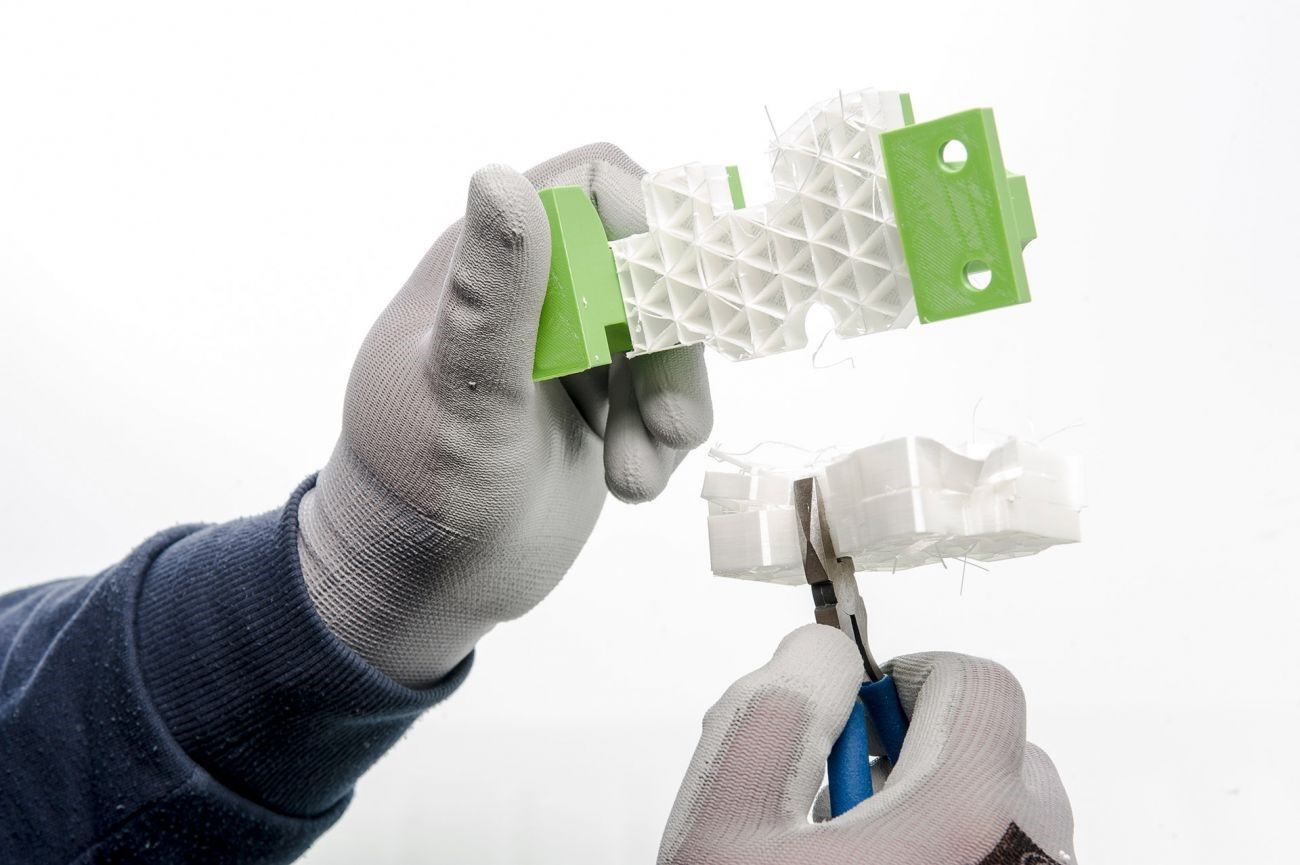
Removing supports.
Your 3D printed part will likely have supports in order to print successfully, which you will need to remove by hand.
Use a pair of pliers or cutters to remove the majority of the support material. If your part is delicate it is important to do this slowly and carefully. Pliers and cutters are available at uCreate. Be careful when removing supports. You may want to wear gloves or safety glasses.
Tree (or organic) support structures are usually easier to remove than normal supports as tree supports have a smaller contact area with the 3D model.
Unless you are using Breakaway support material on a flat surface, you can expect small bits of supports to be left behind and the surfaces where you have pulled and cut the support away from to be rough and slightly damaged. These can be removed by sanding.
Please note that these process become incredibly difficult for small partially enclosed spaces/obscured structures.
While not provided by uCreate, PVA support material is useful for small, complex models. Parts with PVA support material can be placed in water and the supports will dissolve.
Filling and sanding.
FDM 3D printers build objects layer by layer. This can result in visible layer lines (especially when the print settings selected have a large layer height). Sanding is a great and simple method to have a smooth surface finish on a 3D printed object if you want it.
Polyfilla (available in the makerspace) can be used to fill in the small gaps between layers before sanding.
It is recommended to start sanding with low-grit sandpaper (around 150 grit, each piece of sand paper will have its grit written on it), and then gradually use higher grit sandpapers to go over the same surfaces until you are happy with the finished surface. The key in sanding is to use circular motions and avoiding sanding parallel or perpendicular to the layers.
To achieve a smooth finish, it is recommended to use polyfilla and sand multiple times.
When sanding, we recommend wearing a mask to protect yourself from inhaling the dust produced.

Priming, Painting and Finishing.
If you want to paint your 3D printed part, it is recommended to first prime the surface. Priming the surface gives and even base for the paint to stick to.
Primer can be bought as a liquid to be applied by brush or as a spray. Please note that no sprays are allowed in uCreate so a primer spray can not be used inside the makerspace. It is advised to do this in a well ventilated area with something underneath your model (like cardboard or newspaper) to avoid marking other surfaces.You may intend to use the primer only for painting on top of, but you can also choose a primer/spray that will form part or all of the final colour of your model. Primer can be bought online or from a range of hobby shops.
Once the priming is complete and the part is dried, you can start painting. You can use either spray paint or a brush. You can use painter’s tape to spray different sections of the part with different colours. Again, spray painting cannot be done in uCreate.
Once you are happy with your finished model, you may want to protect the paint from damage and wear. To do this can apply a transparent top coat.