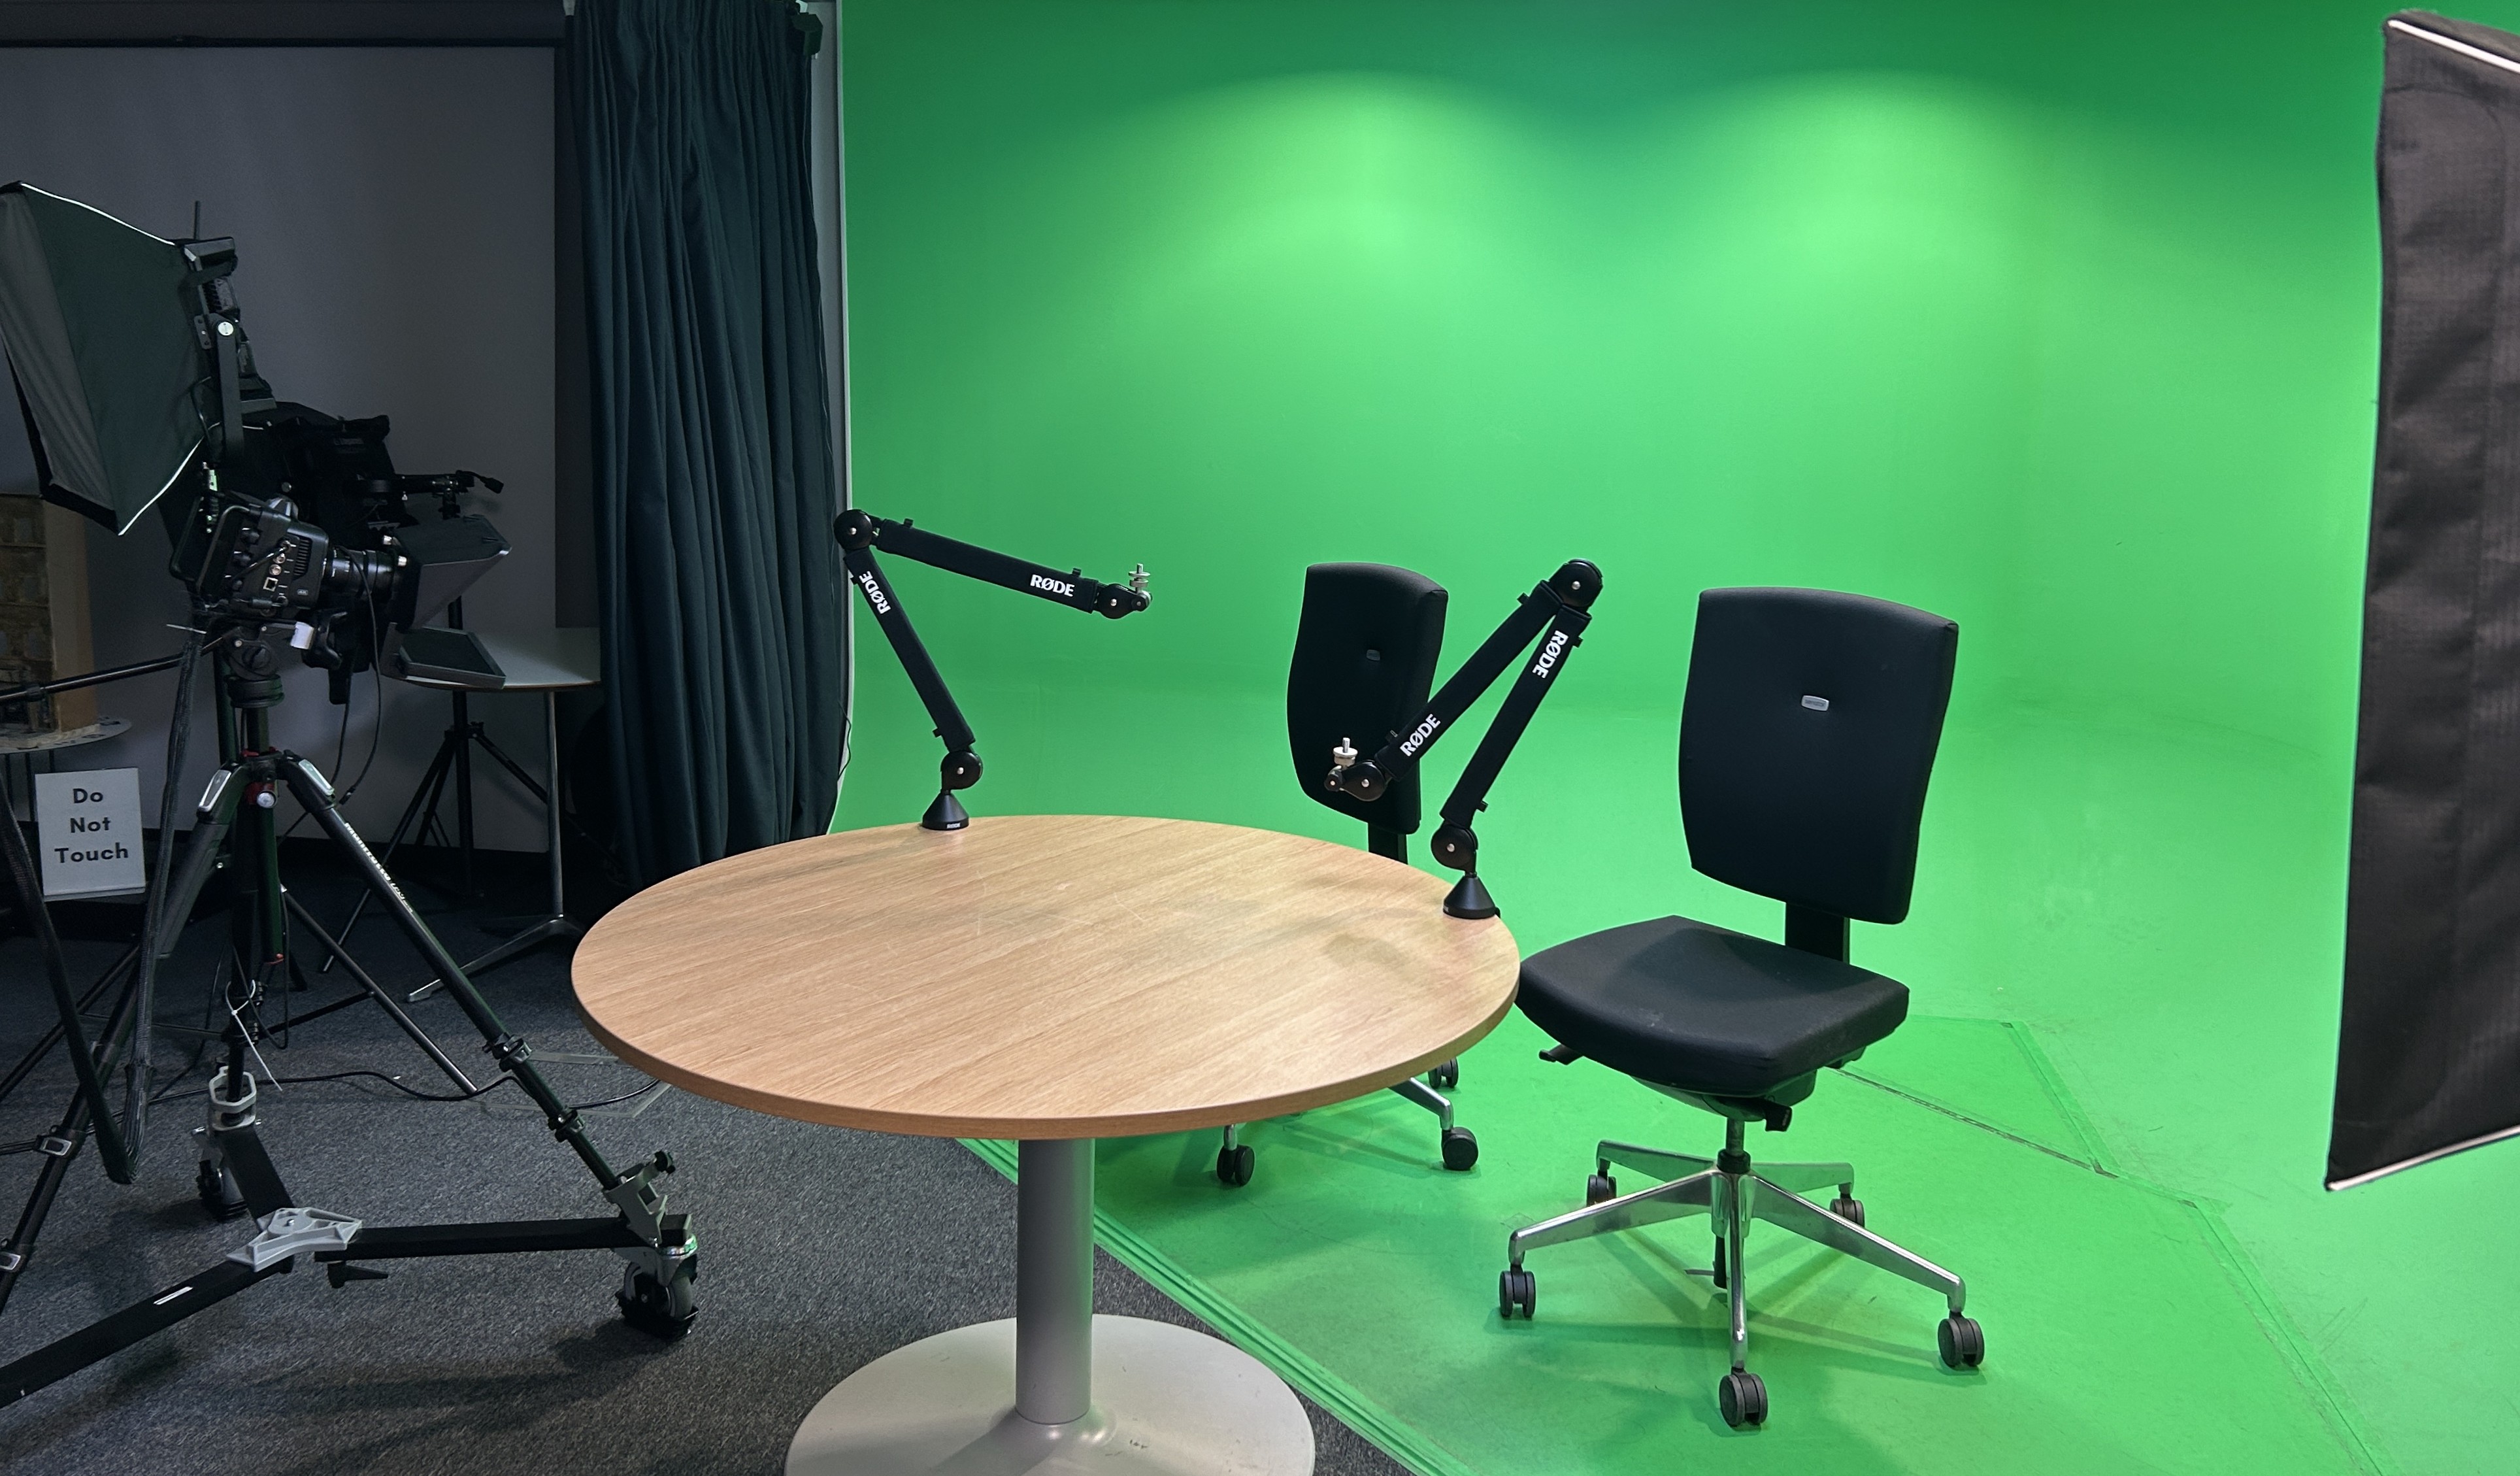
What audio equipment is available for use in the Digital Transformation Suite?
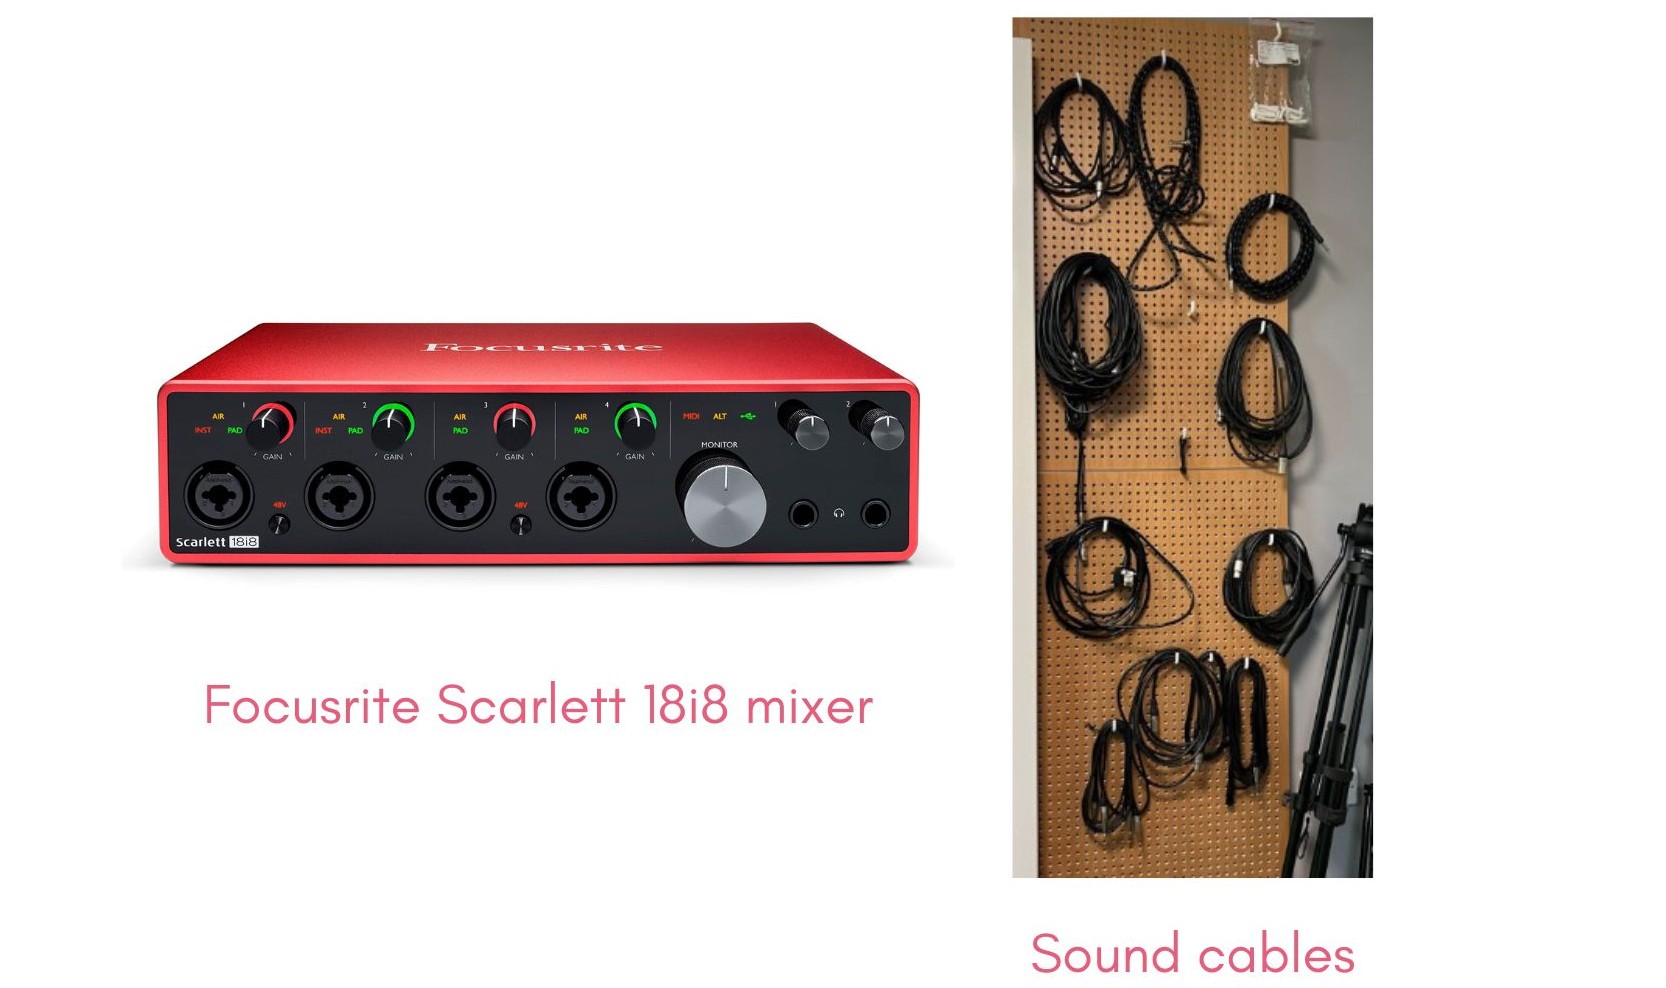
The Digital Transformation Suite recording set up is set up to use the Focusrite Scarlett 18i8 mixer.
We have a variety of sound cables (3.5mm and XLR) located on the wall next to the door.
Different recording purposes, require different microphones. Below is a list of all of our microphones.
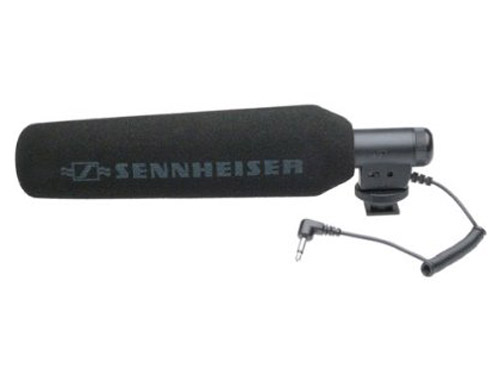
- 2 directional Sennheiser field mics
- 1 Sony lavalier microphone & receiver
- 1 Sennheiser lavalier field microphone & receiver
- 1 omnidirectional Shure Beta 58A microphone
- 2 Rode C214 studio microphones
- 1 Sontronics STX-3X professional microphone

The Focusrite Scarlett 18i8 Mixer.
The Focusrite has a power switch on the back left side.
Sound inputs.
- Inputs are on the front of the mixer.
- Match inputs to outputs: 2 furthest left input prongs on the front of the mixer.
- Plug in your headphones into 3.5mm input adaptor on the right side of the mixer.
- If the adaptor is not already plugged in, please see staff.
- The Monitor knob sits directly to the left of the headphone plug in.
- Knob to the left: all sound output to your headphones.
- Knob to the right: right directs all sound output to the desktop speakers.
- Adjust the knob all the way to the left if using headphones and to avoid overlapping sound in your recording.
Sound outputs.
- Outputs are on the back of the mixer, this is how to hear the sound on desktop.
- Line Outputs 1 & 2: make sure 3.5mm cables are plugged into mixer and left and right desktop speakers, respectively.

Top tips for microphone positioning.
Directional microphone
Place the microphone pointed down toward a subject at a 30 degree angle toward the subject’s mouth, at least 20cm away from the subject.

Lavalier microphone
Place the microphone on the subject’s chest ~8 cm away from their mouth (on or just below the shirt collar) for best sound quality.
Thread the wire underneath the subject’s clothing top and clip the microphone on a shirt collar.

Omnidirectional microphone
Place the microphone ~6 cm away from the subject’s mouth.
The Shure microphone should be pointed up toward the subject’s mouth.
The Rode microphones should be directly in front of the subject’s mouth.
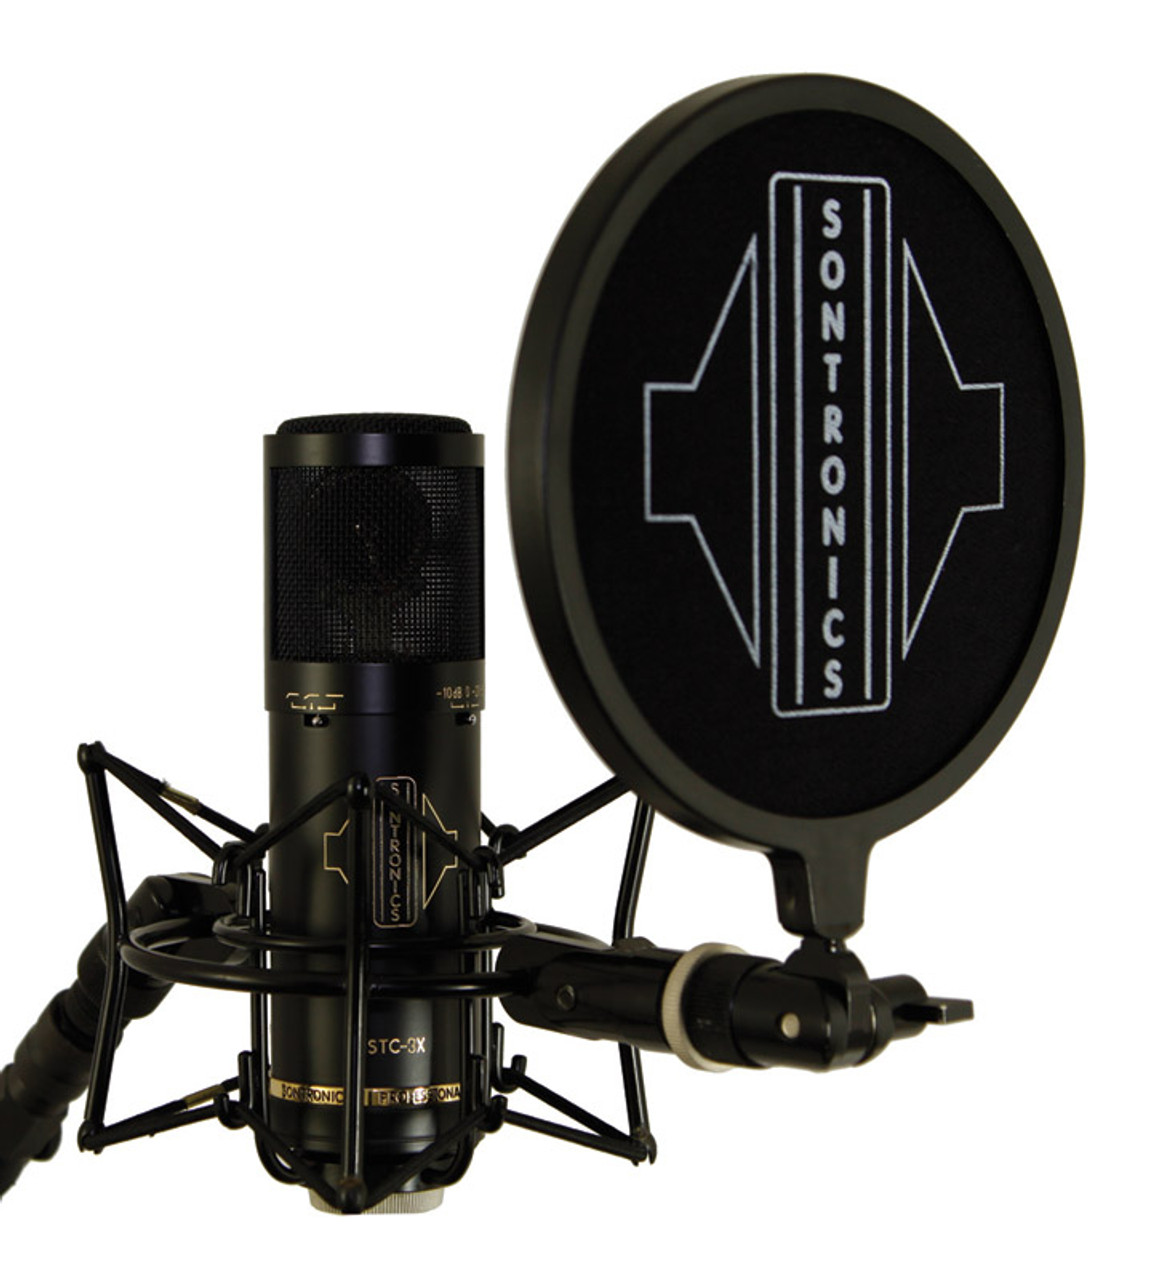
Professional recording microphone
The subject can be placed directly in front of the pop filter, at mouth-level.
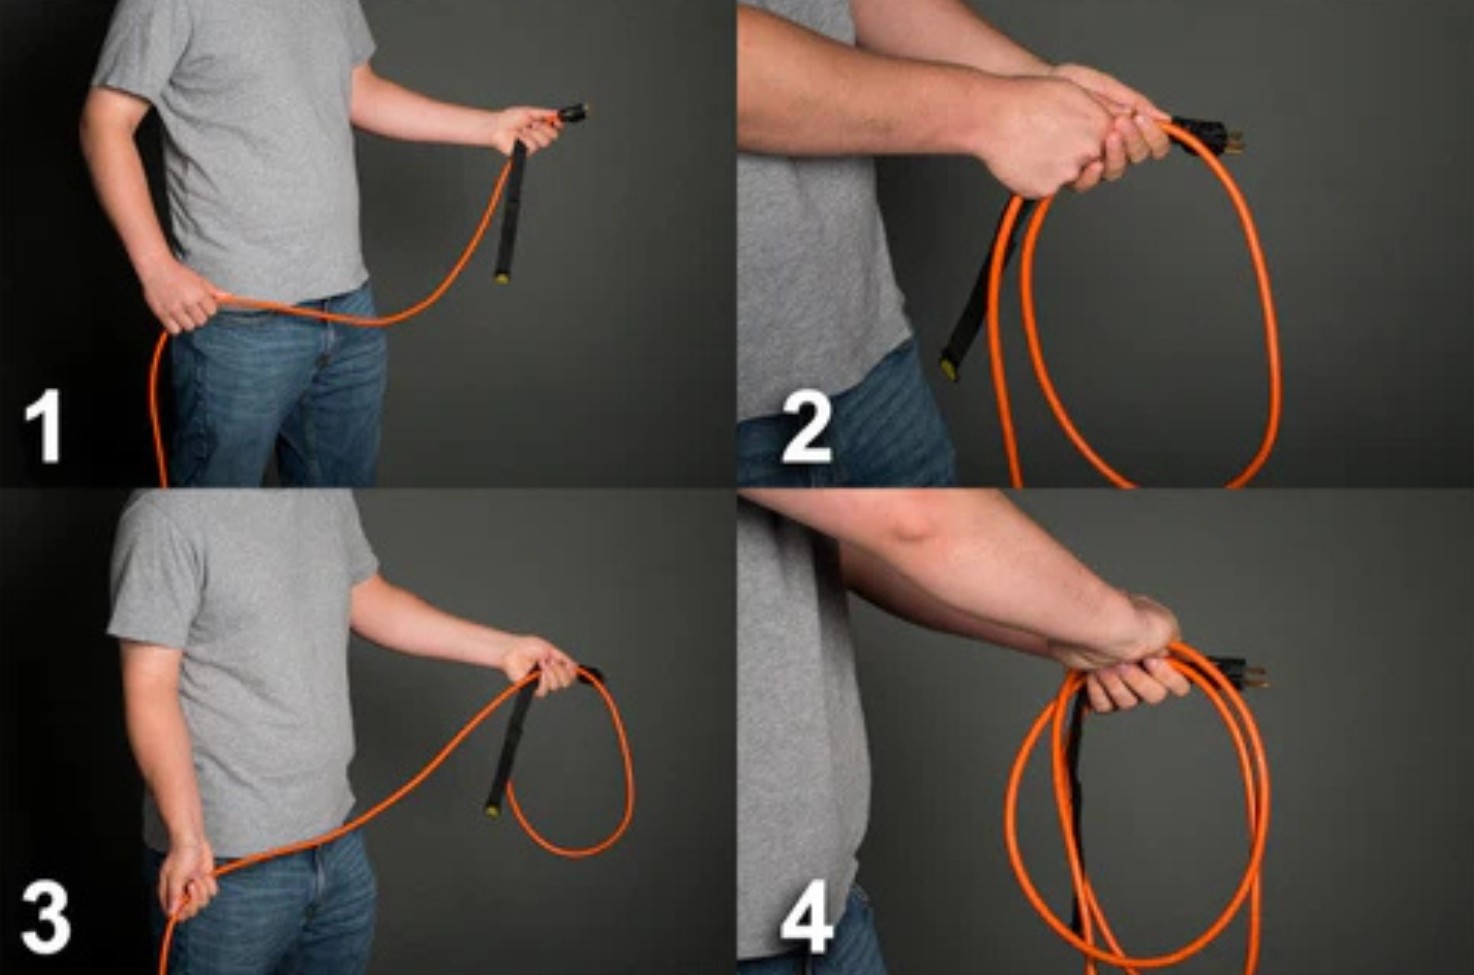
How to wrap a sound cable.
Sound cables should be wrapped with the Over-Under technique (see photo).
This will improve the longevity of the cables and keep them from being tangled.
A basic sound setup.
Your basic sound setup should consist of:
- One microphone (+one receiver if using lavalier mics)
- One XLR sound cable (attached to lavalier receiver if using lavalier mics)
- Mixer controlling sound input
- Recording software - either on desktop or directly to sound card on the mixer
1. Attach female side of XLR cable to microphone input (or to receiver if using lavalier mics) and male side of XLR cable to Focusrite mixer.
If you are only using one microphone, plug into “Input 1,” then add microphones to “Input 2,” etc.
2. Turn on Phantom Power - the button marked “48V” on mixer next to your inputs.
This will help declutter and denoise your sound as you are recording, making your sound cleaner from the outset.
3. Turn up the gain knob.
Turning right will make it louder, turning left will make it softer.
4. Plug in your headphones and test the sound on your recording device, adjusting gain for desired sound volume.
Most often you will be recording in OBS or Adobe Audition in the Digital Transformation Suite.
How can I access and learn more about use of the Digital Transformation Suite?
In order to use the Digital Transformation Suite, you need to have been inducted into the makerspace.
Once you have completed your induction, you are able to book to use the Digital Transformation Suite using our booking system SISO.
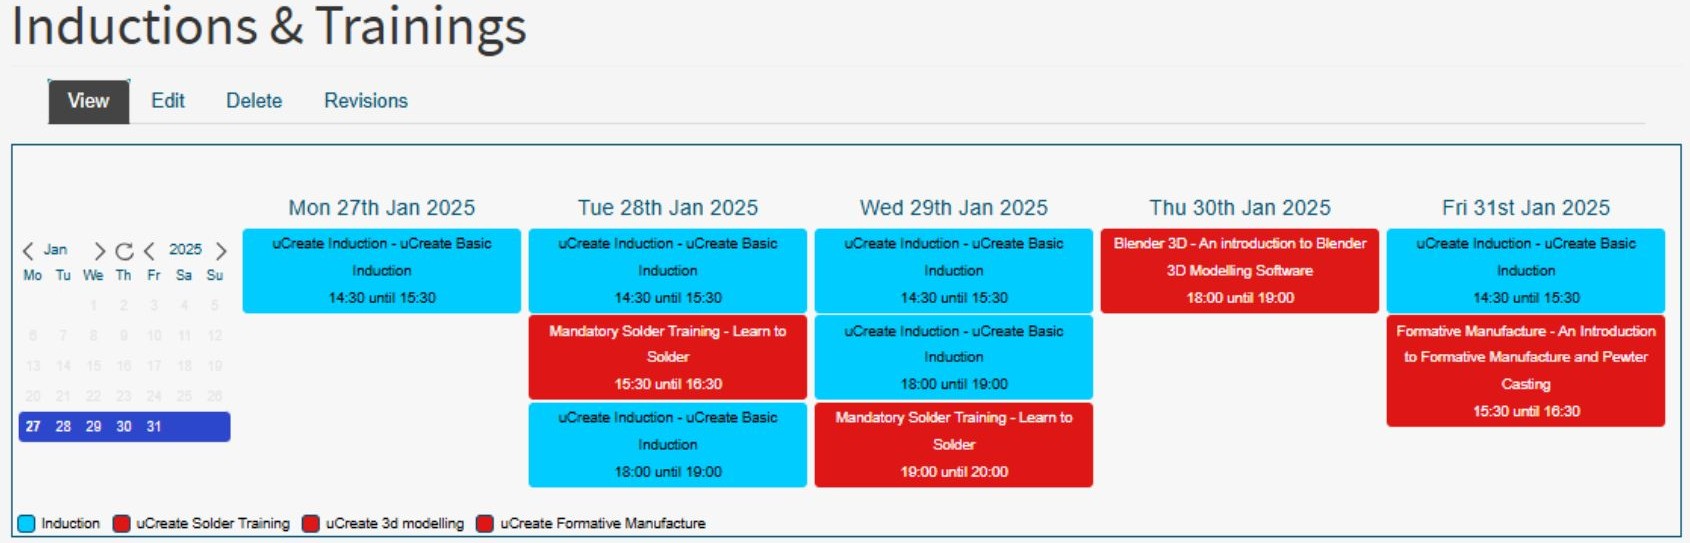
We also offer training sessions which go through use of the green screen and accompanying equipment in the Digital Transformation Suite. It is not compulsory to attend the training to use the green screen but it is strongly advised.
Training sessions are bookable via our events calendar.