What is Adobe Audition?
Adobe Audition is a digital audio workstation featuring both a multitrack, non-destructive mix/edit environment and a destructive-approach waveform editing view.
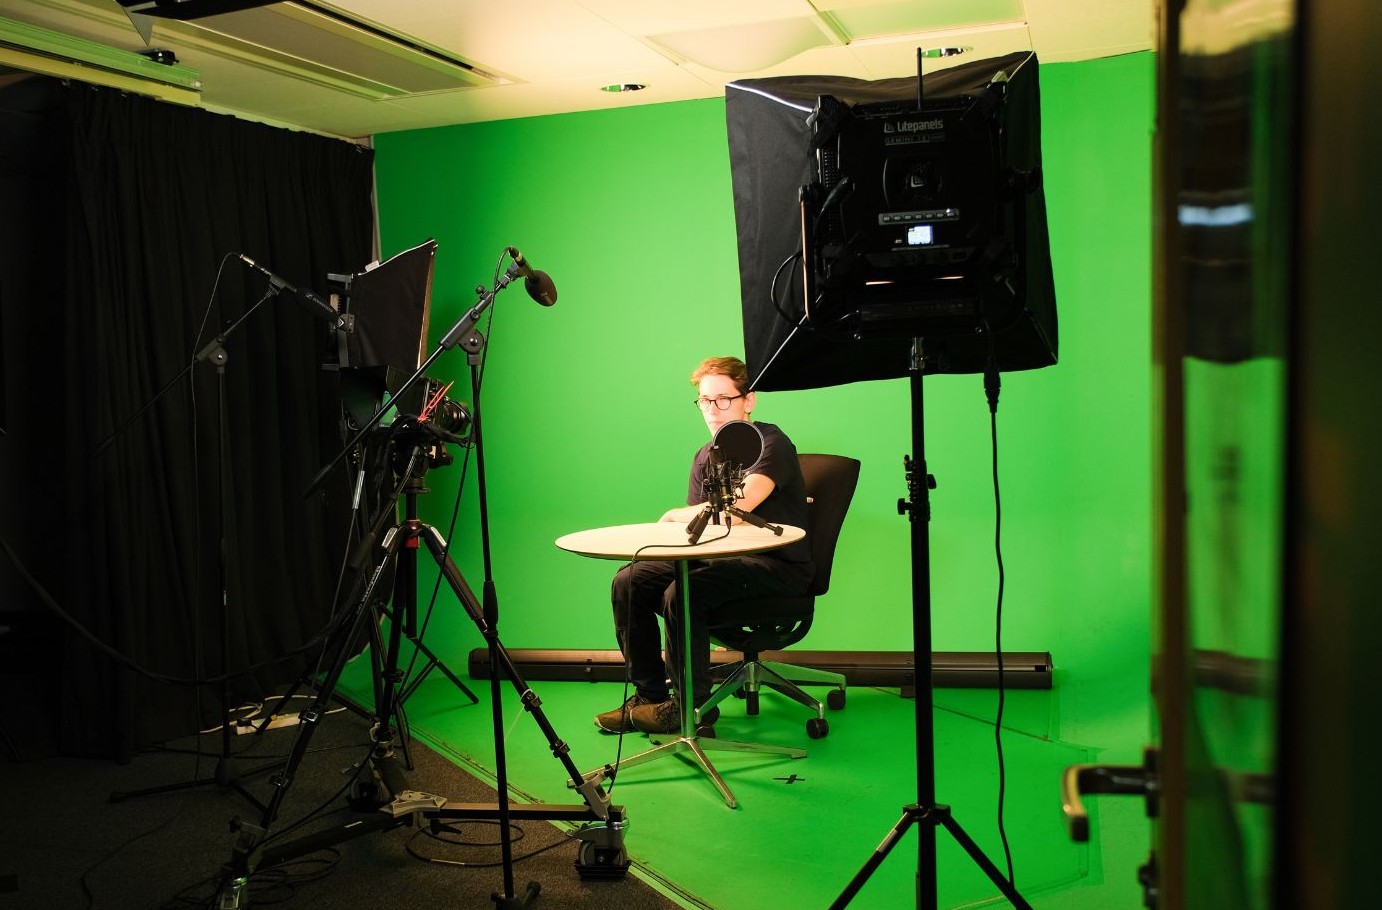
Adobe Audition is downloaded on the green screen computer in the Digital Transformation Suite and we recommend using this when recording on two or more microphones, or for a cinema quality project.
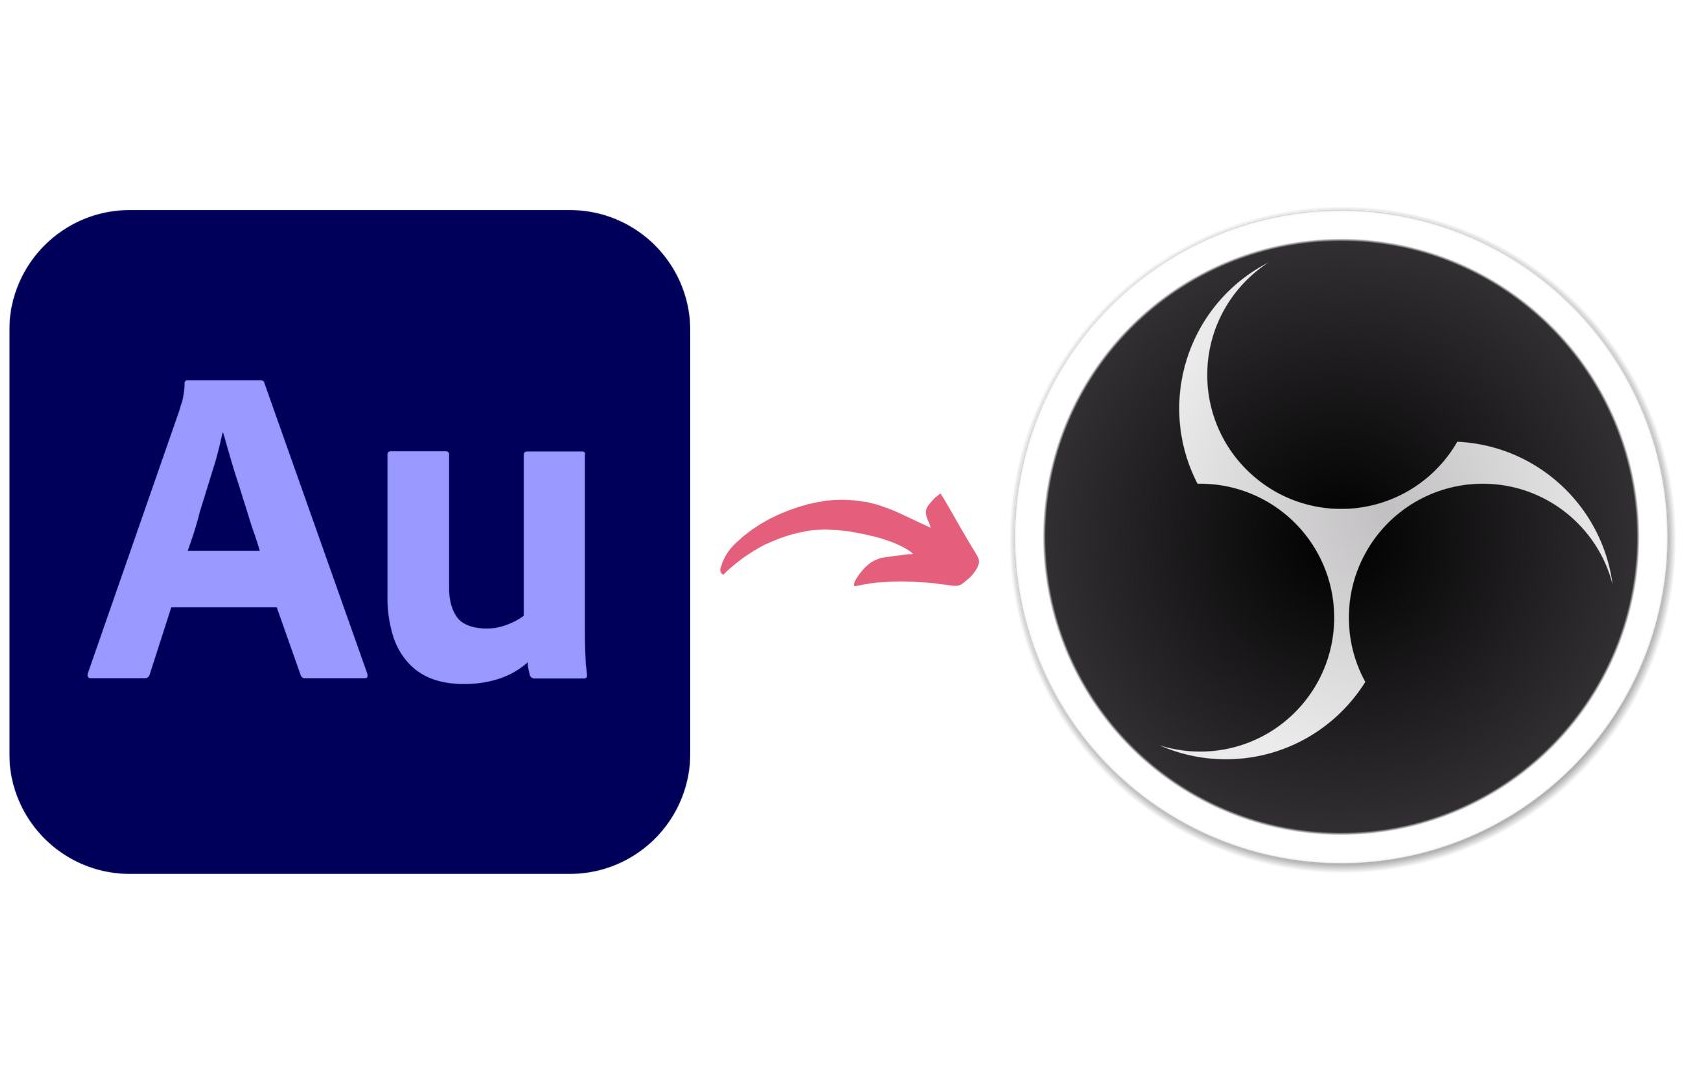
As we recommend using Adobe Audition for two or more microphones and OBS for one microphone, the workflow below will cover how to set up Adobe Audition for two or more microphones. See the using OBS in the Digital Transformation Suite knowledge base page if you are using only one microphone.
Adobe Audition can be used on it's own (if you are only recording audio), but most likely, in conjunction with OBS (which will control your video recording).

Adobe Audition Workflow.

1. Set up your sound equipment.
For guidance on setting up your sound equipment, see the Setting up audio in the Digital Transformation Suite knowledge base page.

2. Open Adobe Audition and create a new multi-track session.
Six tracks should appear in the editing dialog (centre).

3. Go to File → Save As → Click “Browse” on the right side. A dialogue box should open for the location to save your project, which should be under Desktop→ Transient Files→ Audition Projects. Save your project as “PROJECT NAME_DATE.”
Clicking ok will lead you back to the Save As dialogue box, where your project name should also automatically update. If needed, rename your project next to “File Name.”
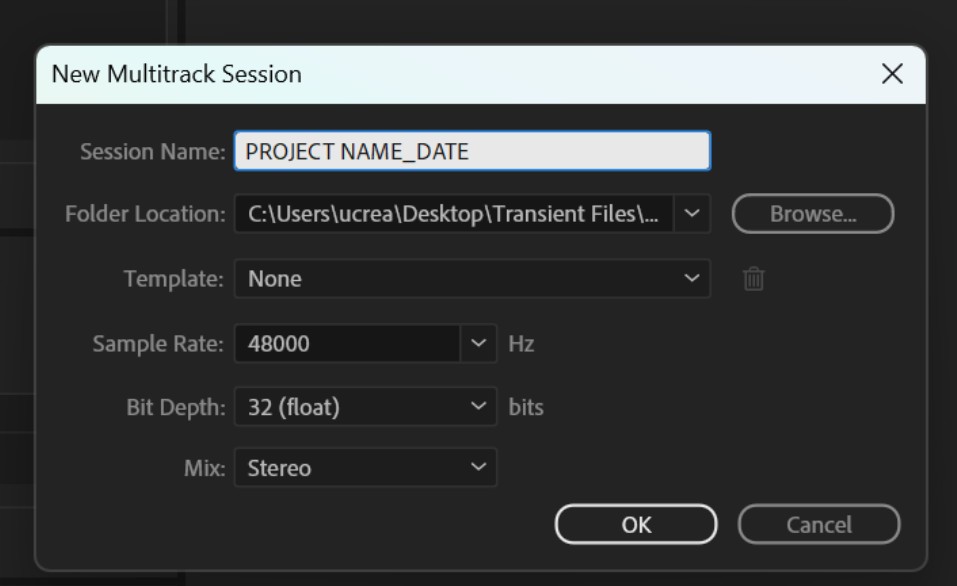
4. Check your project settings are correct and click ok to save. Most settings will not need to be changed.
Template: None
Sample Rate: 48000
Bit Depth: 32(float)
Mix: If using two (or more) microphones, you want to set up your workspace with Mono tracks (one microphone per track) rather than Stereo tracks (two microphones per track). This gives you more control over your audio in the edit.
Throughout the recording, press “Ctrl + S” to save your project.

5. Set up your first track input. Under Track 1 in the Editing module, click on the name listed next to the Input arrow (“→”) which should read “Default Stereo Input.” Click “Mono” and select “[01M] Input 1”.

6. Set up your first track output. Under Track 1 in the Editing module, click on the name listed next to the Output arrow(“←”) which should read “Mix”).” Click “Mono” and select “[01M] Output 1”.
Track 1 in Audition should now be linked to Channel 1 on your Focusrite Sound Mixer.
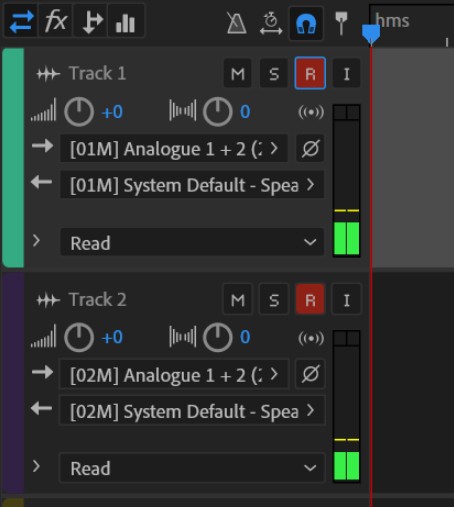
7. Repeat for Track 2 in the Editing module, linking the Input to “[02M] Input 2” and “[02M] Output 2”.
Repeat concurrently for all other microphones if using more than two, linking Track 3 (microphone 3) with Input 3 and Output 3, and so on.
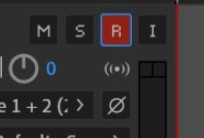
8. Once tracks are linked, prime them for recording. In the upper right corner of the track, click the small “R” (Record). Audio bars should start bouncing next to the Track name. Sound should also be heard through the headphones at this point.
“M”: “Mute,” for you to mute the track during playback if desired.
“S”: “Solo,” for you to single out that track during playback if desired.
If sound cannot be heard at this point, go to Edit → Preferences → Audio Hardware → Latency. Adjust the number to anything other than 200. Wait a moment, and change the buffer size back to 200. This should reset the system.
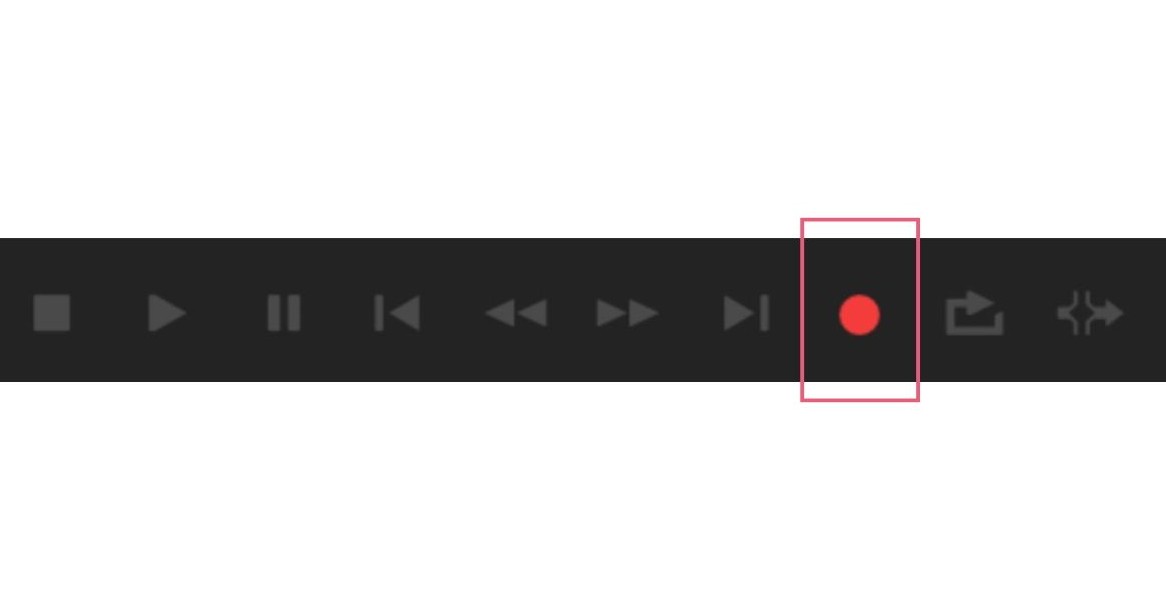
9. Have your subjects sit in front of the microphones where they would be during the official recording. At the centre base of the Editing module click the Red Circle (the Record button).
This should begin your recording session and you should see your tracks start to “write” with progressing red waveform lines.
If these lines do not appear, this means nothing is recording.

10. Move to OBS (keeping Adobe Audition open in the background), and click "Start Recording".

11. Click “Stop Recording” in OBS.

12. Move back to Adobe Audition (keeping OBS open in the background). To stop the recording process, press the white square on the far left side at the base of the Editing module.
Pressing the red recording circle will not stop the recording process, only the white square will do so.
Your files will automatically export to designated spots.

13. Find your file in Windows Files → Desktop → Transient Files → Audition Projects → Your Project Name. Your files should be listed as “Track 1_001” (for microphone 1), “Track 1_002” (for microphone 2), etc.
If your files are not listed, please see a member of staff for other export options.

14. Open the file and listen to its contents to check you are happy with the recording.
It is good practice to not delete any of the recorded files.

15. Repeat the recording process for as many takes and shots as necessary.

16. Copy and paste your files onto an external hard drive for personal editing use.
Your files will be deleted during our routine computer clean up.
Top tips for using Adobe Audition.
Always test record before filming.
It is good practice to take a test recording before starting your main project. This allows you to save time by identifying any errors in the set up as soon as possible.
Start recording in Adobe Audition prior to recording in OBS.
Sound files are smaller than video files and this will make your workflow easier when post processing.
How can I access and learn more about use of the Digital Transformation Suite?
In order to use the Digital Transformation Suite, you need to have been inducted into the makerspace.
Once you have completed your induction, you are able to book to use the Digital Transformation Suite using our booking system SISO.
We also offer training sessions which go through use of the green screen and accompanying equipment in the Digital Transformation Suite. It is not compulsory to attend the training to use the green screen but it is strongly advised.
Training sessions are bookable via our events calendar.