Cura is the slicing software for Ultimaker printers. This guide will help you download and install Cura on your computer.

Step 1: Go to https://ultimaker.com/software/ultimaker-cura, click ![]() and select your operating system to start the download. Note: remember what file you’re saving to for the next step.
and select your operating system to start the download. Note: remember what file you’re saving to for the next step.
Step 2: Once the download is complete, double click on the *.msi file to start installation. When prompted, add a shortcut to your desktop.
Step 3: Once installation is complete, launch the application by clicking on the shortcut on the desktop.
Step 4: Click on printer name (e.g. Ultimaker 3), and click on Manage Printers to add another printer.

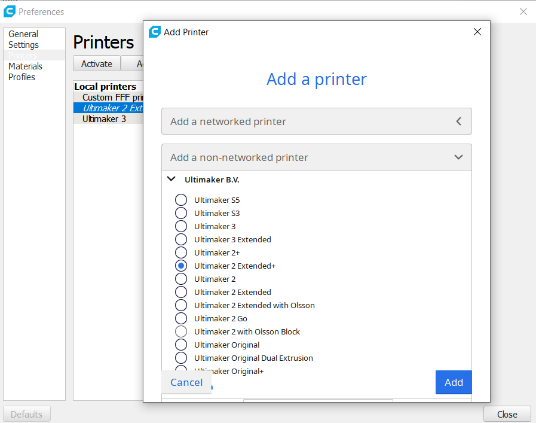
Step 5: To add a printer, click on Add in the pop up window. This will open another window in which you can select a printer among many different printers. For the uCreate Makerspace printers select “Add a non-networked printer”. Simply select the printer you want to add (the uCreate Makerspace has the Ultimaker 3, 2+, 2GO and S5) and then click Add. Similarly, you can remove a printer in the same menu.
Step 6: Install the Settings Guide plugin, as shown in GIF below.
