
What is the Bookeye and what could I use it for?
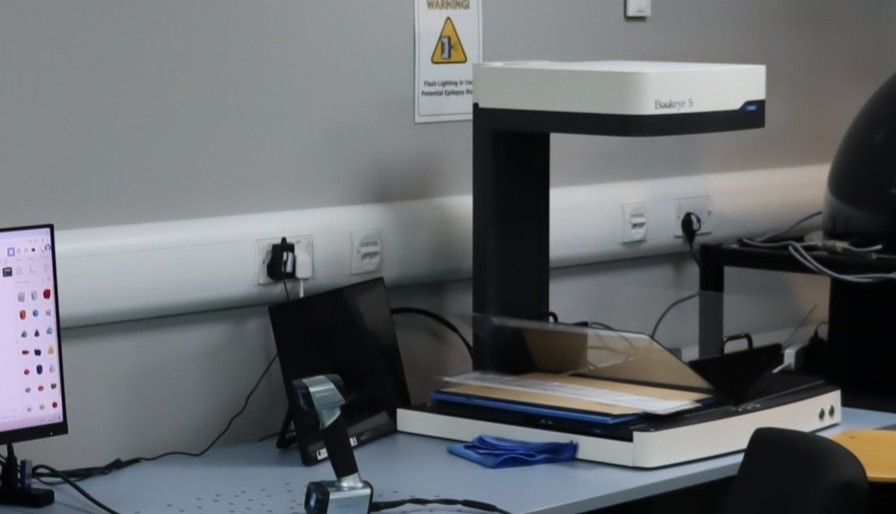
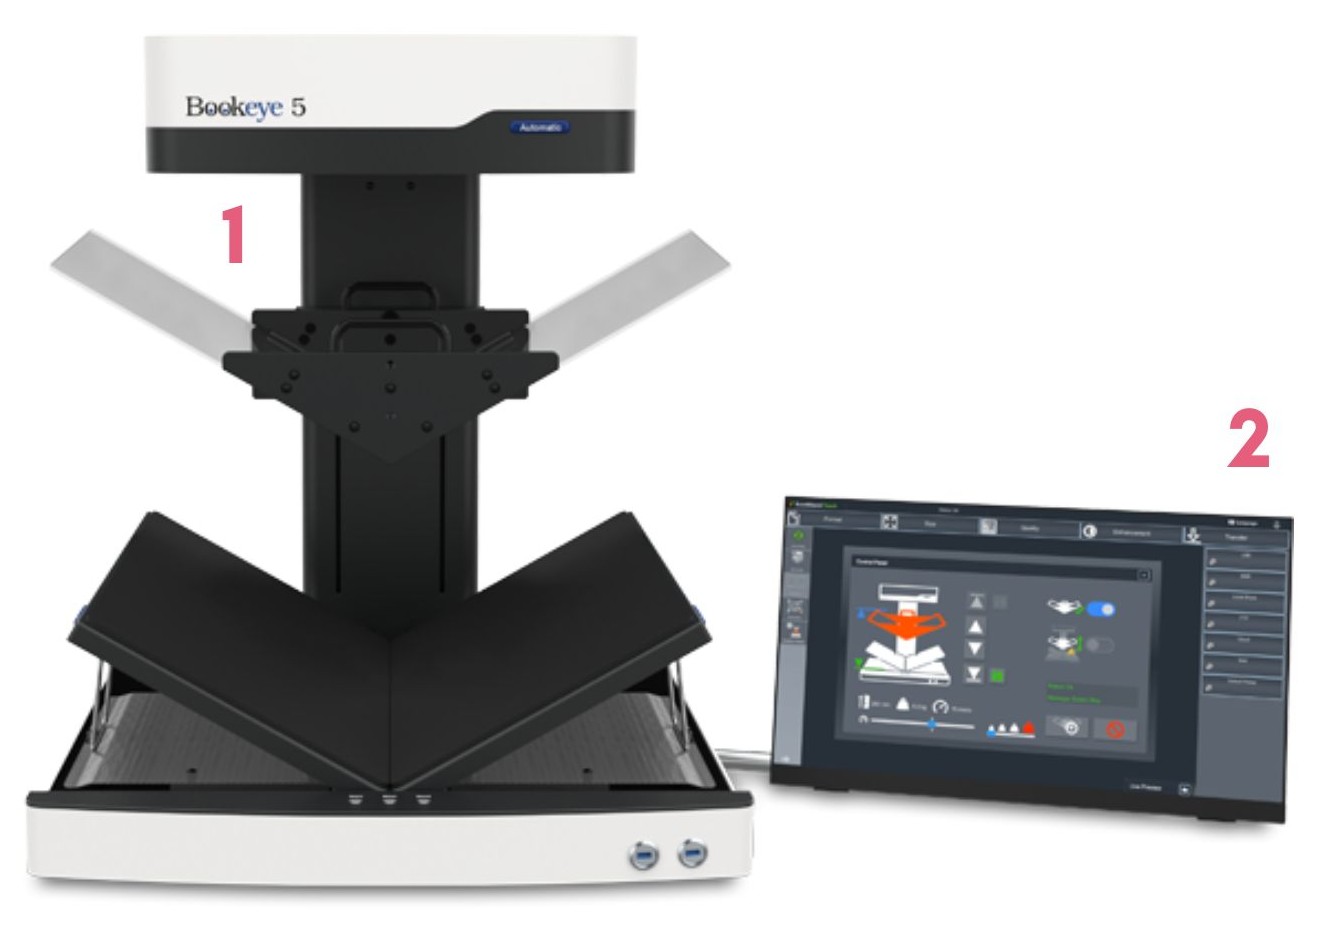
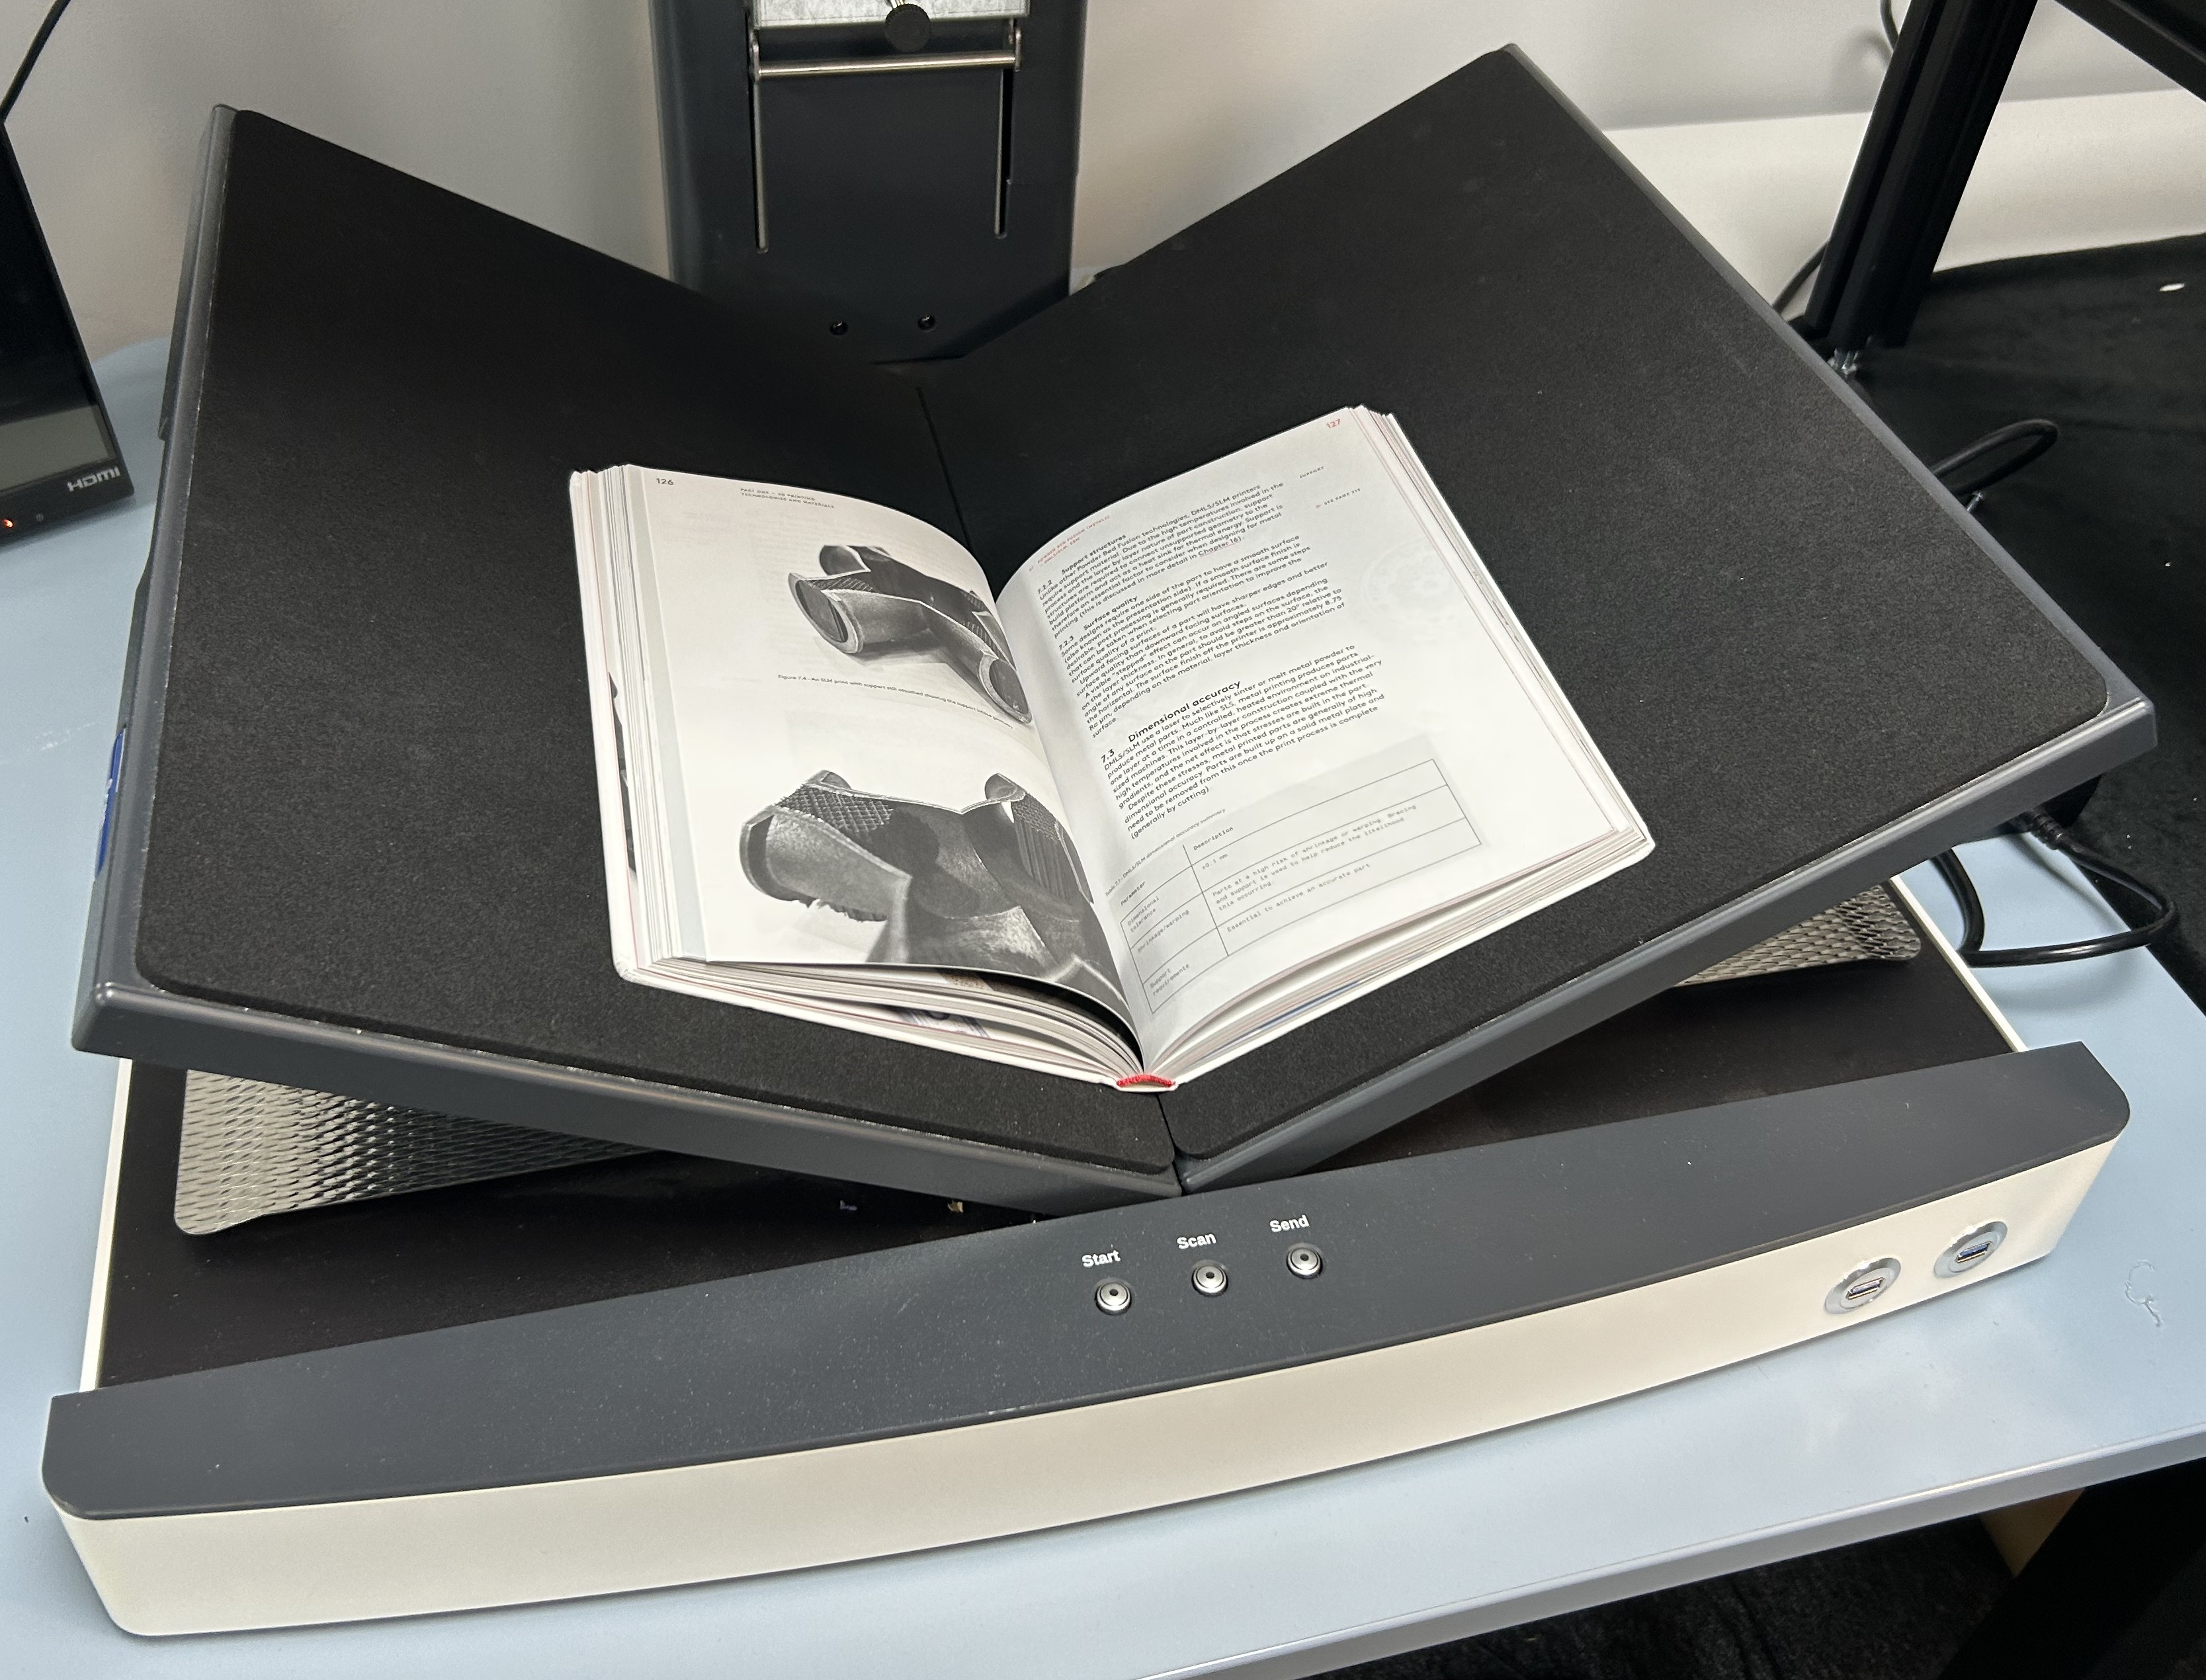
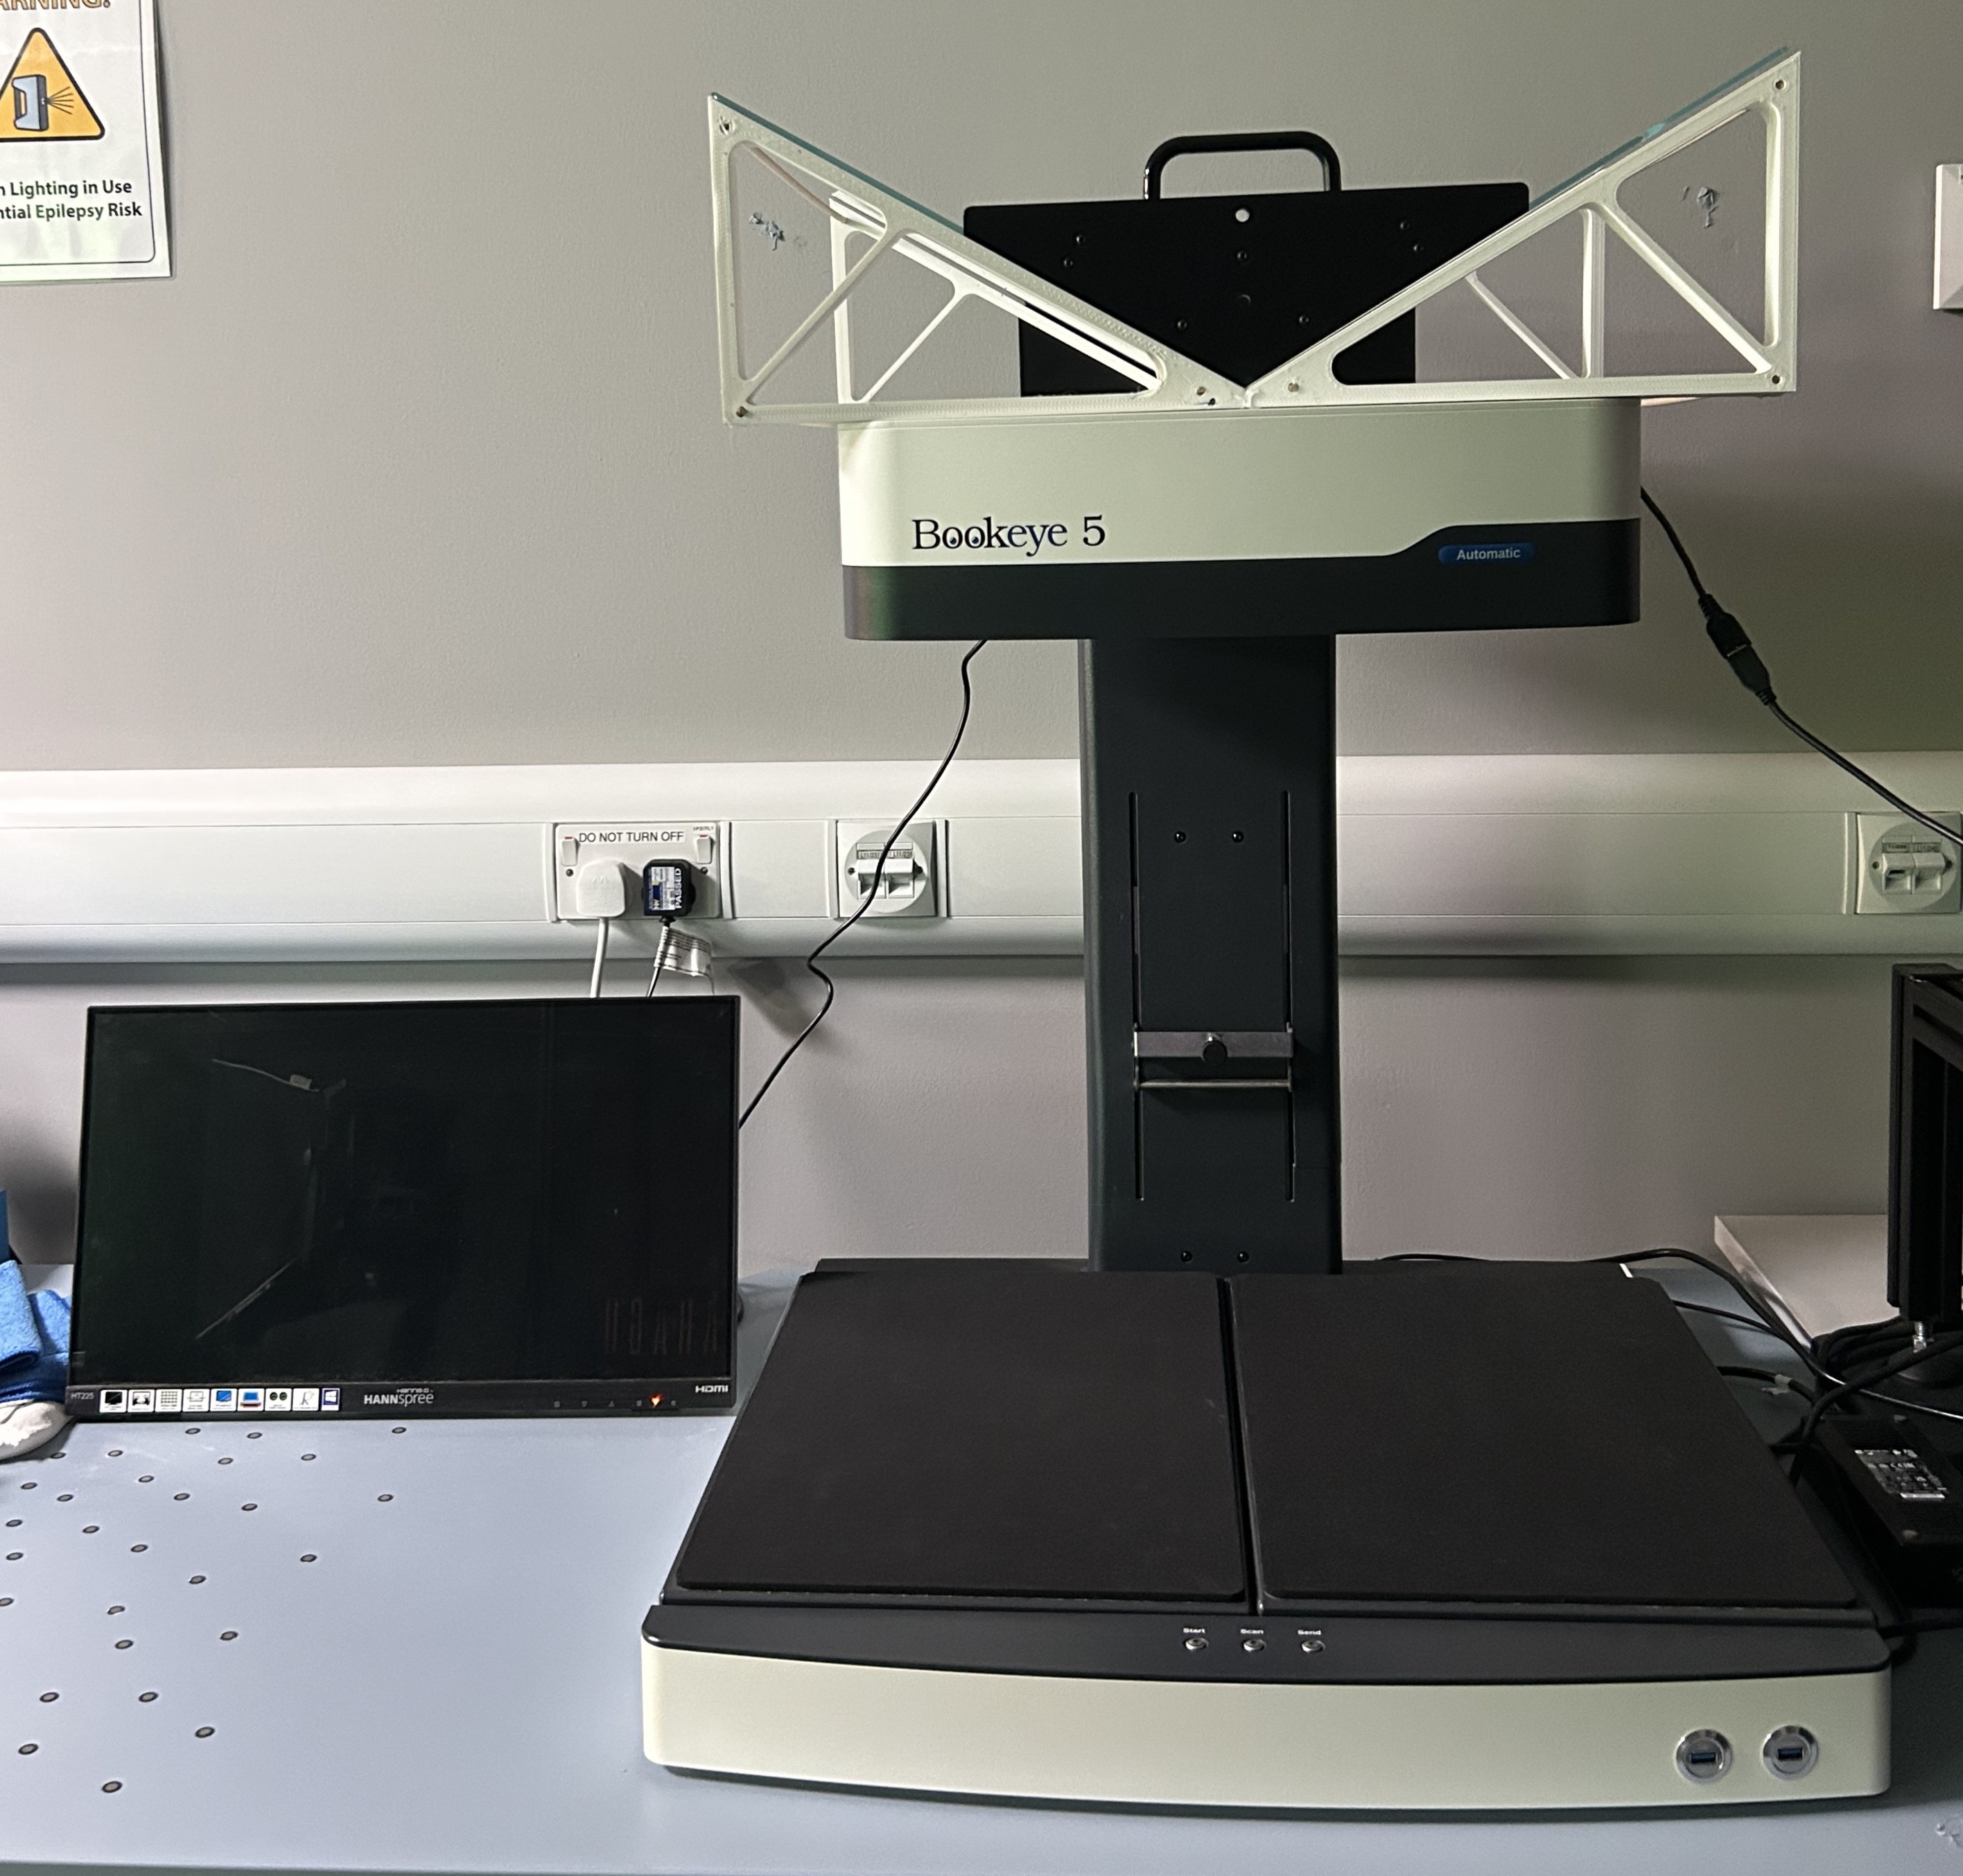
The Bookeye is an overhead book and document scanner for documents up to A2 in size. It can scan both flat sheets and has a cradle for scanning books in V-mode. It is controlled by an accompanying control screen.
It has an automatic mode which allows for scanning multiple pages of a book efficiently. Scans can be exported as PDF, TIFF, JPEG and PNG.

Health and Safety.
The BookEye uses a laser to focus onto the media on the scanner bed.
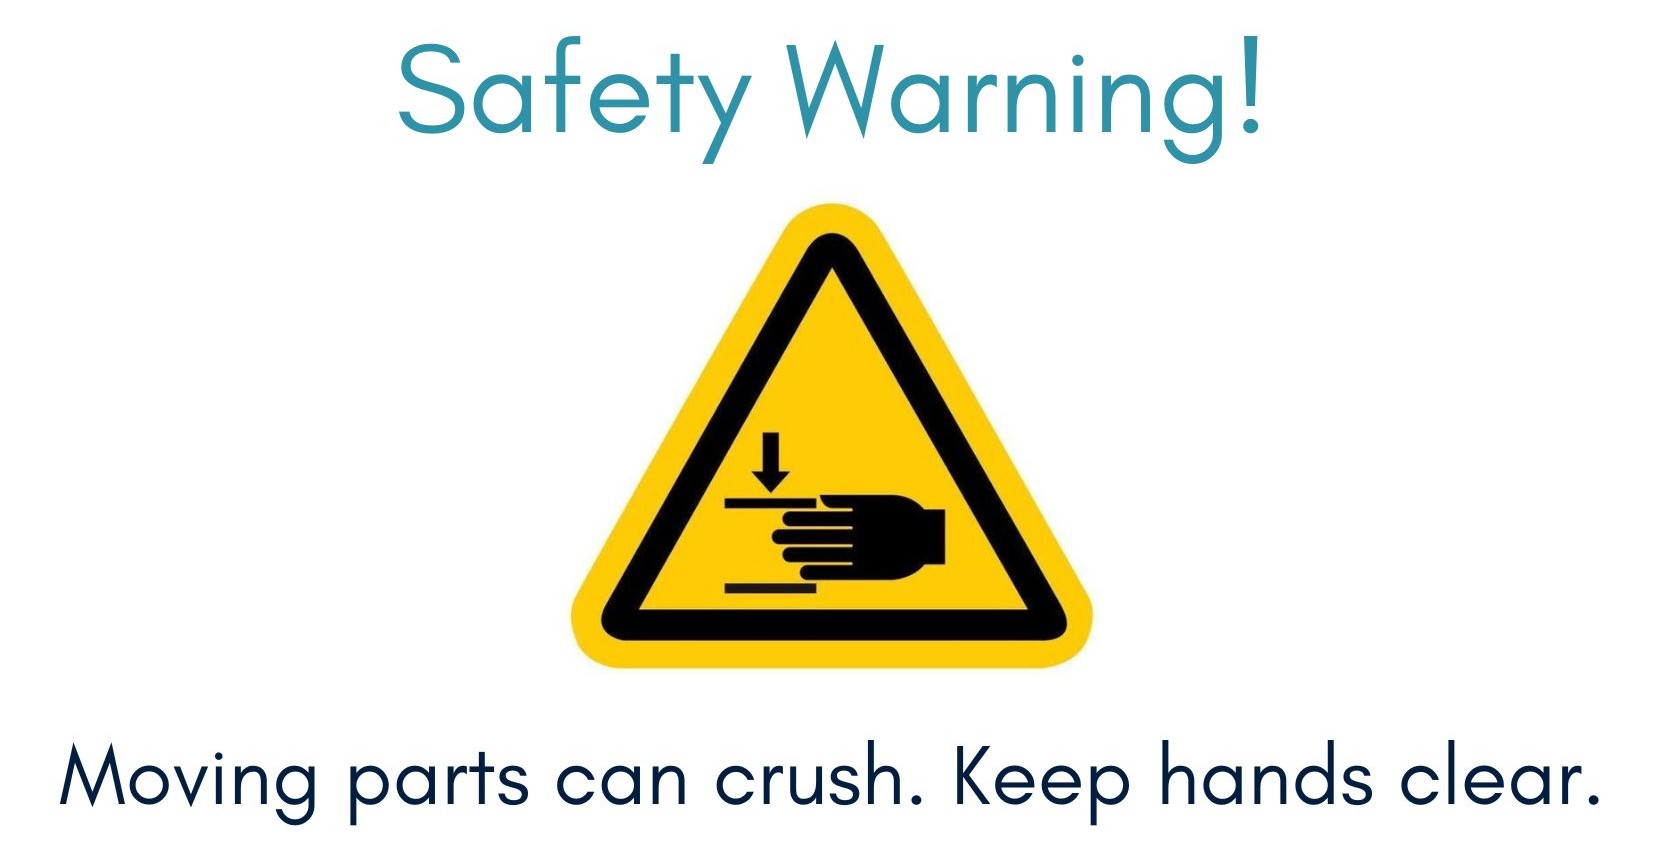
The BookEye has an automatic mode. When in automatic mode, the glass will move up and down automatically between scans. Make sure that your hands are not in the way of the glass when it is moving.
Do not attach or remove the V-shaped glass plate. Always ask a member of staff for assistance.
Top tips for scanning with the Bookeye.
Make sure you have a USB memory stick to save your scanned images on to.
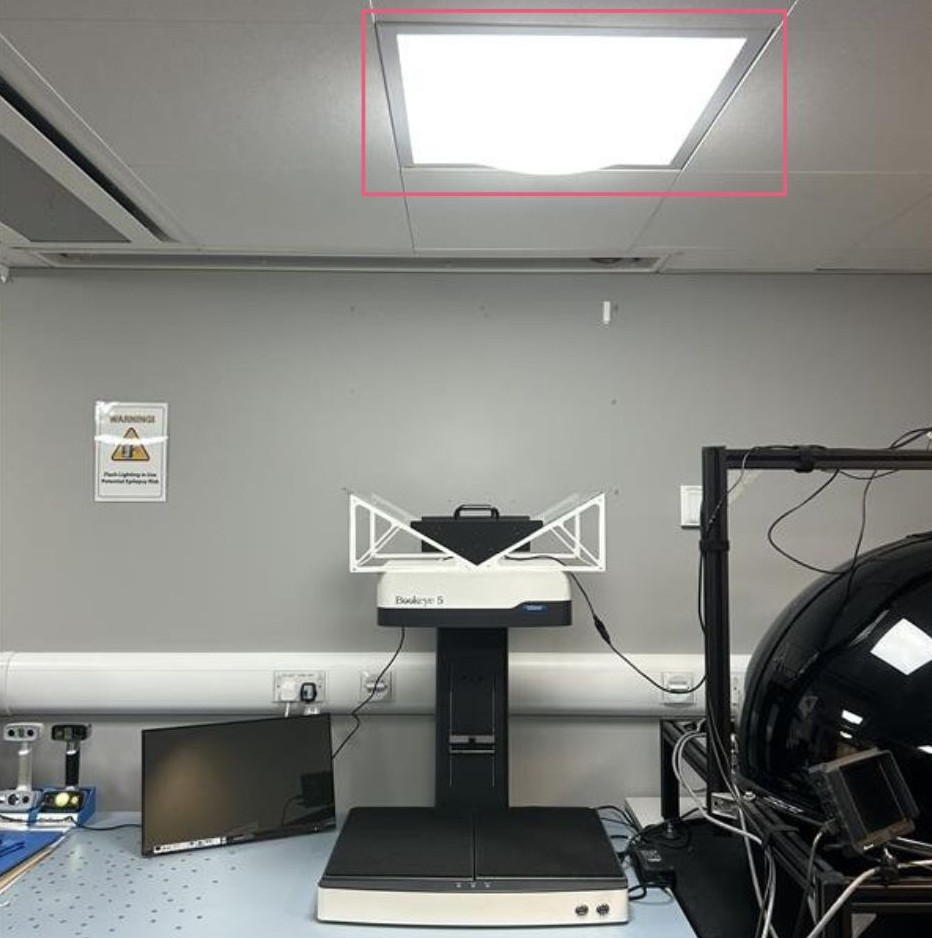
Ensure the light directly above the scanner is turned off before you start.
Leaving the light on will cause glare or discolouration on your scan.
Make sure to switch on the control screen after the scanner.
Turning on the screen before the scanner, will result in a connection issue.
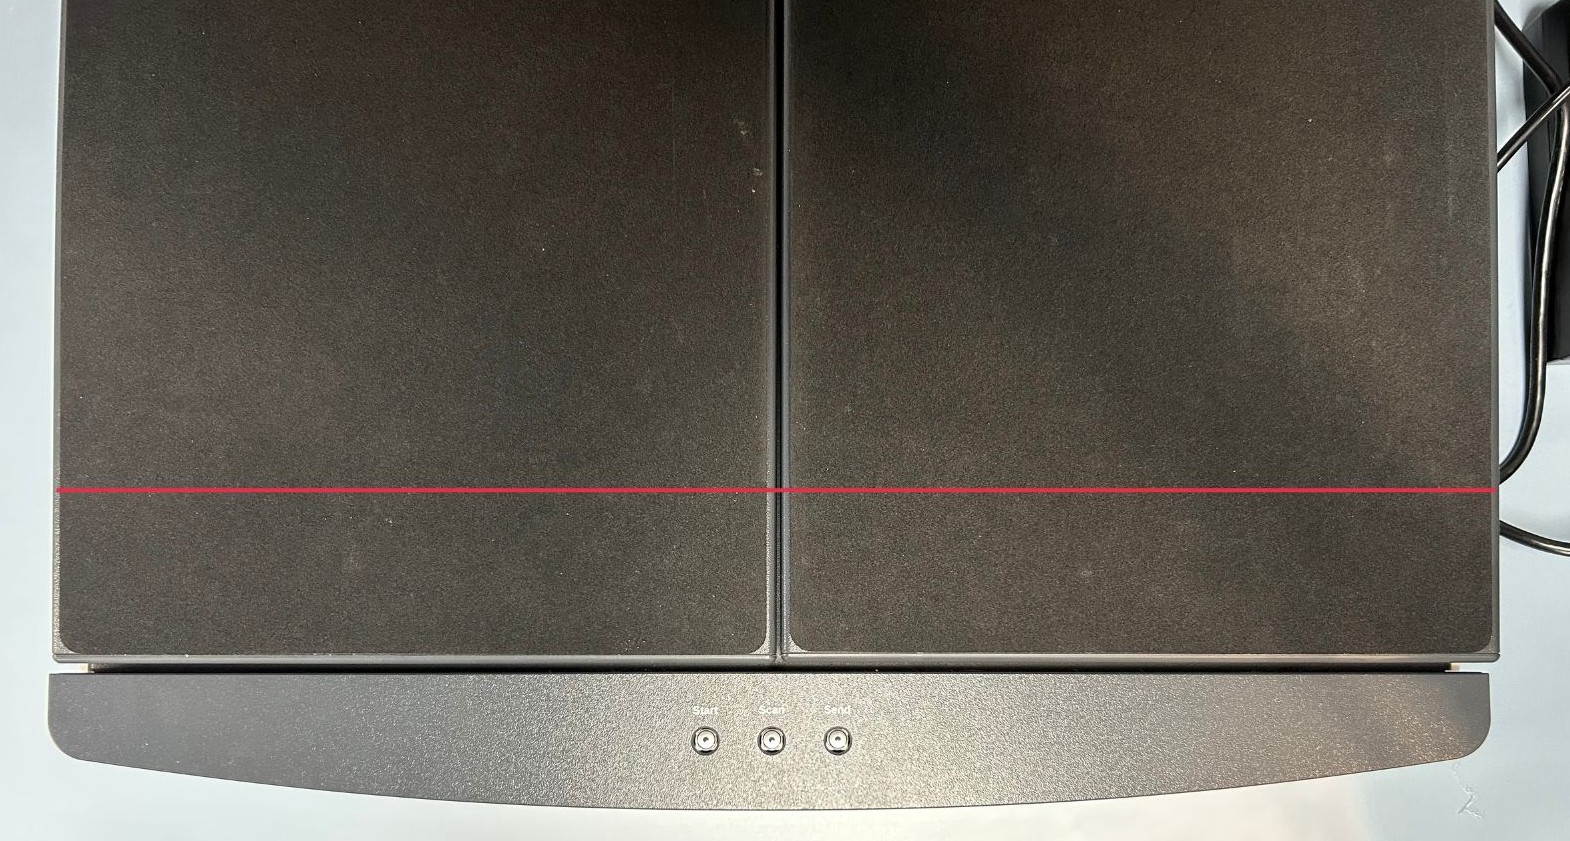
Place documents for scanning in the bottom third.
This allows the media to be hit by the red focus line.
How do I access the BookEye?
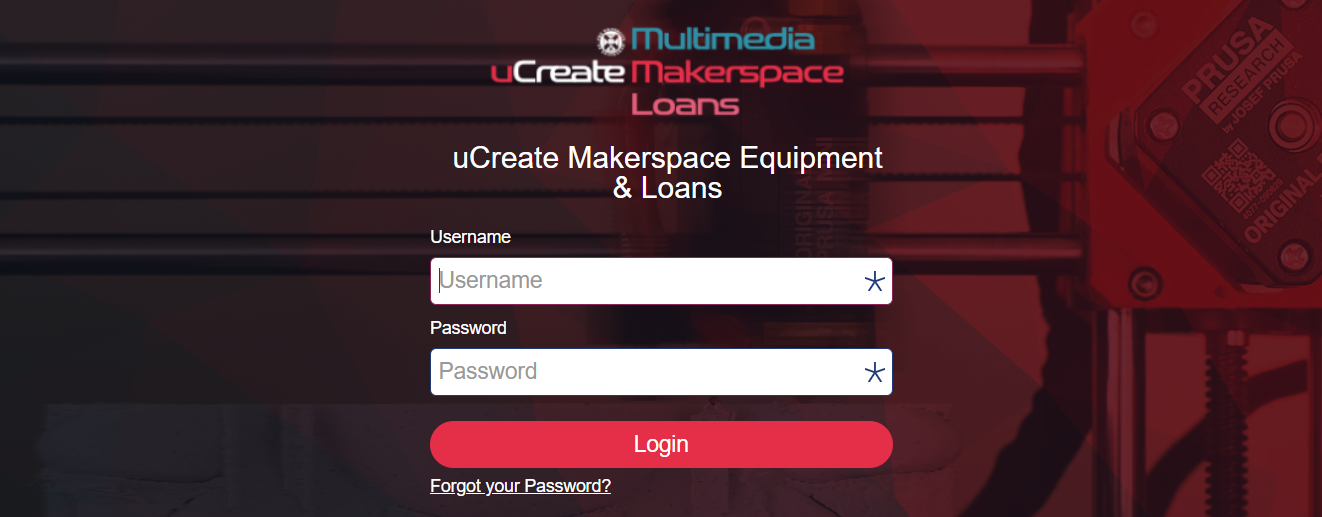
To use the BookEye, you will first need to be an inducted member of uCreate. If you have not yet been inducted, you can book an induction here.
To book the BookEye, please visit the Equipment Bookings page and book out the '3D Scanning Station'.
Bookeye workflow.
This workflow is also detailed on a poster above the BookEye in the Digital Transformation Suite.
Set up the scanner and your file.
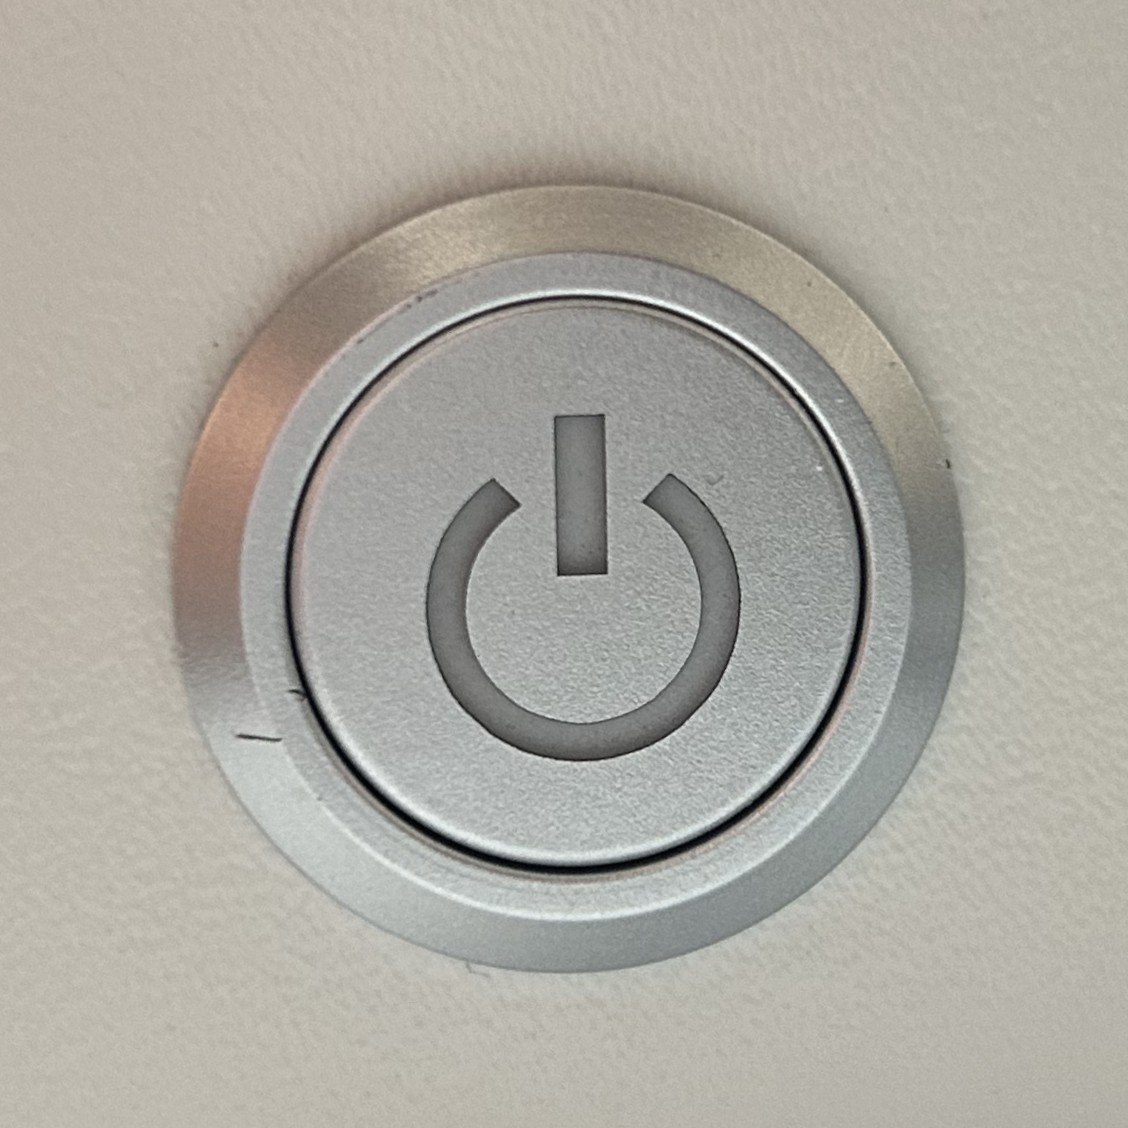
1. Press the power button on the right hand side of scanner bed, followed by the screen which controls the scanner.
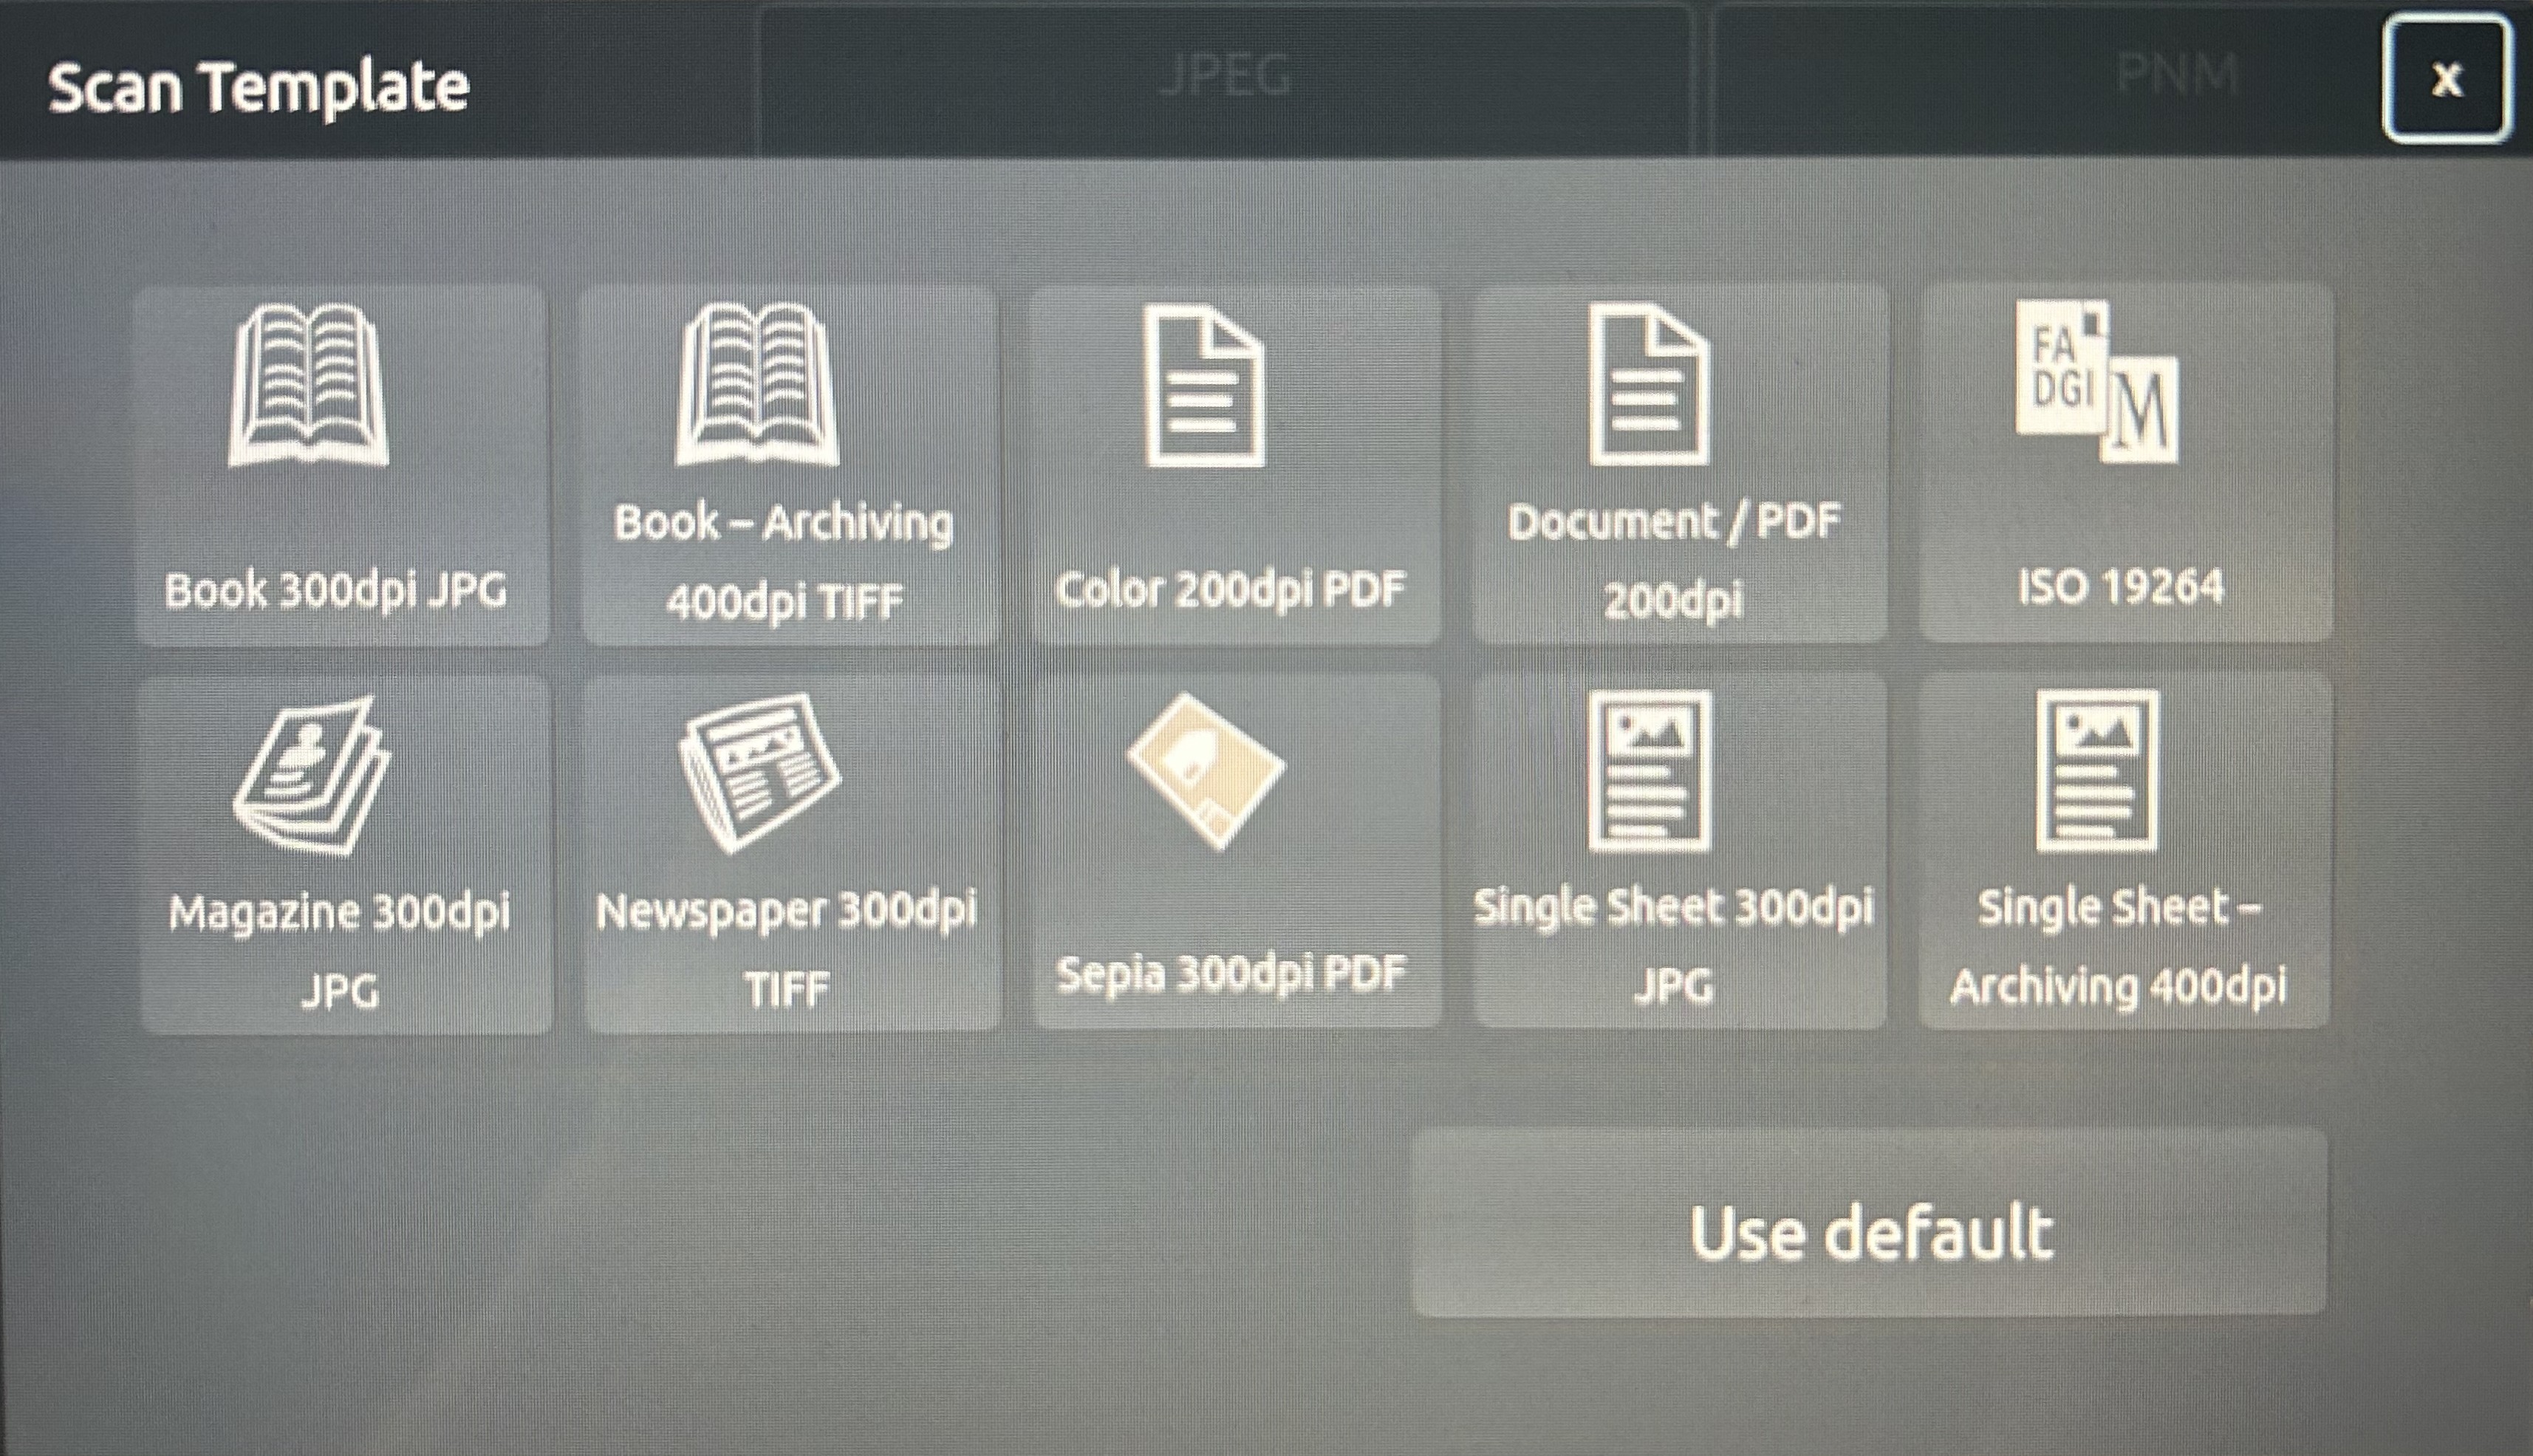
2. Select the template that best suits what you are scanning.
You can make adjustments to this template later. We recommend above 300DPI for printing.
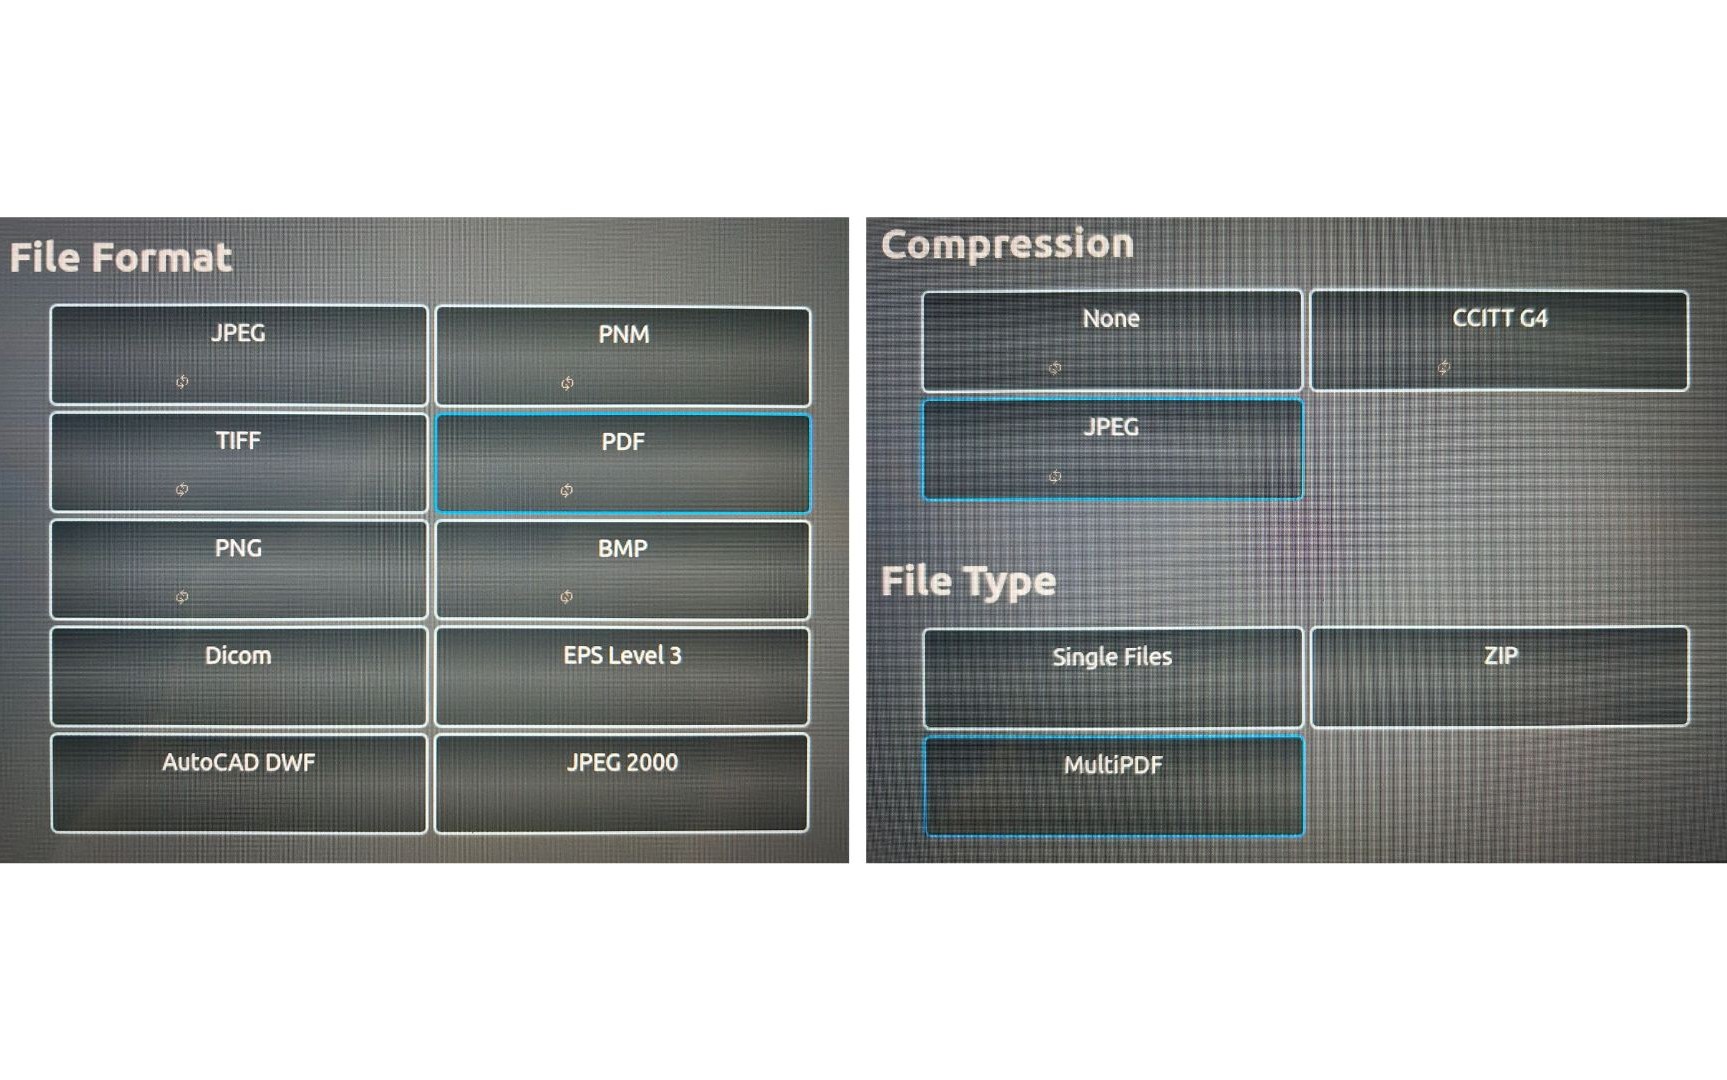
3. Select the file type, set the compression to JPEG and select MultiPDF.
The file format may already be correct from selecting your preset.
MultiPDF exports your scans as one document with multiple pages. If you are scanning a document with a lot of pages, we recommend saving this as multiple MultiPDF’s to ensure your file size is not too large.
Trying to export a very large file can result in an error which causes the scans to be lost.
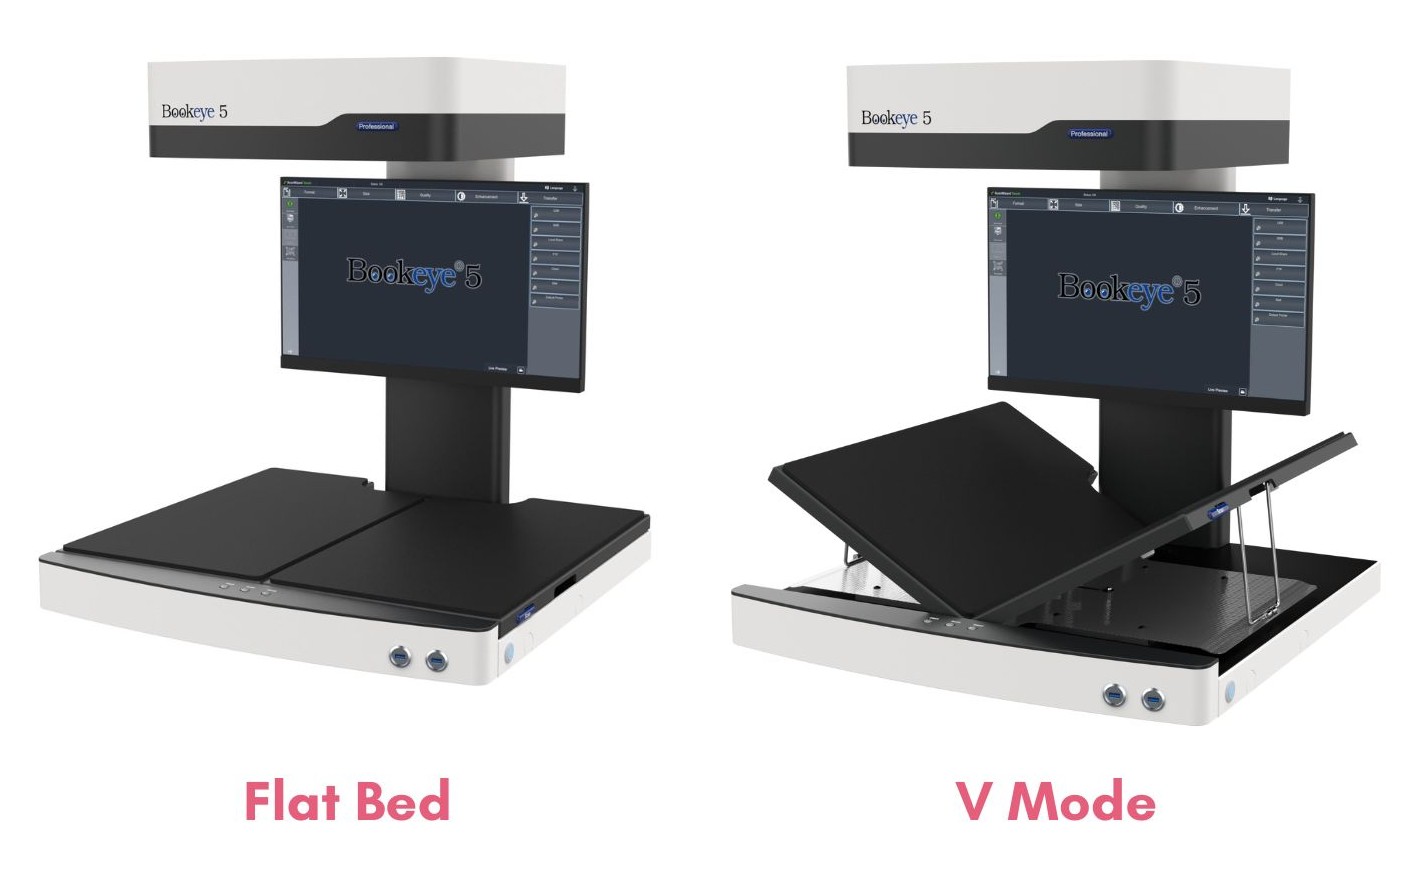
4. Position the scanning bed into either flat (for photographs/loose sheets) or V mode using the V shaped glass (for books).
Do not attach or remove the V-shaped glass plate. Always ask a member of staff for assistance.
Scanning in flat mode.
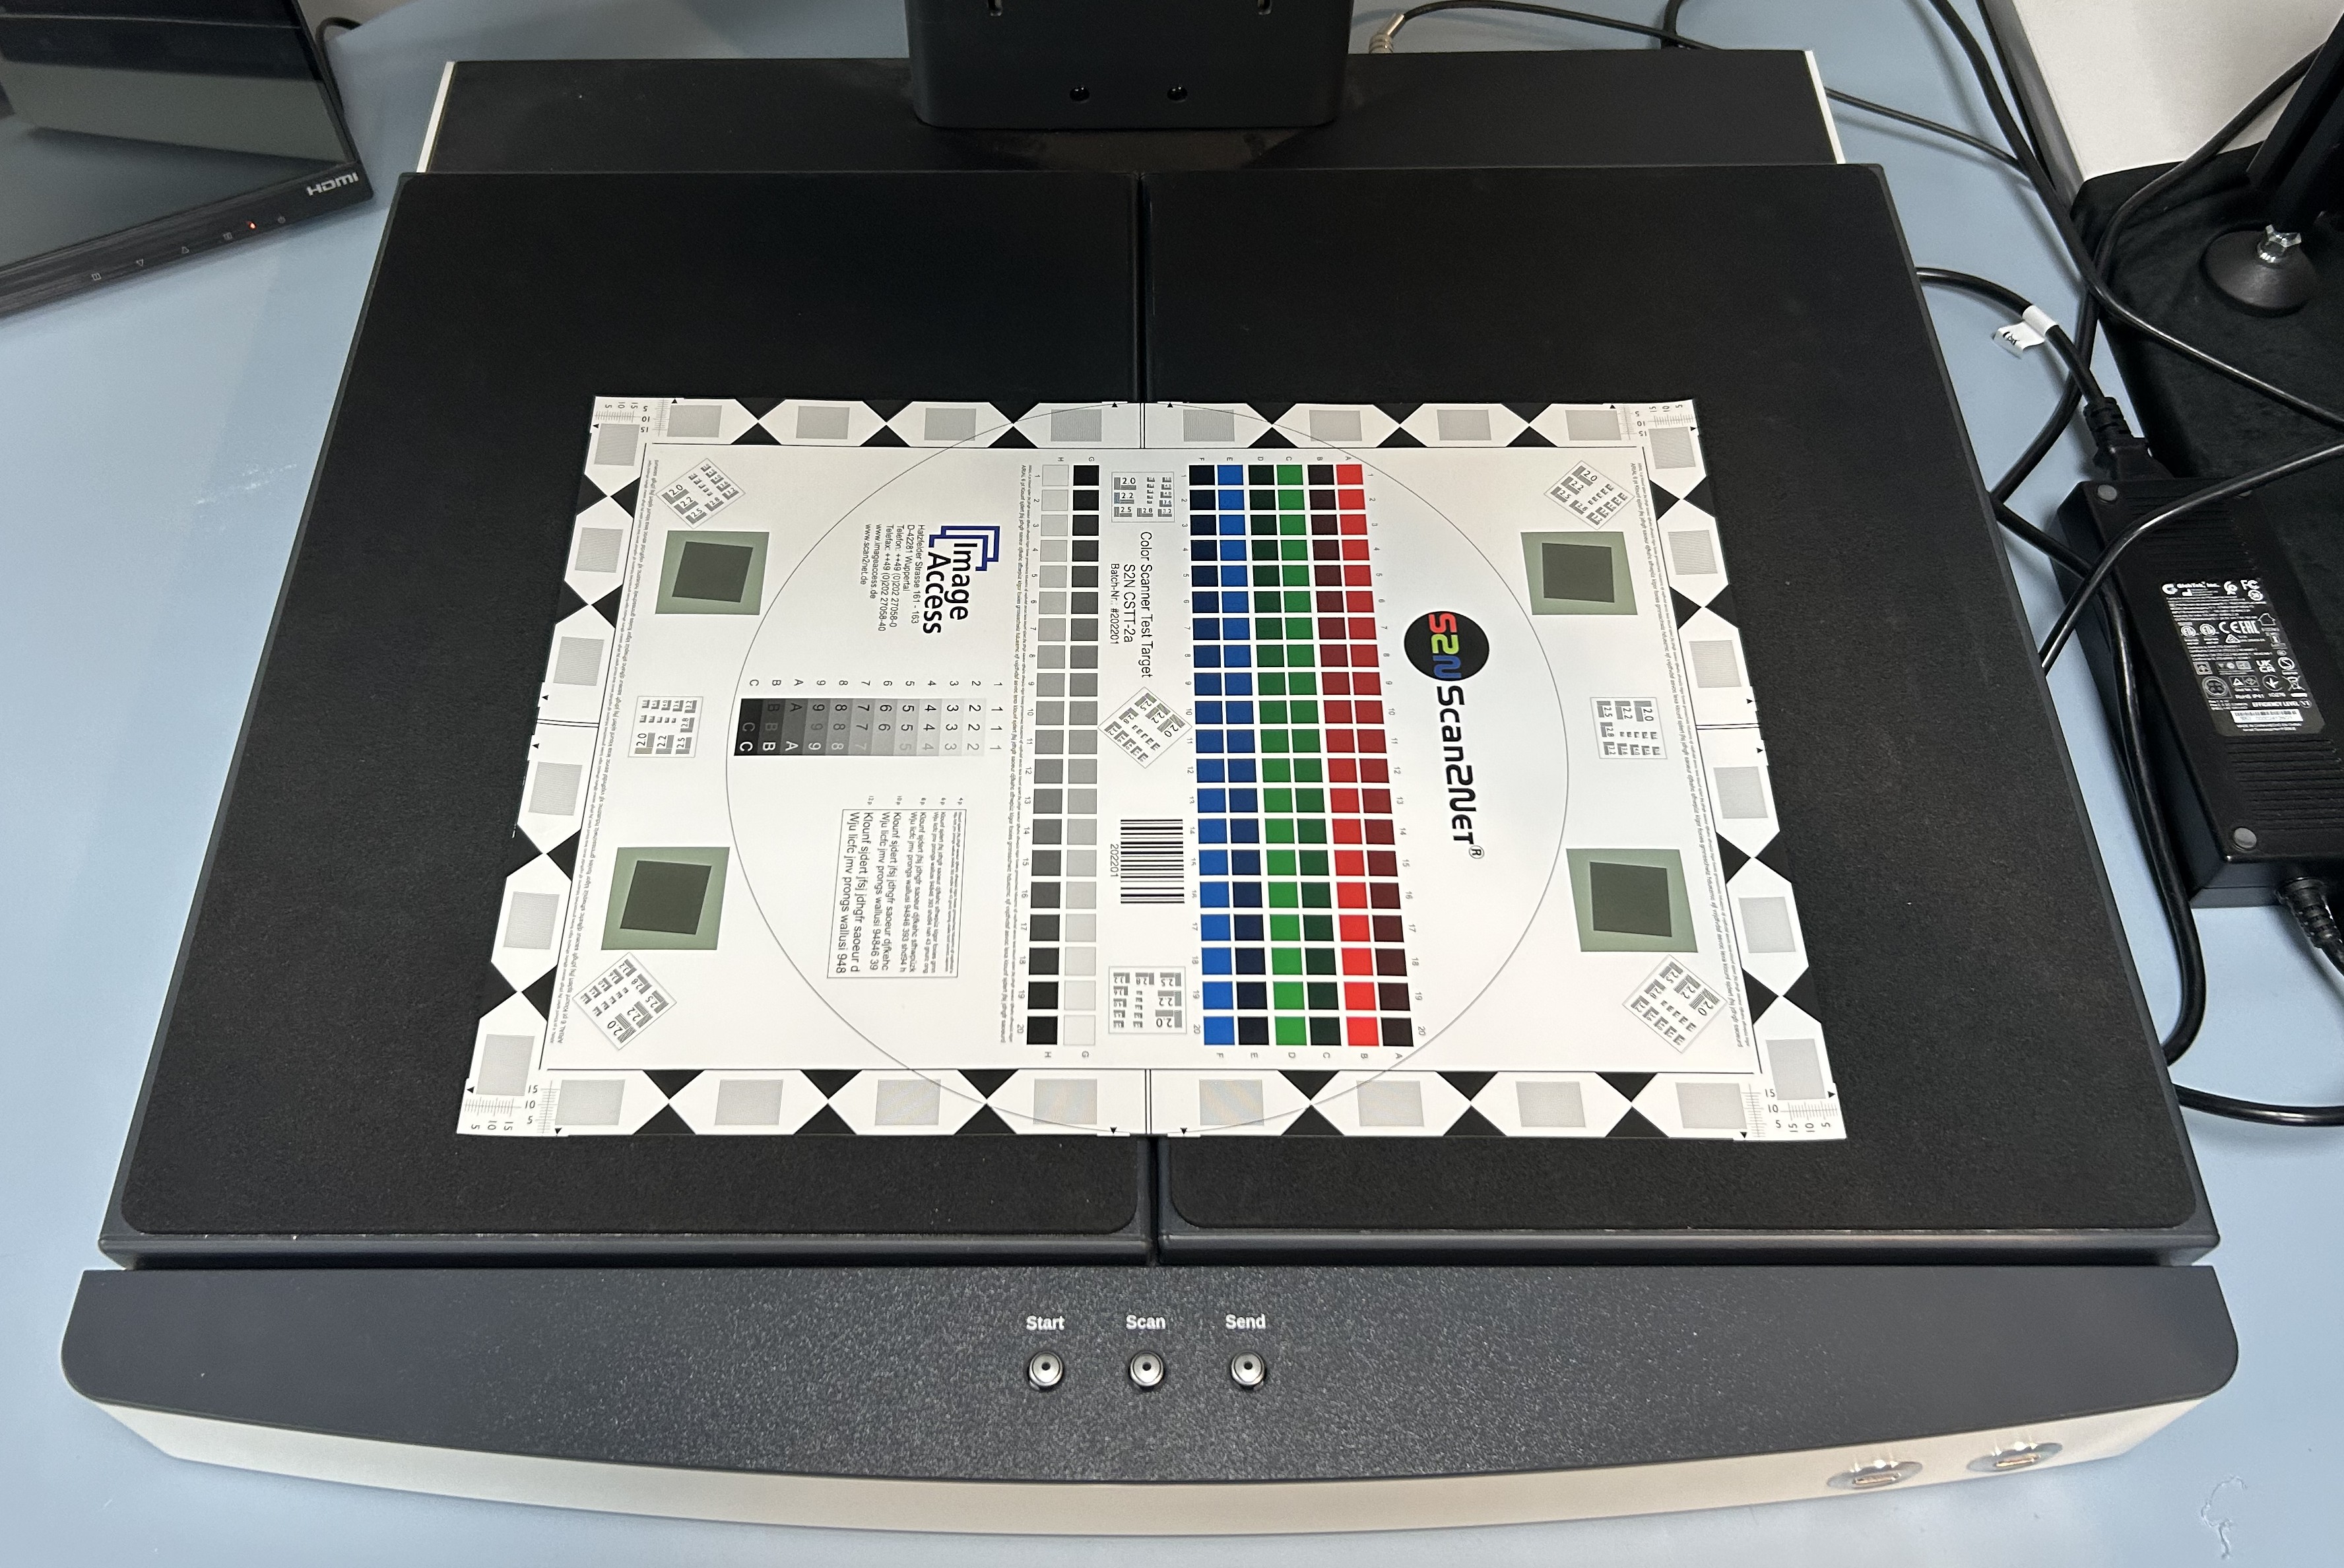
5. Place your item on the scanner bed, ensuring it is straight.
Your document should cover the bottom third of the scanner bed. This allows the media to be hit by the red focus line.
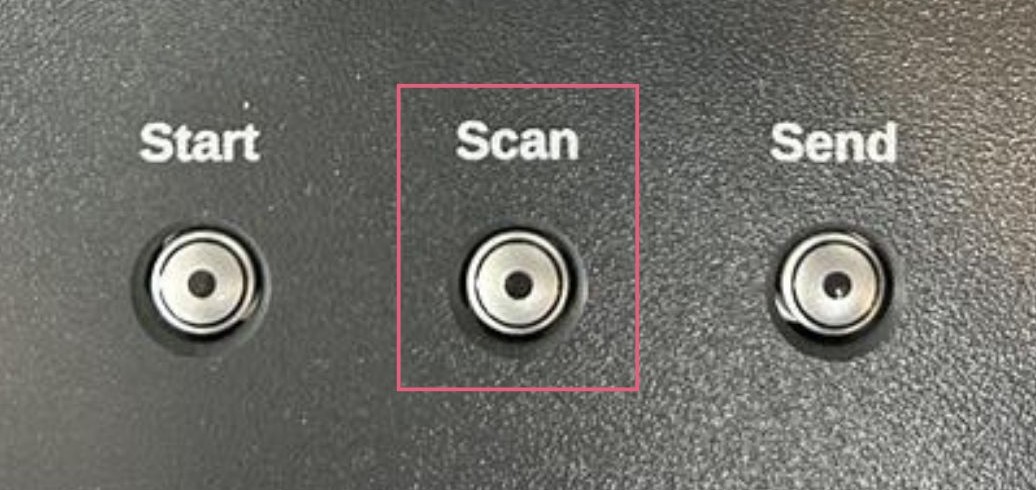
6. Press the scan button on the front of the machine to take a scan.
There is also a foot pedal on the floor underneath the BookEye that can be used to take a scan.
Scanning in V mode.
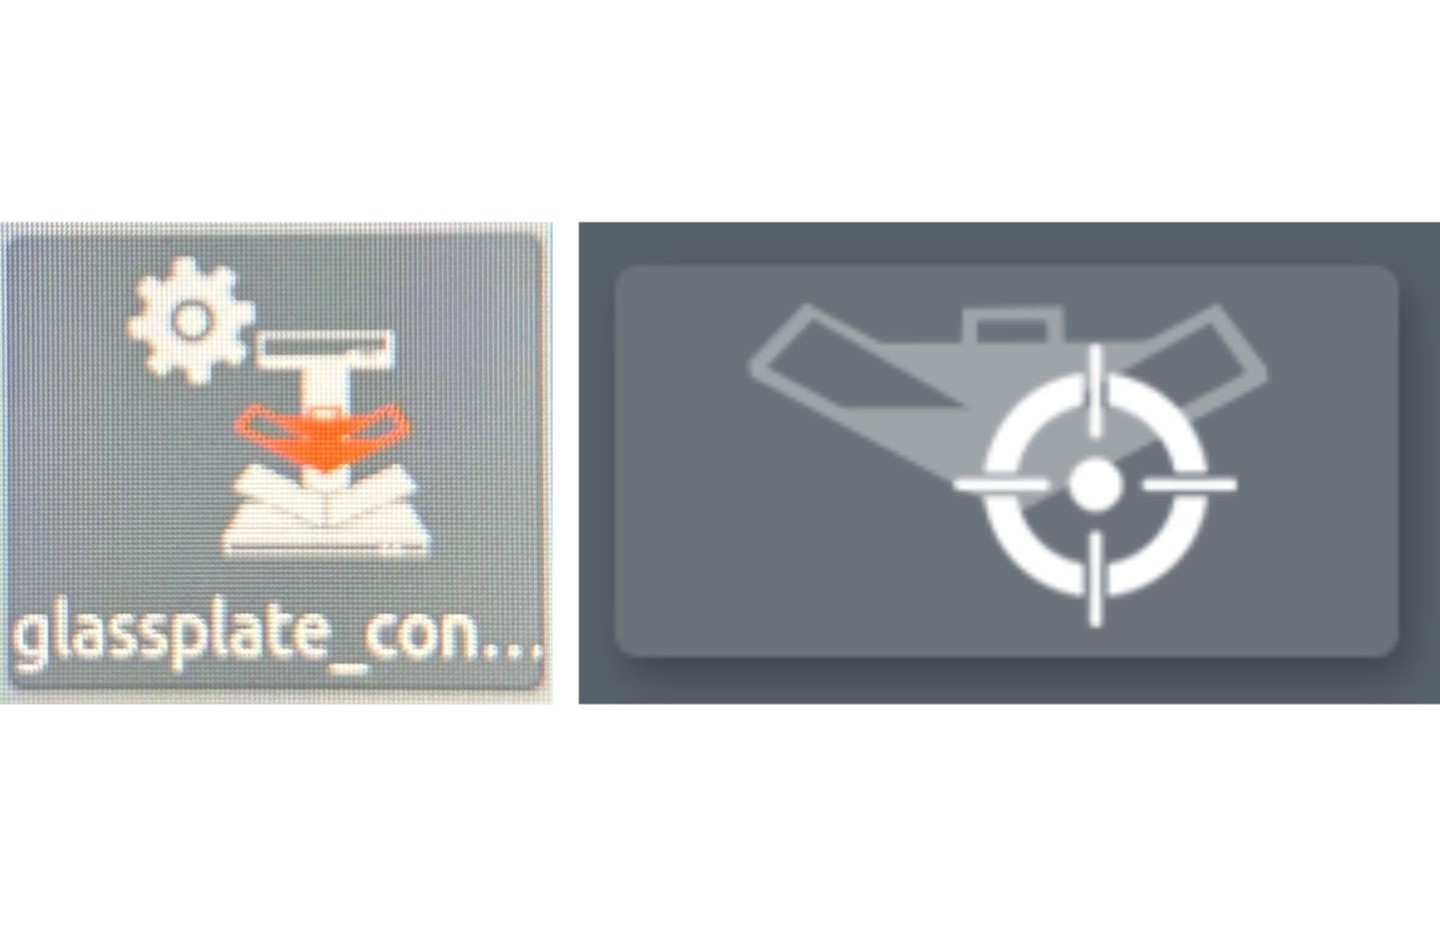
7. Clean the glass with a microfibre cloth and click glass plate control panel. Press the target button in the bottom right of the menu screen.
This scanner will now detect and raise the glass.
8. Open your media to the first page for scanning and lay the book onto the scanning bed.
The two sides of the scanning bed can be pulled apart or pushed together to allow the book to sit comfortably and centrally.
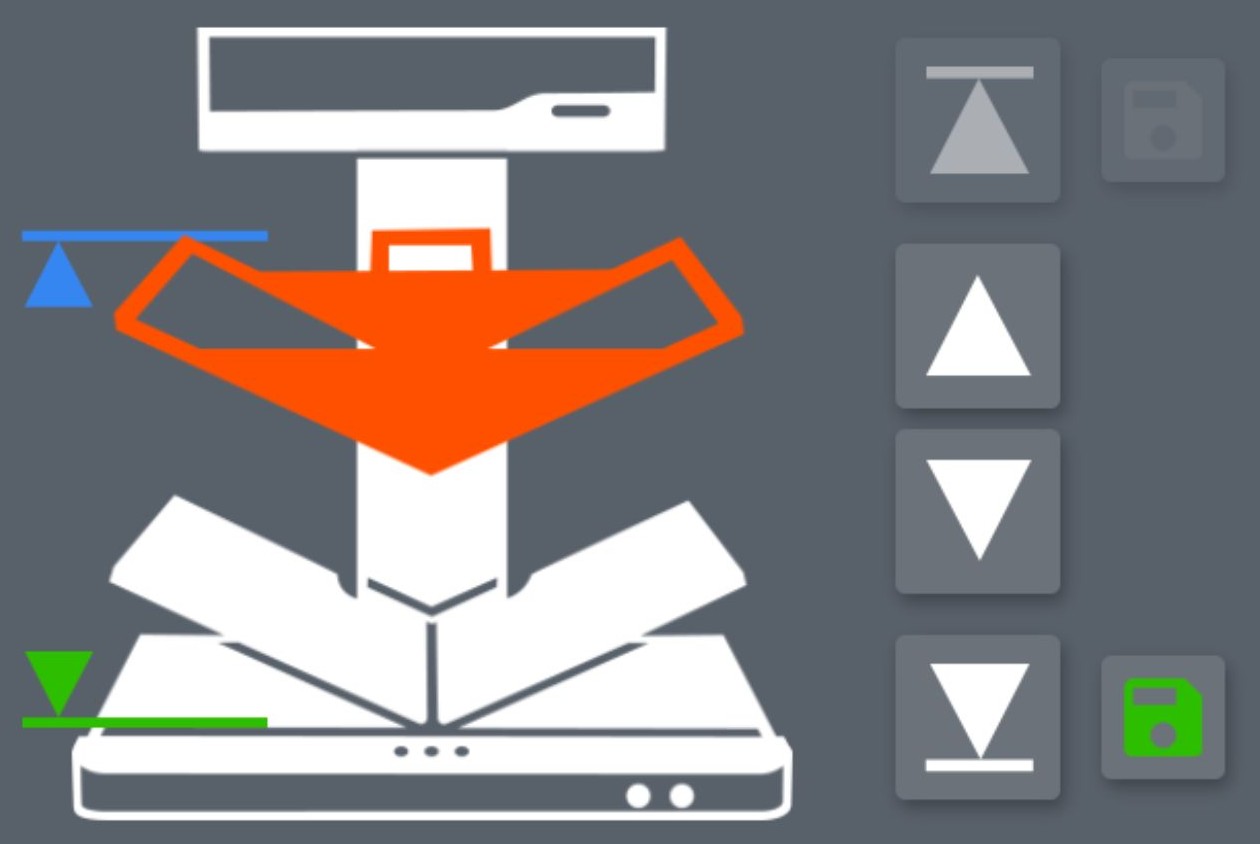
9. On the glass plate control screen, use the central up and down arrows to lower the glass so it sandwiches the book you are scanning.
The outer two arrows will move the glass to the maximum top and bottom positions. You are able to change the maximum top and bottom positions by moving the glass plate to the desired height and clicking the save icon. This is useful when scanning multiple pages of the same book.

10. Press the scan button on the front of the machine to take a scan.
There is also a foot pedal on the floor underneath the BookEye that can be used to take a scan.
Tweaking your scan settings.
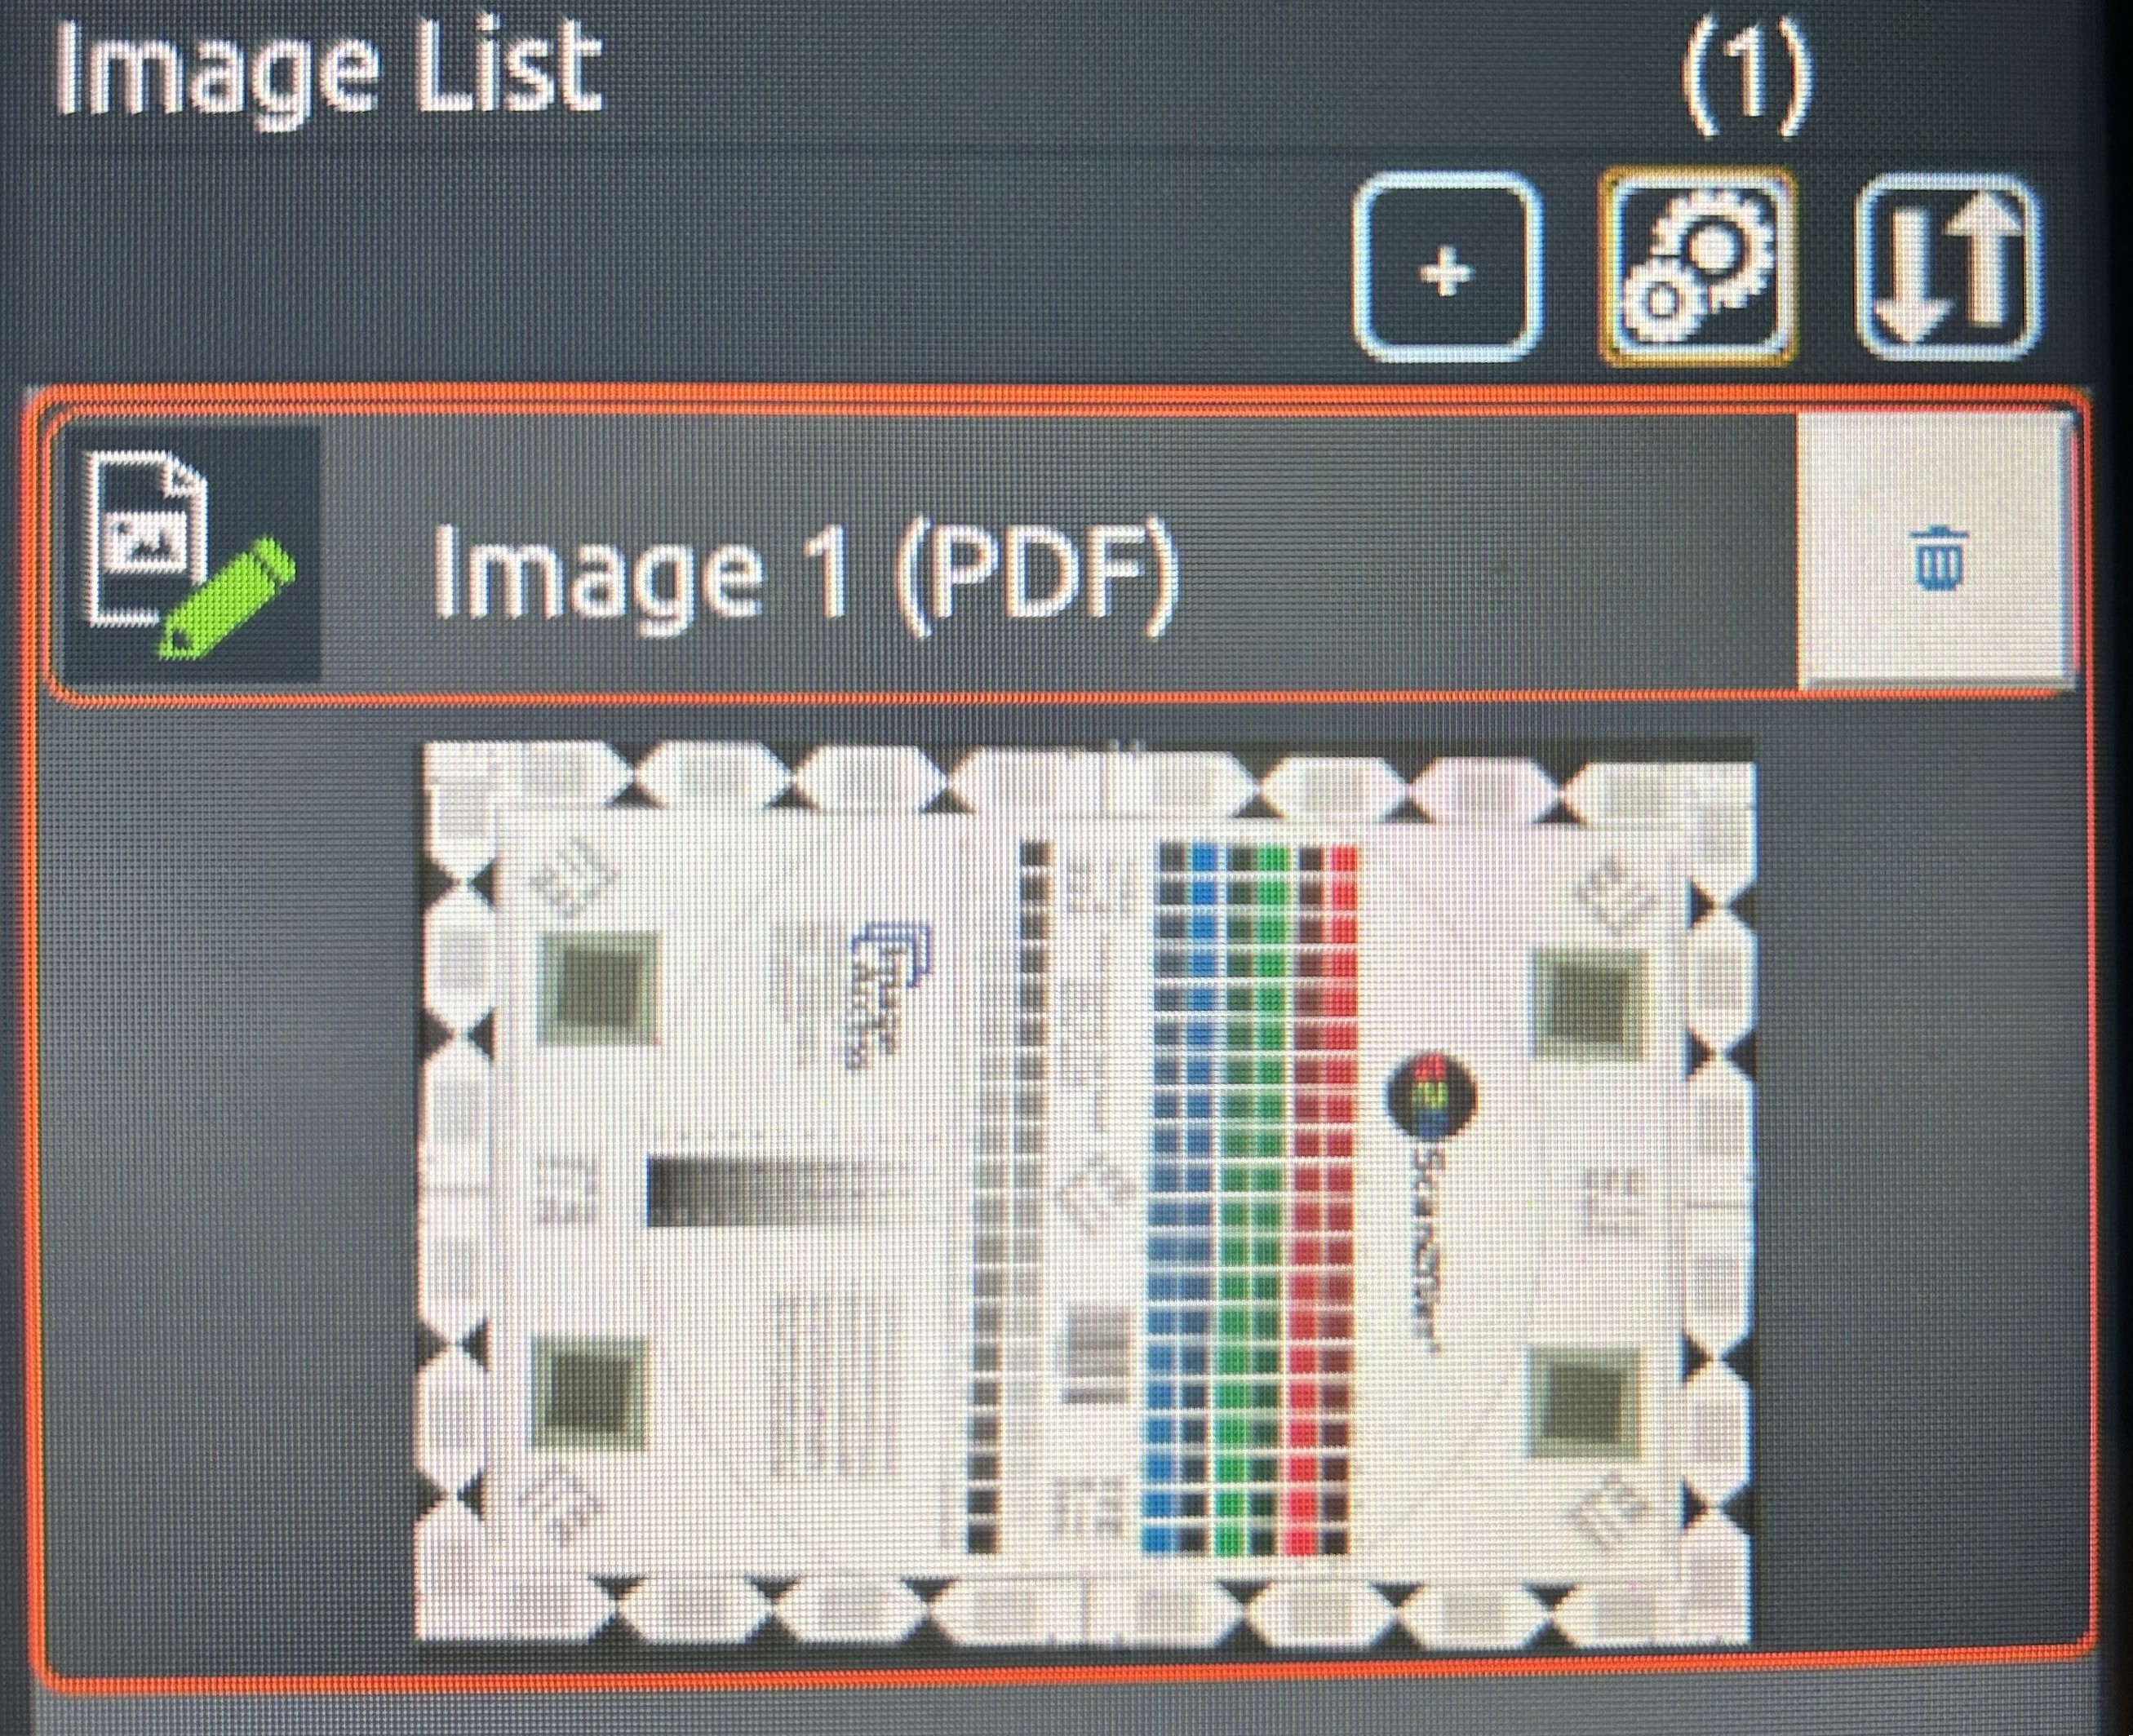
11. If you want to delete a scan, press the cogs icon in the ‘image list’, followed by the bin icon. Press the cogs icon again to leave this view.
You can only edit your most recent scan.
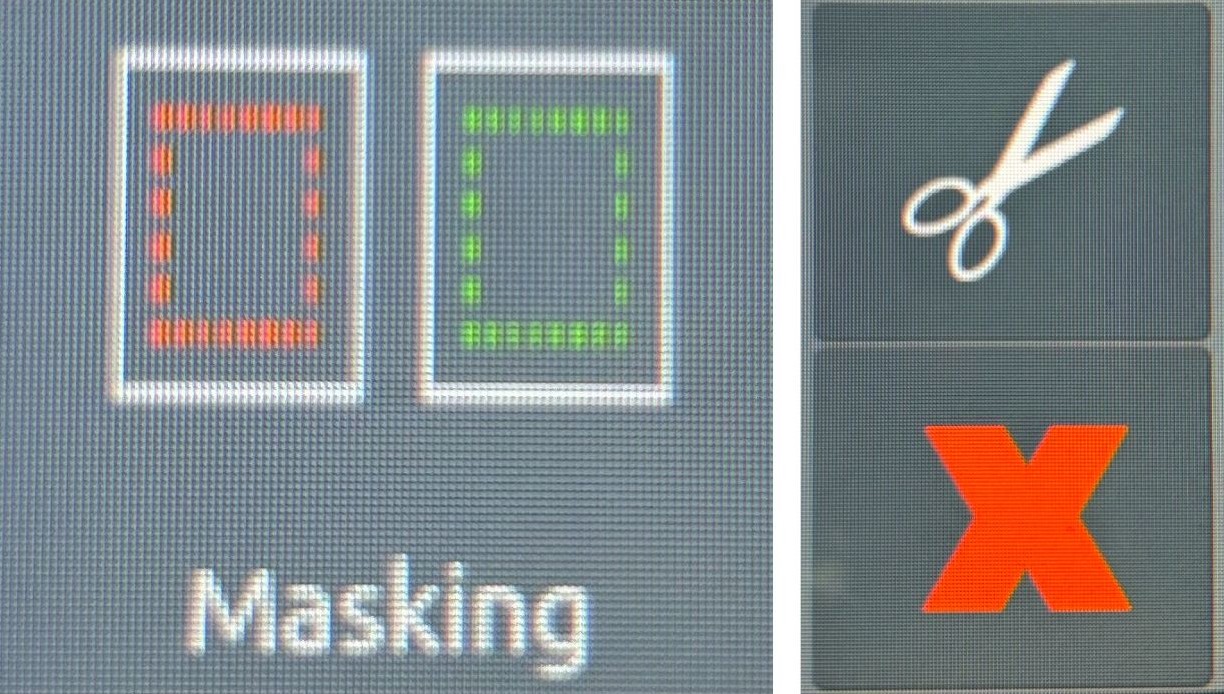
12. Most of the scanning pre-sets auto crop to the page edges. Use the ‘Masking’ menu, to the left of the screen, to crop individual pages.
Press the scissors once you are happy with your crop area and the red X to leave the menu.

13. You can change the exposure of your scan through the enhancements menu.
If your image is looking too bright or too dark, go to: Enhancement >> Exposure >> Then change from ‘auto’ to ‘fixed’ and you can adjust brightness / contrast / sharpness. Hit ‘default parameter’ to get back to the levels it was originally set at.
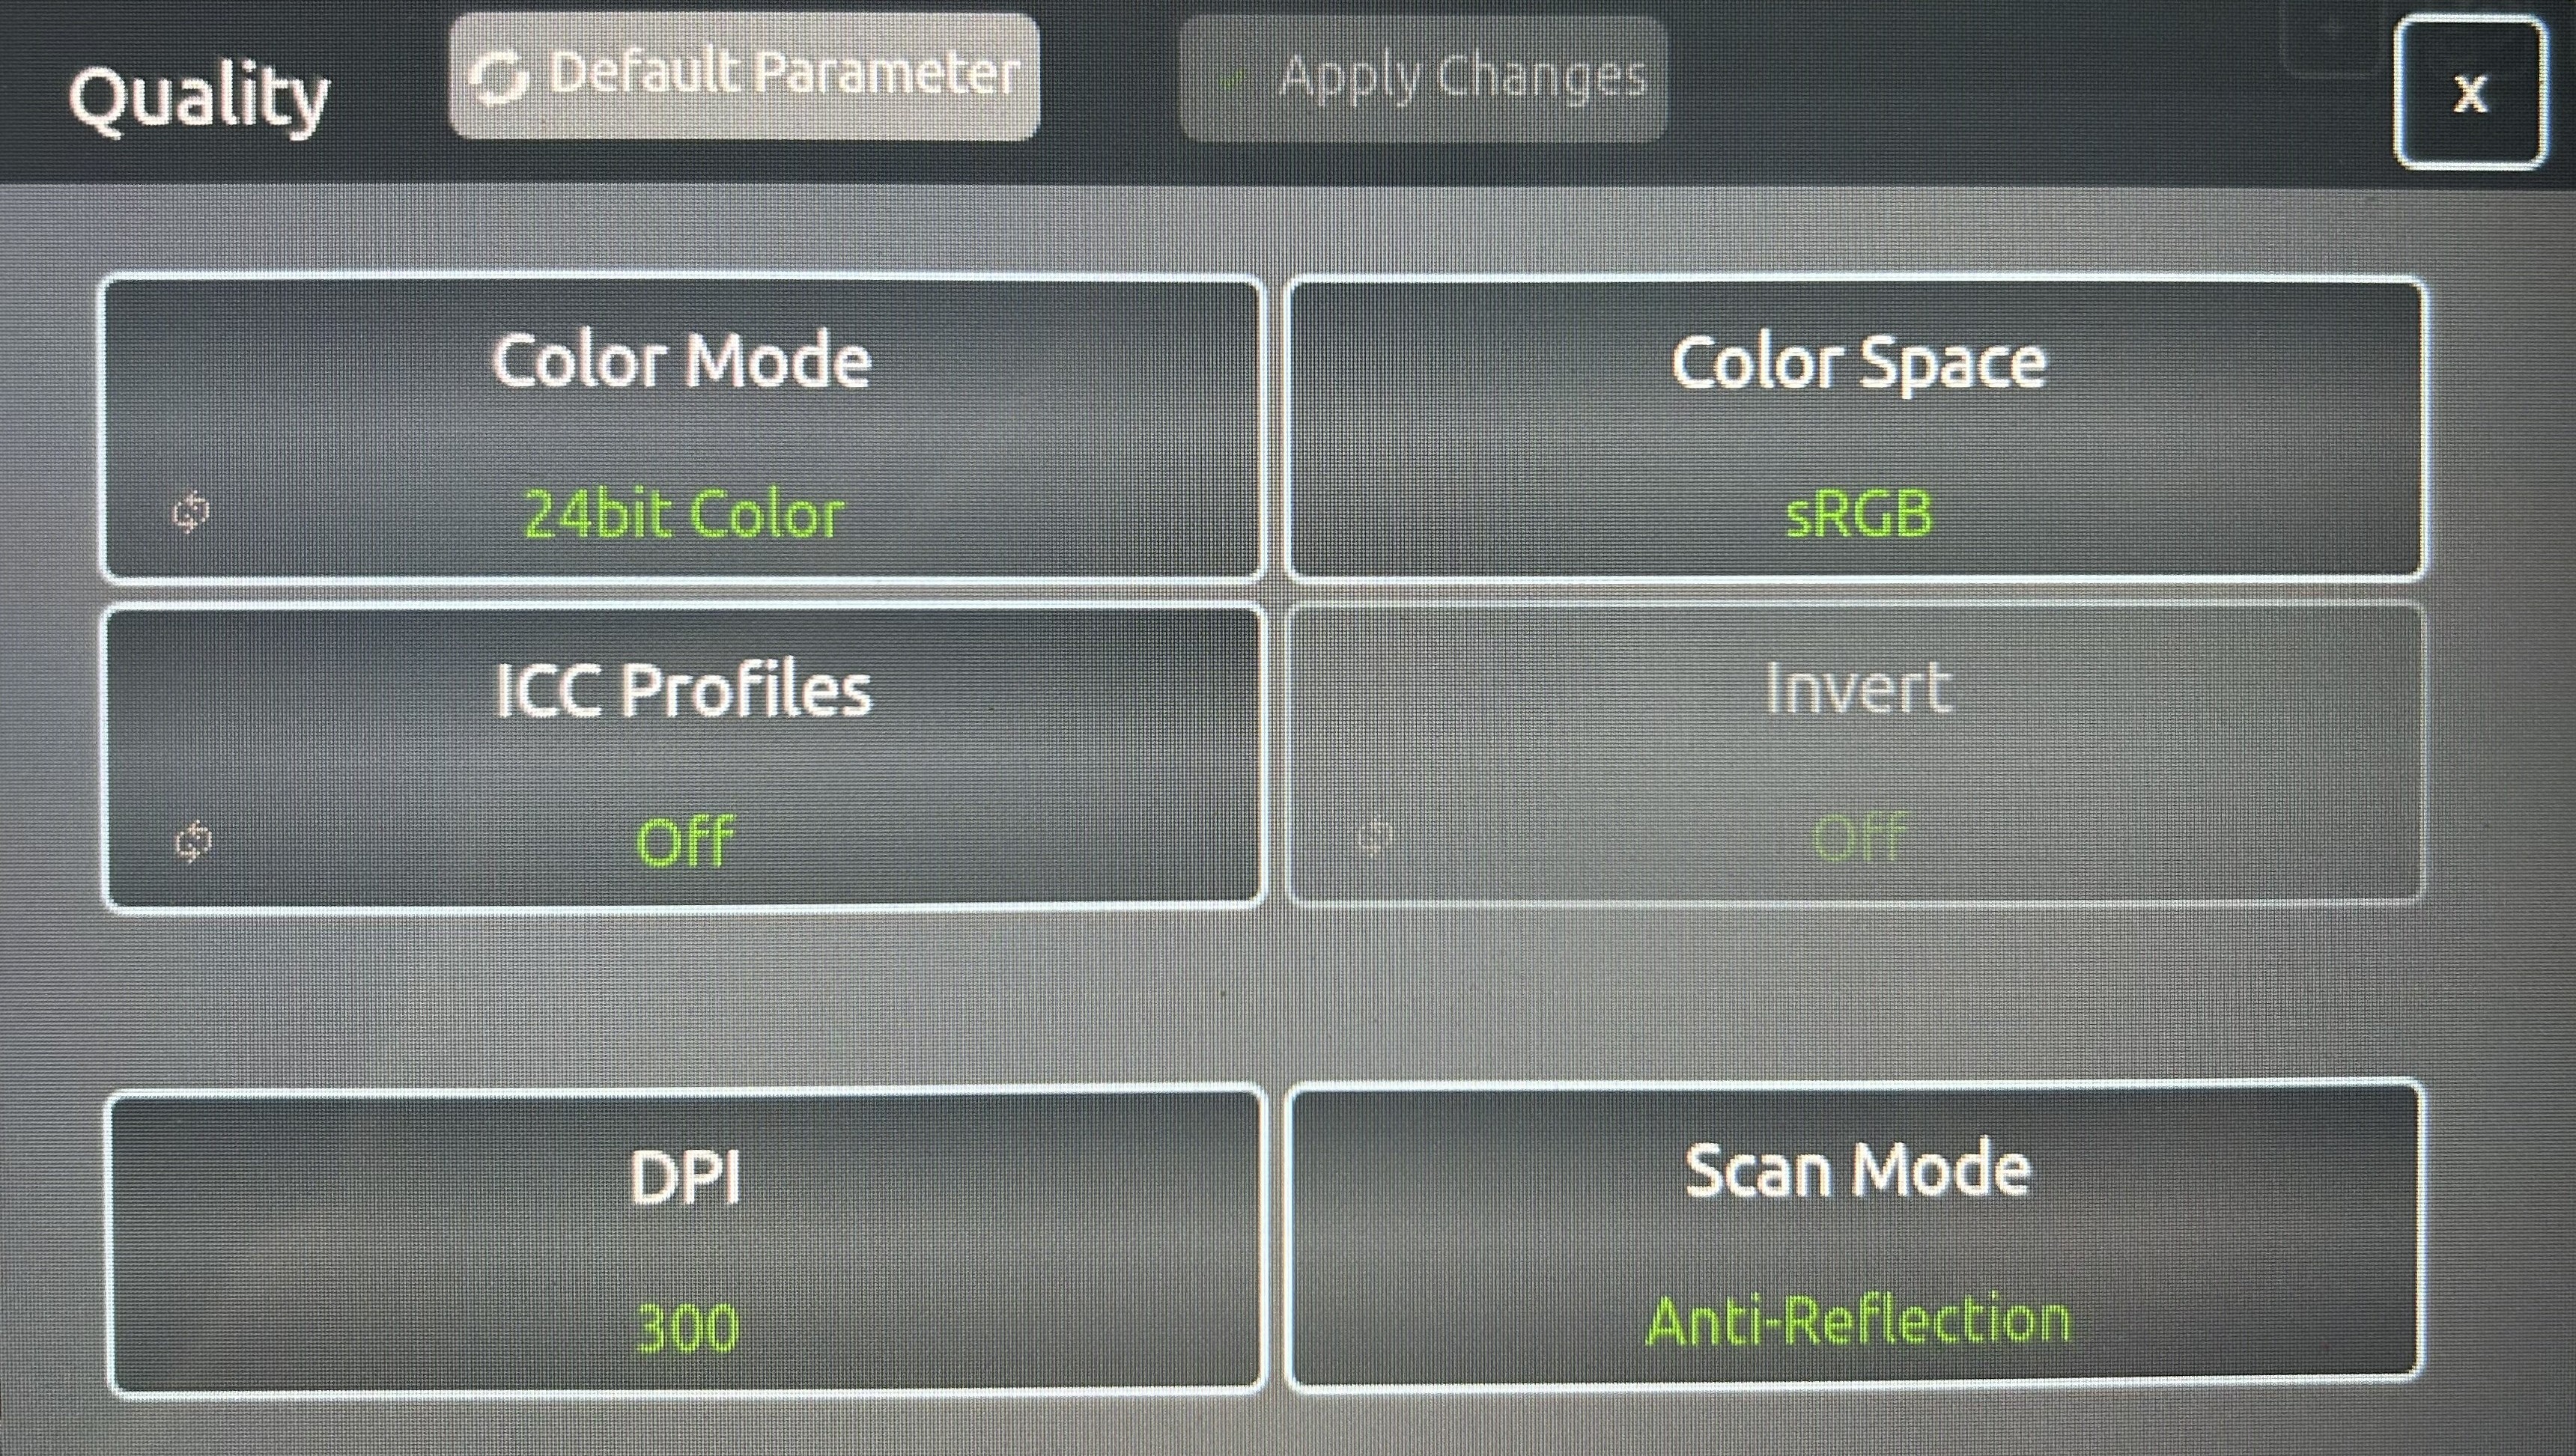
14. You can change the resolution (DPI) of the scan and the scan mode through the quality menu. Larger DPI will create larger image files when you transfer them.
If you are scanning something shiny (e.g. a photograph), go to: Quality >> Scan Mode >> Anti-Reflection.
Quality >> DPI >> pick from range.
Saving your scans and packing up.
15. Once you have finished scanning, reset the scanner back to how you found it.
Raise the glass to the maximum position (if the glass plate is attached), remove your media and put the scanner bed in the flat position.
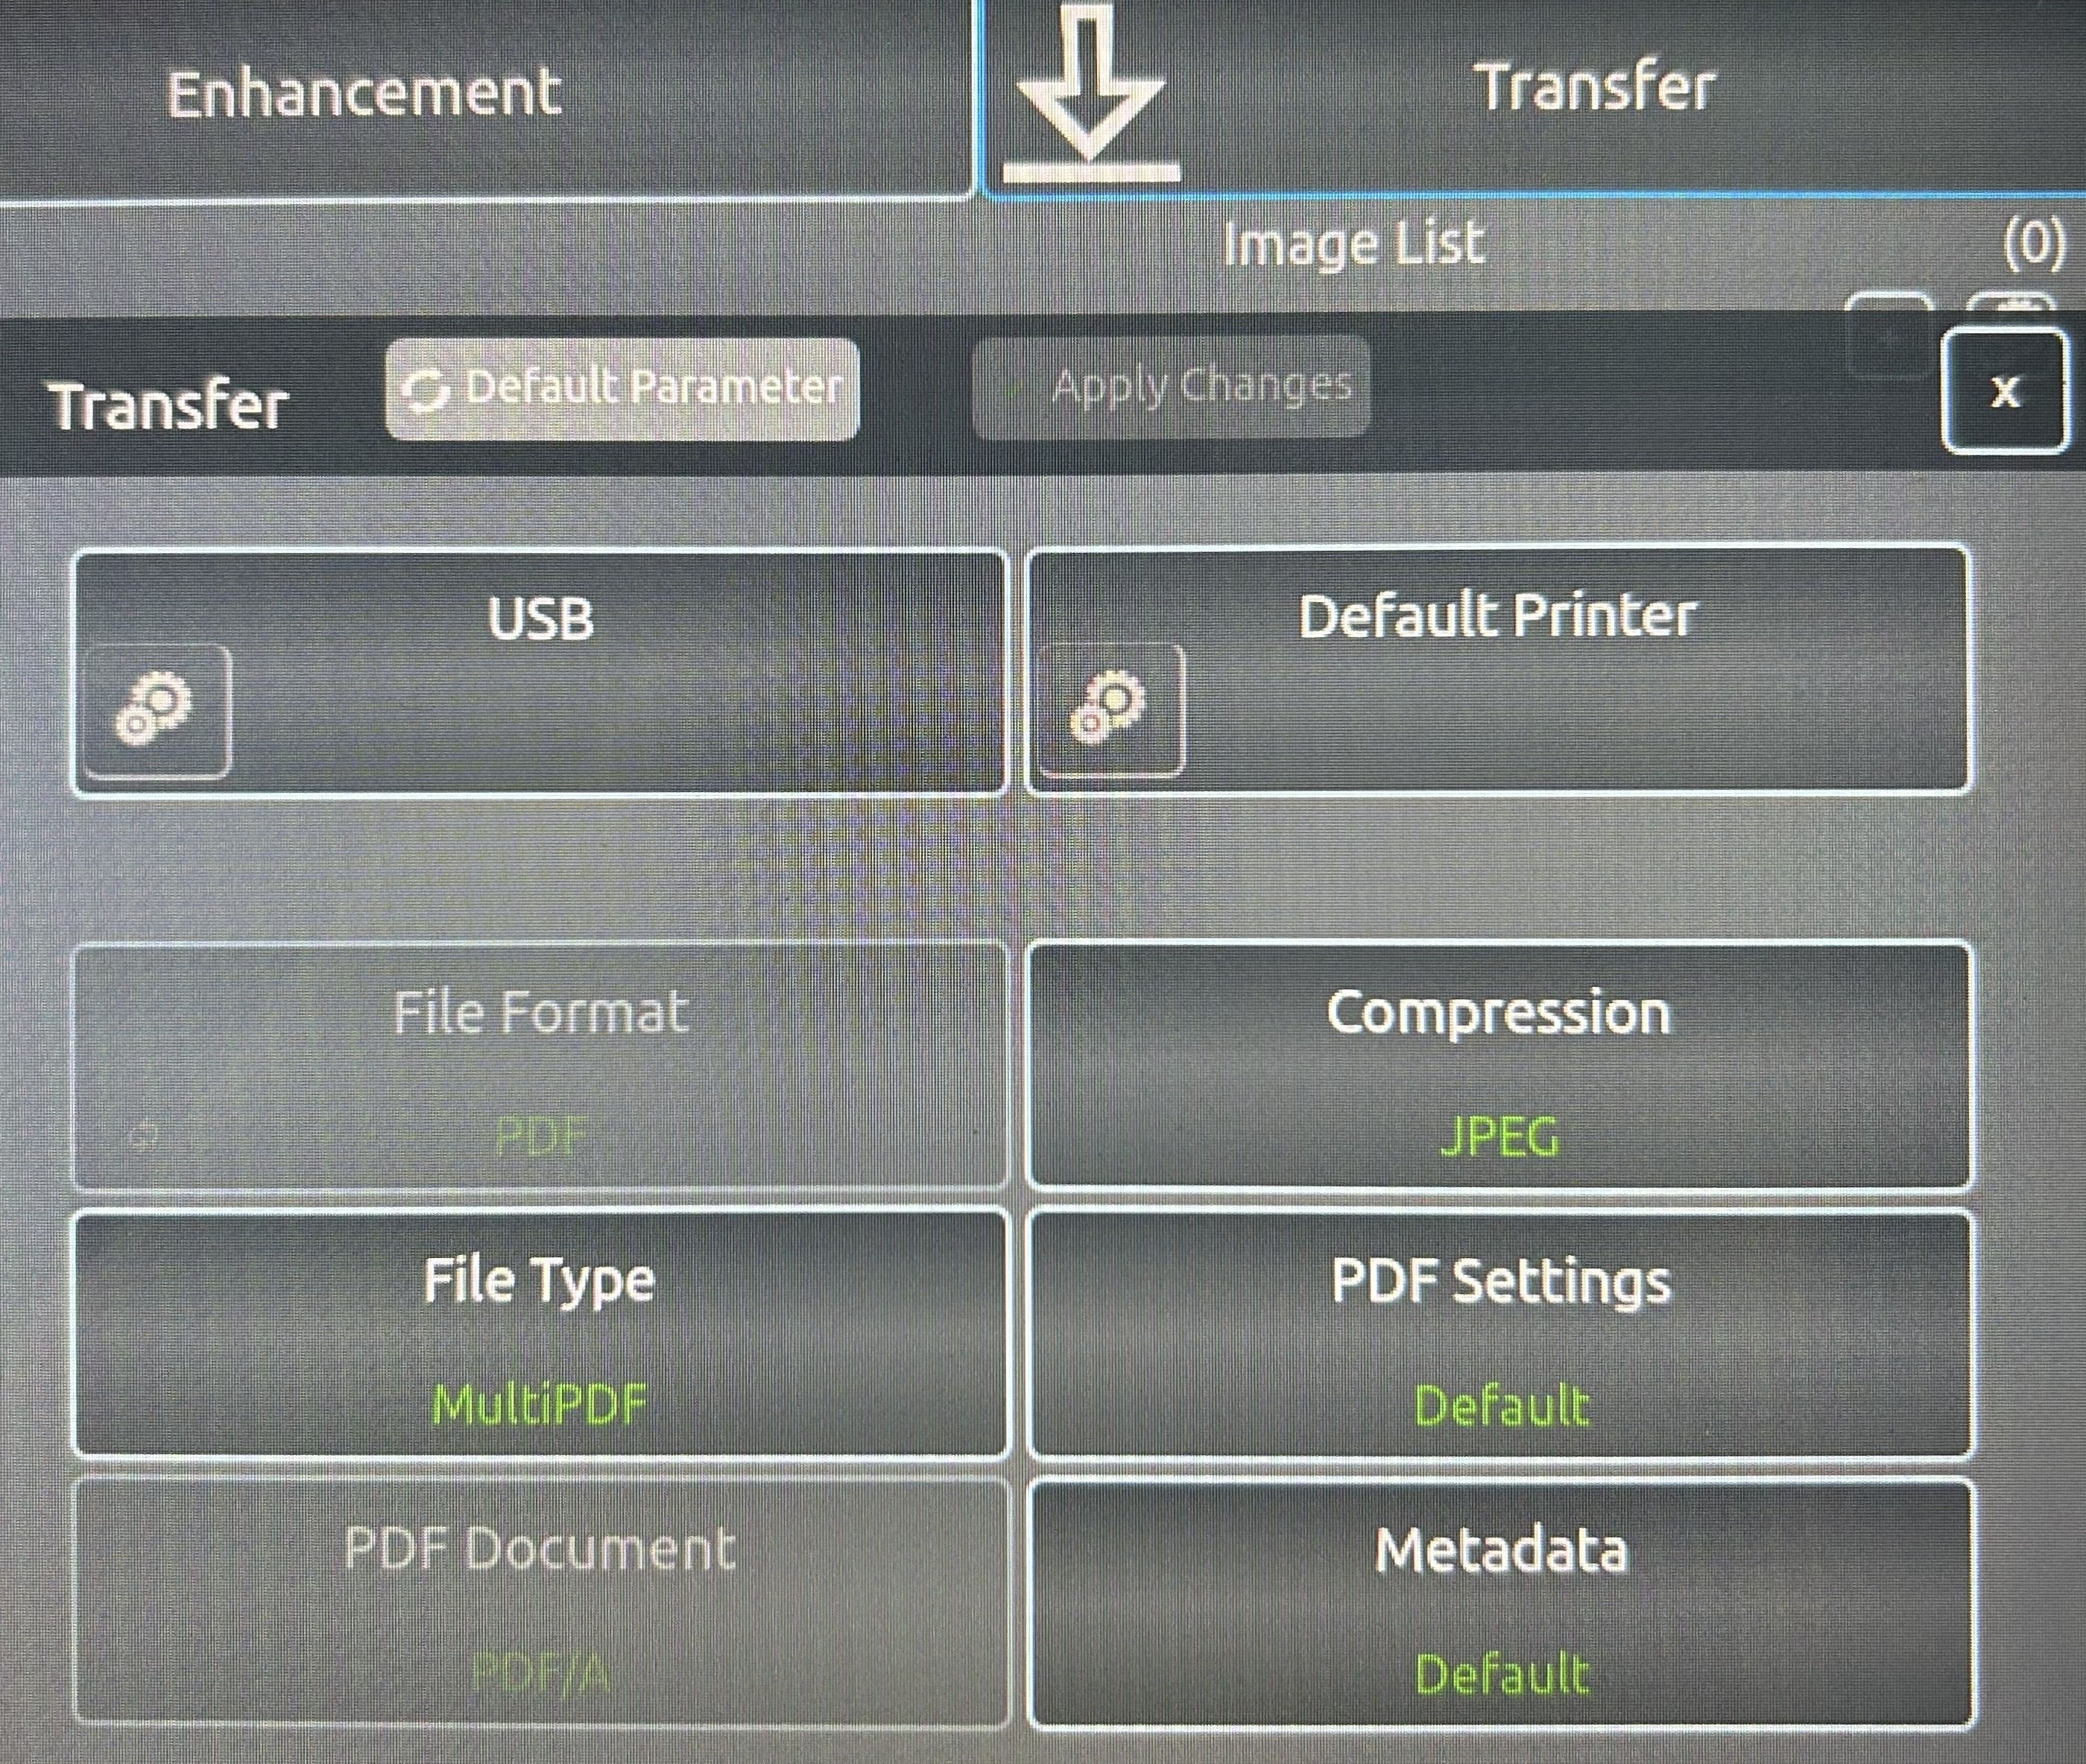
16. Plug your USB stick into the front of the scanner. Hit ‘Transfer’ and then ‘Transfer to USB’ buttons.
When you are transferring to your USB the compression level is set automatically to 75. We would recommend 85 for a better-quality image – but the file size will be larger.
The more you compress an image more likely to have distortion.
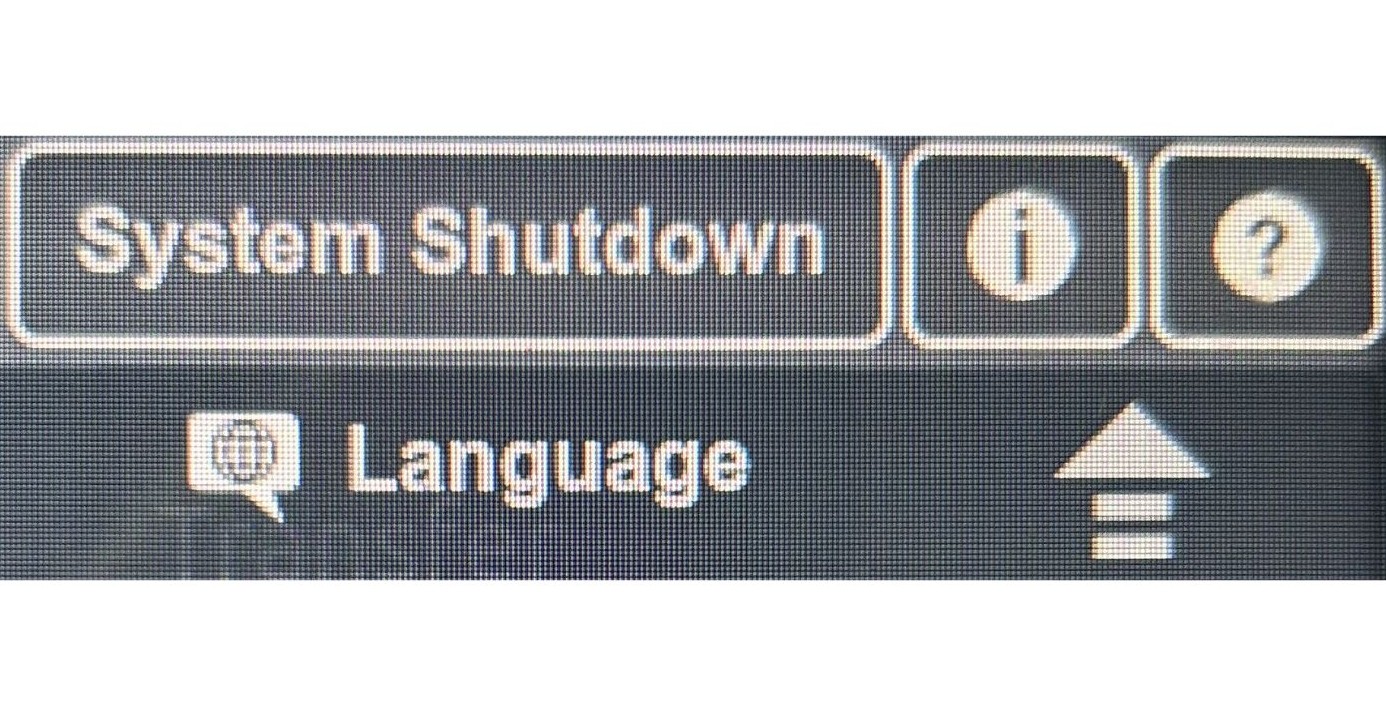
17. Once you are sure your files have saved to the USB, press down arrow in the top right corner of the screen, followed by ‘System Shutdown’.
The glass will automatically go down.